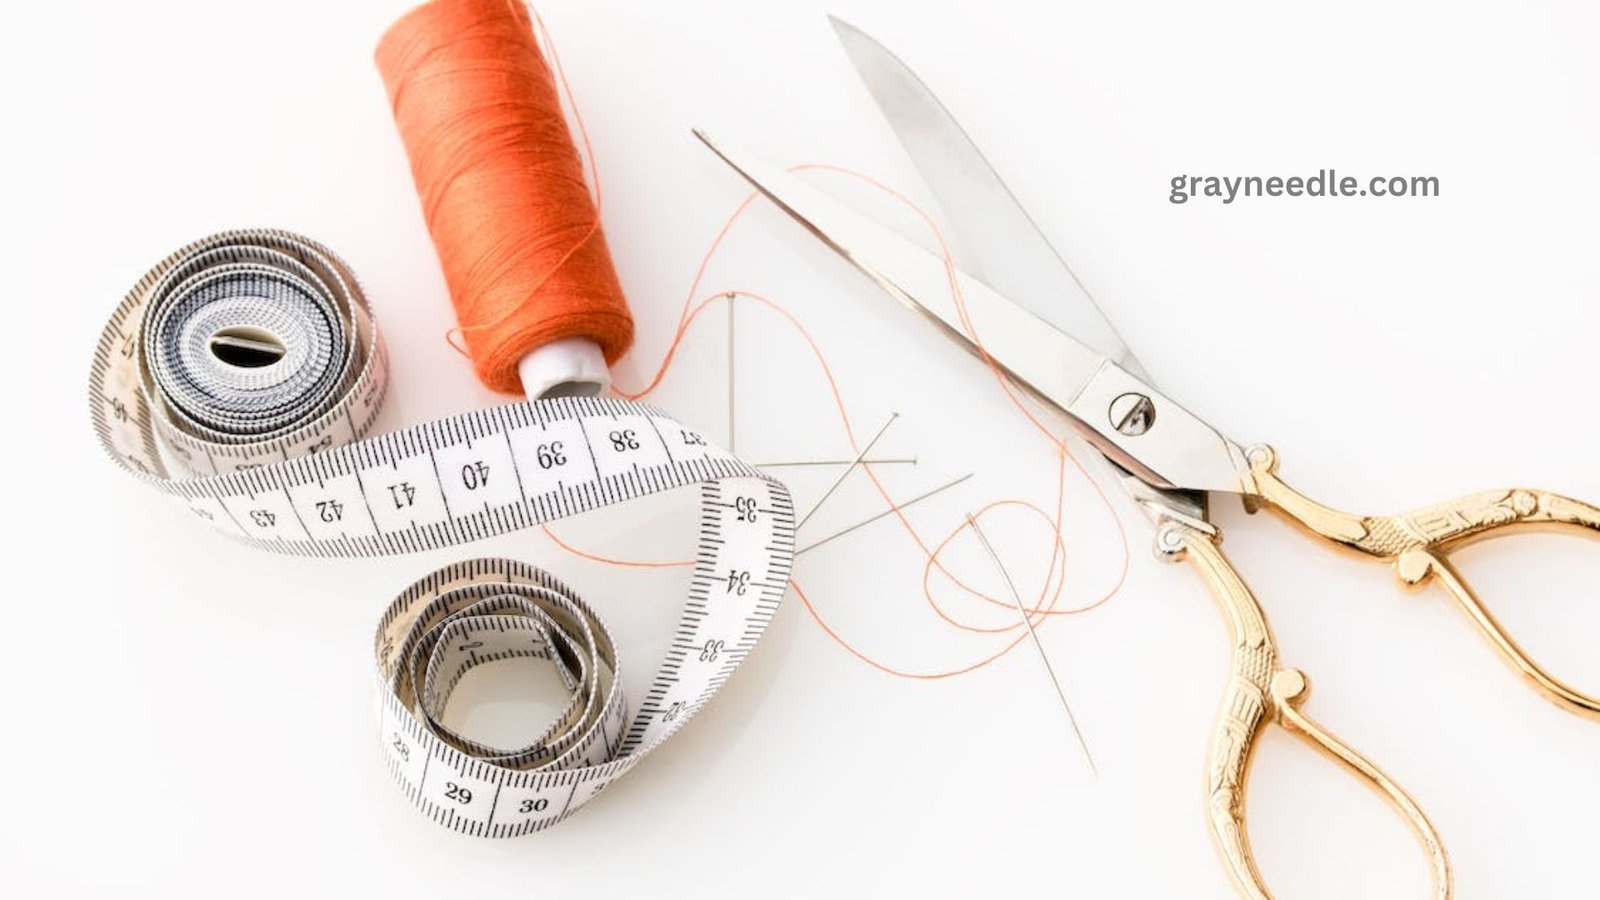
Even seams and clean stitching will look great on whatever you chose to sew. Naturally, this can be a little challenging when you’re just learning to sew. It’s possible that the machine you are using is new to you or that you do not yet own one. But don’t allow anything stop you from beginning your sewing education.
There are many things to think about while using a sewing machine for the first time, not the least of which is its speed. In order to maximize comfort and productivity, I always want to take the time to help new sewing students set up their workspace and machine. It will be more difficult for you to regulate the fabric while it is sewed if you are not positioned correctly to operate the machine. You should feel comfortable enough to focus on operating the sewing machine after doing the following four steps.
- First, make sure the foot control pedal is easily accessible and does not move on the floor.
- Second, Take a seat in a chair that provides adequate back support and allows your knee to remain at or below your knee.
- Third, You should be able to operate the machine with your hands no higher than elbow level thanks to the table height.
- Fourth, Adjust your chair so that you can see the needle plate area clearly; this is normally done by moving it slightly to the left.
What is a Straight Stitch and why is it important?
The straight lockstitch is the most fundamental stitch produced by sewing machines; it is created by the needle going through the fabric just up and down, without going left or right. Prior to the development of a “sewing needle” mechanism that enabled the needle bar to move laterally in time with the feed dogs to create a zigzag effect, the original sewing machines could only create this kind of stitch.
Later still, by altering the thread width as the work passed through the machine, ornamental stitches akin to those found in embroidery could be created. Since the straight stitch, often known as the “flat” stitch, is the most straightforward method of creating a locked stitch, it has always been feasible to quickly and accurately create seams.
Since most clothing needs to be sewn, fixed, or top-stitched, the flat machine is frequently the most used machine in commercial companies. The flat machine is particularly versatile since it can be adjusted for thread type and fabric thickness by changing the needle plate and size. Although most contemporary home machines feature a swing needle that can be adjusted to sew a straight stitch as well, this is unusual in the business since the possible stitching speeds are optimized for a particular configuration.
It’s crucial to know how to adjust your dual purpose machine’s settings if you want the highest caliber of stitching possible. Use care to ensure that the right presser foot, thread, and sewing needle are used.
The majority of sewing chores, from basic seamsuring to more intricate tasks like sewing zippers, depend on the ability to perform the straight stitch. You will not only build a solid foundation for your sewing repertoire by mastering this core technique, but you will also unlock a world of creative possibilities.
I’ll offer my insider knowledge and strategies for perfecting the straight stitch in this essay. We’ll go through the necessary supplies and equipment as well as the methods and advice on how to fix problems that have helped me become a better seamstress. So let’s go out on this sewing journey together and discover the techniques for producing a perfect straight line stitch!
Sewing Basics: Equipment and Tools
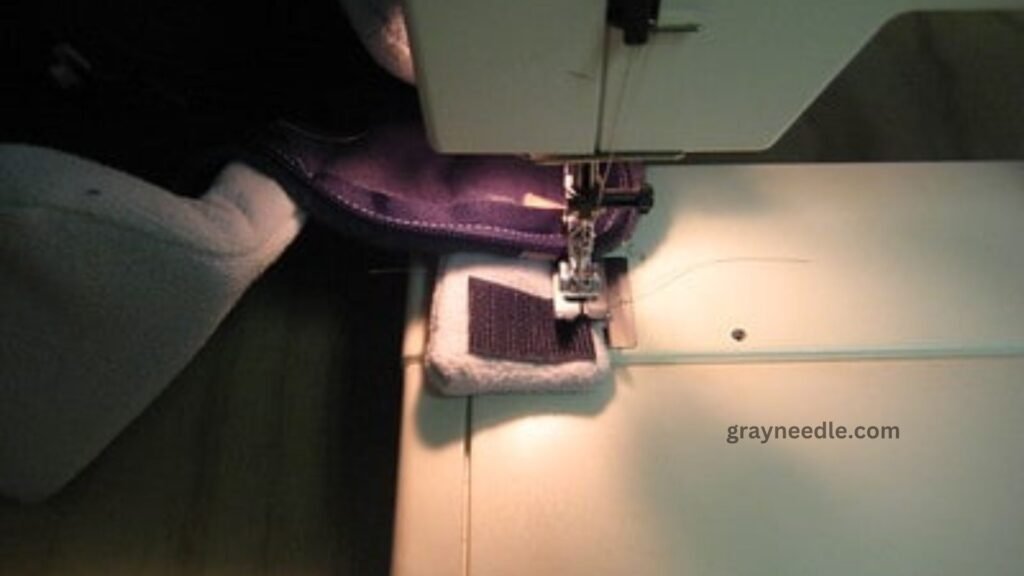
As I started sewing, I soon discovered that success depends on having the appropriate supplies and tools. I’ll go over the essential tools you’ll need to learn how to do a straight line stitch in this part.
Sewing Machine
The most crucial piece of equipment for sewing straight lines is without a doubt the sewing machine. Sewing machines come in a variety of forms, from mechanical to computerized. I suggest beginning with a simple, easy-to-use sewing machine that has a few basic stitches. Avoid selecting a lightweight “mini” machine if at all possible. If the cloth is pulled back abruptly, a novice may be able to drag the machine off the table because to its light weight. See how to use a sewing machine for instructions on how to use one.
Seam Guides
Seam alignment can be aided by a variety of attachments. Although some machines come with them as attachments, these are frequently too big and unwieldy for any purpose other than straight lines. I’ve gathered a few guidelines over the years and will provide links to the best ones I could locate online for you.
Fabric
The fabric you choose is quite important since it may make a big difference in how your sewing projects turn out. I advise beginning with medium-weight woven textiles, such sheeting, cotton, or linen, for novices. These fabrics are more versatile and easier to work with for beginning sewing projects. You can experiment with various fabric kinds as your skills develop, including as knits and flexible textiles.
Thread
The foundation of every sewing effort is the thread. Using premium thread that complements the fabric you’re working with is crucial. Because of its strength and adaptability, all-purpose polyester thread is a dependable option for the majority of applications. Make sure the thread color you select matches or enhances the color of your fabric.
Pins
When it comes to keeping your fabric pieces aligned and together before sewing, pins are an absolute need. For easier handling, use straight, pointed pins with a pleasant head. Since glass head pins won’t melt when heated with an iron, I advise using these. Keeping a pin cushion or magnet close by can aid in maintaining pin organization.
Scissors
For precise and effortless fabric cutting, a high-quality pair of scissors is essential. Purchase a special pair of fabric scissors that you will only use for sewing projects. To avoid dulling the blades, keep them sharp and never use them on paper or other materials.
Also Read: How to Prevent Needle Breakage: Troubleshooting Tips
Techniques: How to Sew a Straight Line
No matter what you sew, having high-quality stitching will improve the caliber of your work. Even width seams will simplify the process of piecing together and fitting your clothes, and well-placed topstitching will always elevate your work. Now let’s explore the sewing methods that will enable you to create flawless straight lines.
Practice on Paper
Employ these in your sewing machine without using thread, and try to make the lines as smooth as possible. Selecting a shorter thread length will both slow down the stitching and provide you greater control when sewing around corners and curves. To improve your cornering and topstitching, try pausing and starting at designated spots on the lines.
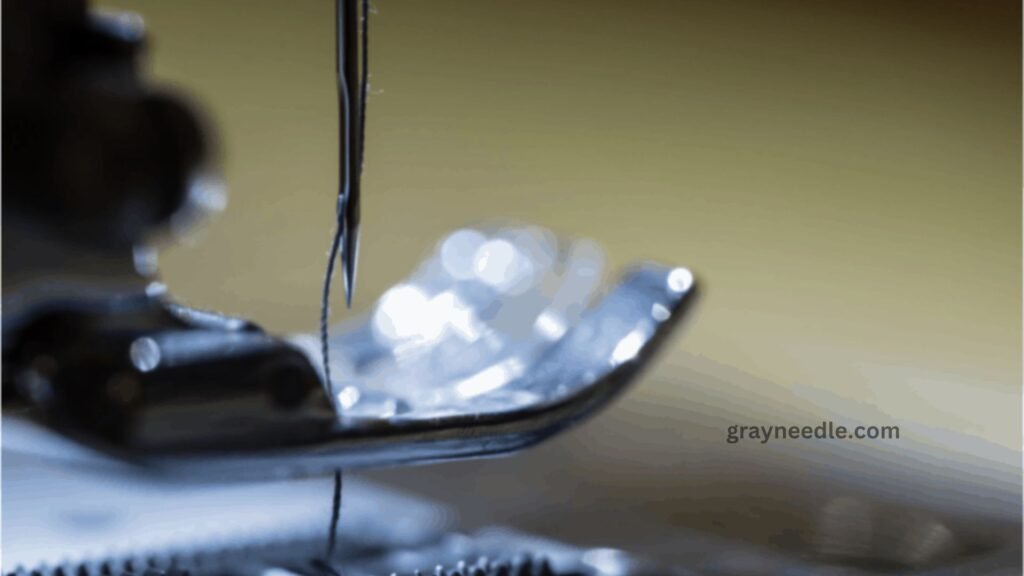
After you’re proficient at stitching on the lines, try sewing beside them by using the sewing foot’s edge as a guide. It’s helpful to practice adjusting speeds by manipulating the foot pedal in addition to adhering to the printed lines. Additionally, become accustomed to stopping your sewing while the needle is at its lowest point before rounding corners and concluding with the needle lifted to the highest position.
Step 1: Setting Up Your Sewing Machine
It is imperative that your sewing machine is set up correctly before you start. First, make sure the machine is threaded correctly, using a fine thread that is appropriate for the cloth you are using. See how to use a sewing machine for a thorough how-to on threading your machine. After you’ve threaded the needle, adjust the stitch length and tension to suit the fabric and the task at hand. If you can adjust the speed on your machine, start with a lower setting until you feel comfortable.
Step 2: Preparing Your Fabric
One of the most important steps in creating a flawless straight line stitch is fabric preparation. If needed, start by ironing your fabric to get rid of any wrinkles; for natural textiles, steaming may assist lessen shrinkage. Next, snip any frayed edges using fabric scissors and make sure the cloth is cut to the correct size according to the project’s instructions.
Step 3: Aligning Your Fabric
Accurate fabric alignment is essential for ensuring a straight line stitch. Start by matching the raw edges of your cut fabric pieces and arranging them right sides together. To produce a straight edge, trim any uneven spots as needed. Pin the layers of cloth together, making sure the pins are perpendicular to the edge you plan to sew. you keep the fabric from moving when stitching, make sure you space pins at regular intervals.
Step 4: Sewing a Straight Line
It’s time to sew now that your sewing machine is ready and your cloth is ready! Align the raw edge of your cloth with the seam guide on the throat plate of the machine by gently guiding it beneath the presser foot. Carefully hold the thread tails to keep them from getting tangled in your stitches as you lower the presser foot and needle into the fabric.
Start stitching slowly and steadily, using your hands to guide the cloth and make sure the seam guide is aligned correctly. Make sure your stitching stays even and straight by keeping an eye on it. To improve your straight line sewing abilities, try working on some simple beginner sewing projects for more experience.
Step 5: Finishing Your Stitch
Reduce your stitching speed as you get closer to the end of your cloth in order to keep control. When you get to the end, backstitch for about three stitches, then continue stitching forward to secure the ends. To release the upper tension spring, stop sewing, elevate the needle to its highest position, and then raise the presser foot. Carefully remove your cloth from the machine, being sure to leave a tail of thread. Trim the thread tails close to your stitching with fabric scissors, being careful not to cut the fabric or your stitches.
And just like that, your straight line stitch is finished! You’re almost done learning how to sew, after you have these techniques under your belt. As you continue to advance in your sewing career, don’t be afraid to experiment and take on new projects since, as they say, practice makes perfect.
Tips for Sewing Straight Lines
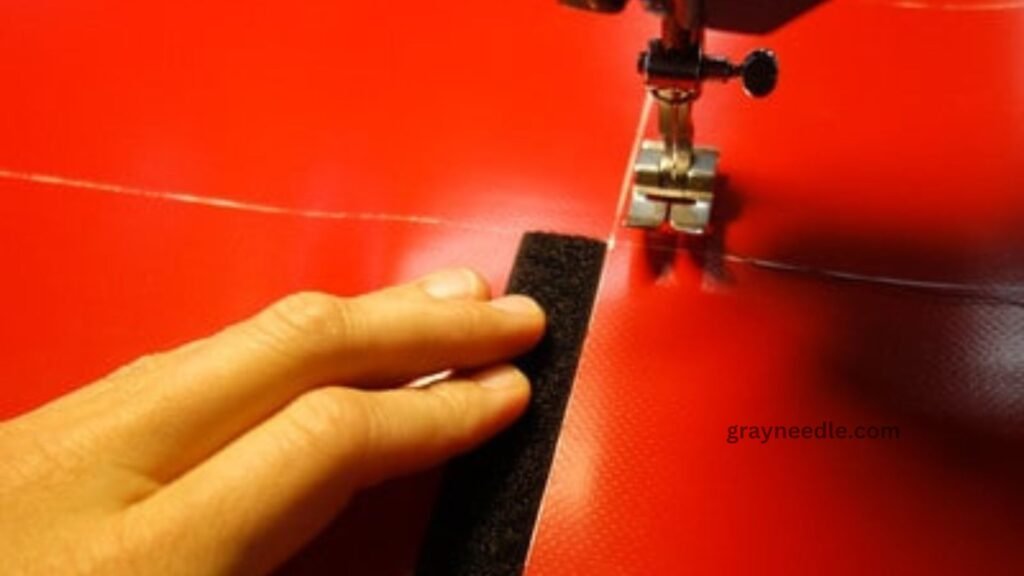
These useful hints and methods will greatly enhance your ability to stitch straight lines.
Take it Slow
Taking it gradually is one of the most important pieces of advise I can offer. It’s not an athletic endeavor to sew straight lines; accuracy and regularity are key. You’ll have more control over the cloth and the sewing machine if you sew more slowly, which will make it easier to keep a straight line. Never forget that it’s always preferable to take your time and produce a high-quality outcome rather than to rush and have uneven stitches and crooked lines.
Practice on Scrap Fabric
Try practicing on some scrap fabric before tackling your major project. This will assist you in becoming acquainted with your sewing machine, its settings, and the many kinds of cloth that it can handle. You can also strengthen your confidence and muscle memory for sewing straight lines by practising on scraps. I always use a scrap from my project to test my machine. Once I’m satisfied with the thread selection and stitch quality, I use the scrap to wipe the needle bar to make sure there isn’t any oil residue that could ruin my work.
Use a Seam Guide
I had a hard time stitching even, straight lines when I first started. It was then that I realized how useful a seam guide may be. This convenient attachment for your sewing machine acts as a visual aid to help you keep a constant seam allowance. It aids in maintaining fabric alignment, guaranteeing even and straight stitching. Select the sort of seam guide that best suits your sewing machine and personal tastes from the many types that are available.
Stay Focused
Finally, it’s critical to maintain concentration when sewing. Although it may seem apparent, interruptions can quickly lead to a shaky line and uneven stitches. Avoid averting your gaze or multitasking by keeping your attention on the seam guide or the needle in order to preserve straight lines. Keep in mind that taking pauses when necessary can help prevent eye strain and weariness, both of which can lower the quality of your job.
You’ll be well on your way to being an expert sewer of straight lines if you apply these techniques into your routine. Remember that learning is a process and that making errors is normal because it helps us become better people. Check out our other lessons, which include how to sew a button and beginner sewing projects, for further sewing advice and project ideas. Enjoy your stitching!
Final Thoughts
This seemingly straightforward ability is the cornerstone of many sewing tasks and is essential to honing one’s sewing skills.
Sewing is a field where there is always opportunity for improvement and education. Whether you’re an experienced seamstress or a total novice, I urge you to enjoy the process and keep improving. Furthermore, keep in mind that sewing is supposed to be a fun and creative hobby, so try not to be too hard on yourself if things don’t work out exactly the first time.
You might find it useful to look into other resources as you continue to hone your sewing skills, such as sewing for beginners and simple sewing projects for beginners. The purpose of these articles is to offer you extra support and motivation when you start sewing.
Finally, I hope that this article’s ideas have aided you in your quest to become an expert straight line stitcher. Always remember to practice frequently, have patience with yourself, and most of all, have fun while creating. Enjoy your stitching!
