No matter how much you love to sew, there are moments when the frustration is too much and you have to give up for the day. There are times when sewing seems to be fraught with difficulties, and you seem to spend more time troubleshooting your machine than actually sewing.
Breaking needles on your sewing project is a frustrating experience, but there are a few things you can take to avoid it. There are several reasons why needles break, and sewing becomes much more enjoyable if these problems are resolved.
You’re not the only novice experiencing needle breakage issues. Sewing machine needles can break, even for the most skilled sewer. Find out how to stop needles from breaking to steer clear of this annoying issue.
Best Practices to Prevent Needles From Breaking
Sewing will go more smoothly for you if you know how to avoid breaking needles. Breaking needles can result in jammed needles, tangled thread, skipped stitches, and other issues.
These issues might impede your creative flow and cause annoying delays in your project. It’s critical to understand the reasons behind needle breakage and employ preventative measures. You’ll have fewer issues if you adhere to sewing best practices.
Correctly Threading Your Machine
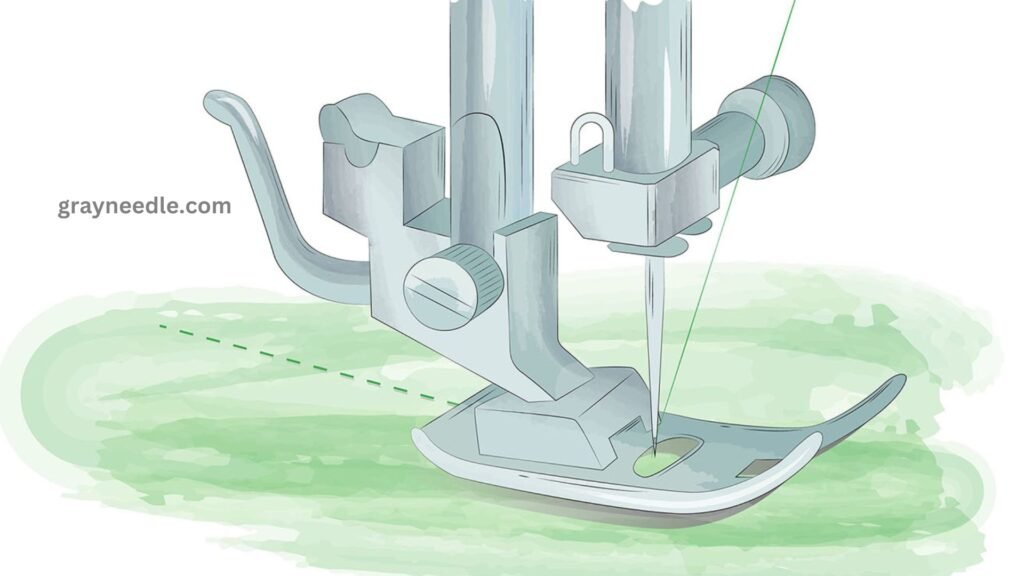
Every sewing machine requires a somewhat different method for threading. To obtain the correct instructions, you must read the manual that came with your sewing machine. One guide skip can lead to incorrect tension, which is a major cause of needle breakage.
Not only can broken needles occur from improper machine threading, but the needle may also not pass through the fabric smoothly. Additionally, tangled thread, bunched cloth, and skipped stitches are all possible.
A tensioner and several tiny guides are typically used to thread the top thread in your sewing machine. After that, it descends and passes through the needle. The bobbin-derived bottom thread is guided as it emerges from under the machine.
These two threads need to be heading in the right way. They also need to pass through every hook and guide made specifically for your machine. If not, the needle will break, the thread will become twisted, and the tension will be incorrect.
When a machine is threaded correctly, the needle should glide through the fabric without breaking or skipping stitches.
Using the Right Needle for the Fabric Being Sewed
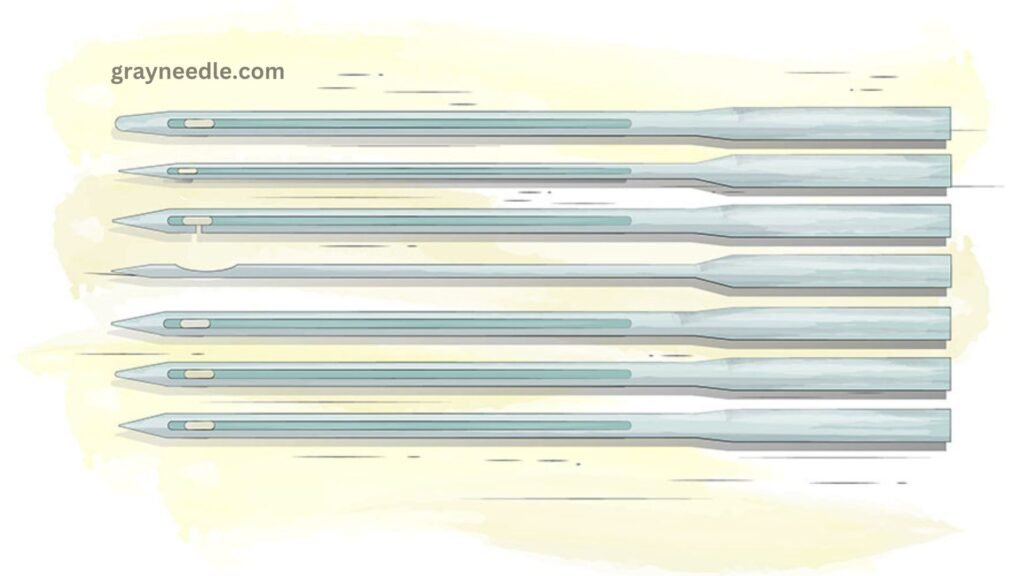
Fabrics can range from hefty leather to very light lace; you will run into issues if you don’t use the right tools and stitching techniques. Most needle breakage can be avoided by avoiding these frequent errors.
Avoid Pulling or Tugging the Fabric
Pulling or tugging on the fabric during sewing can result in a number of problems, including uneven stitches. It is imperative to feed the fabric through the sewing machine in a gentle and fluid manner.
Wrinkles will result by tugging or tugging on the material; the fabric may even expand or shrink as a result. In addition, it results in looped or tangled thread and misaligned seams, which eventually destroy the needle.
Feed dogs are used by your sewing machine to guide the fabric through the needle’s path. Feed dogs are bars with teeth that continuously move forward, down, backward, and up to catch and feed stuff without requiring you to pull or drag.
In order to shield some lightweight materials from deterioration, the feed dogs must be reduced. The material needs to be manually guided through the machine once the feed dogs are dropped. Occasionally, sandwiching a small piece of tissue paper between the fabric and the feed dogs will aid in sewing lightweight fabrics. This helps stabilize textiles like rayon, which tends to be slippery, and prevents the cloth from being pushed down and bunched.
Consider if you’re pulling or tugging on your fabric the next time you sew. Use a more delicate technique and delegate the task to the feed dogs.
Use the Correct Presser Foot
Presser feet for sewing machines are available in multiple varieties. You can avoid breaking needles by using the appropriate presser foot for the material and project you’re working on.
The presser foot aids in guiding the cloth for even sewing when used in conjunction with the feed dogs. Even, sturdy, and well-groomed stitches are ensured with the use of the proper presser foot. Additionally, using the proper presser foot helps lessen the likelihood of the fabric being twisted, bunched, or stretched.
When the pressure is just right, the material ought to flow through the machine with ease. It may be necessary to modify the presser foot pressure. The pressure can be raised by turning the pressure foot lever’s screw in a clockwise direction. Turn it counterclockwise to reduce it.
You can test the pressure on a piece of cloth after you’ve adjusted it. Until you get the desired effects, keep adjusting the pressure. Prior to adjusting the pressure foot, always refer to your user’s handbook.
Also Read: Specialty Needles for Embroidery: Which Ones to Use?
Clean Your Machine Routinely
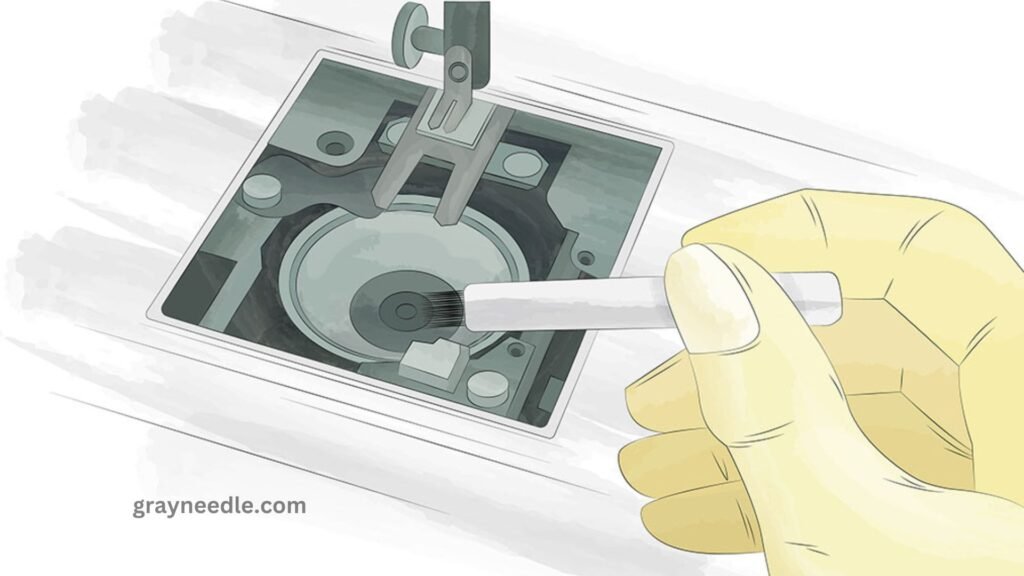
The small brush that comes with your sewing machine tool kit is there for a purpose. One of the most important ways to lower the risk of needle breakage is to keep your sewing machine clean.
To clean your sewing machine, take out all the dust, debris, and lint from the outside. After cleaning the needle plate, casing, and bobbin region using a brush, oil the machine’s moving parts. Next, wipe off every surface with a moist towel.
After using it for five to ten days, give your sewing machine a cleaning. Certain textiles attract more lint beneath the bobbin and need to be cleaned more frequently. Several kinds of fleece, terry cloth, and flannels are among the primary offenders.
Once more, it’s imperative to go to your handbook for instructions on how to oil and clean your model. Use high-quality sewing machine oil on your equipment at all times.
Different Fabrics Require Different Needles
The selection of the appropriate needle for your fabric involves some science. It’s not difficult, but it does take some familiarity with the various kinds and sizes of needles, which might be intimidating at first.
Sewing needles come in a variety of varieties, but the two most popular kinds are ballpoint and universal. As their name suggests, universal needles are the most widely used. They may cut through several layers of fabric because to their sharp, slightly rounded tip.
Unlike universal needles, which penetrate through the fabric, ballpoint needles are made to slip between the strands of the cloth. A universal needle will bunch and grab knits, causing damage to the fabric and possibly skipped stitches and broken needles.
Knowing what kind of fabric you’re using is the first step in selecting a sewing machine needle. Although there are many different kinds of fabric, you will usually need a smaller needle for lighter fabrics. This is a list of typical fabric weights with illustrations.
- Lightweight fabrics, such as tulle, gauze, silk, rayon, and crepe, are utilized for flowing dresses, blouses, and skirts. On these fabrics, use a universal needle (size 60/8 to 75/11).
- Lightweight knits, such as jersey knits, sheer knits, and spandex, are utilized for light-knit shirts, sports wear, and baby garments. For these fabrics, use a ballpoint needle (size 10/70 to 12/18).
- Medium-weight fabrics, fabrics used for dresses, shirts, blouses, and lightweight jackets include broadcloth, satin, taffeta, and cotton weave. You will need a 75/11 to 90/14 universal needle for these fabrics.
- Medium to heavyweight knits, For hoodies and sweaters, materials like wool knits and double knits are utilized. You will need a 14/90 ballpoint needle for these fabrics.
- Heavyweight fabrics, For example, denim, canvas, and cotton duck, are frequently utilized for coats, purses, and pants. With these kinds of materials, use a universal needle size of 100/16.
- Extra heavyweight fabrics,
- For coats and upholstery projects, materials like leather, heavy denim, and upholstery cloth are utilized. You will need a 110/18 size needle for these fabrics. Leather needles for numerous sewing machines are also available.
This is only a brief overview of the information you should be aware of regarding sewing machine needles; there is much more to learn about selecting the appropriate sewing needle for your project. You can select from a variety of needle kinds for your project, such as twin, stretch, denim, quilting, and sharp needles.
Adjust the Tension
It’s likely that your grandma or mother had to manually change the sewing machine’s tension. In the event that you are a novice sewer using a new machine, the tension will be automatically adjusted. Sewing is more simpler and less troublesome when the tension is adjusted automatically.
There are a few obvious indicators that your difficulties stem from your tension. Both very tight and loose stitches indicate tension issues. Additionally, you may detect uneven stitch sizes or looping on the bottom of the fabric.
Make sure you have taken care of other matters before thinking about releasing your tension. It’s far more likely that you’re using the incorrect thread or needle size or type on a new sewing machine. Make careful to deal with each of these problems initially:
- Put in a fresh needle. After six to ten hours of use, or at the beginning of any project, new needles should be used since they become dull easily.
- Verify again that the thread type in the bobbin and the top are the same.
- Choose the appropriate kind of thread. In general, it is best to combine synthetic materials with synthetic threads and natural fabrics with natural ones.
- Use high-quality thread to avoid difficulties from fraying and breaking caused by cheap, low-quality thread.
- Give your sewing machine a good cleaning and oiling. That’s all that’s sometimes needed to resolve tense situations.
In certain sewing machines, the thread tension may need to be manually adjusted at some point because it is essential to the machine’s operation. To change the tension, you must turn the machine’s tension adjuster knob.
Depending on the brand and model of the machine, the tension adjuster may be on the top, side, or back of the apparatus. Before making any tensioner adjustments, always consult your user manual. You should take your machine to a repair shop for expert assistance if you are unable to adjust the tension or if it continues to slip.
Check for Damage To Your Needle
It’s critical to pay attention to the uniformity and quality of your stitches while sewing. Check your seams often, and as soon as you see any problems, make sure your needle is in good condition.
Needles can sustain wear and tear from constant sewing friction. They may become twisted or burred, which will make it difficult for them to pass through the material easily. Check them for obvious damage, such as cracked tips. The moment you see any wear, replace them.
Sewing Speed
Numerous moving elements and complexity characterize sewing machines. For the best effects, these components need to work in unison at the appropriate times. If you sew too quickly or too slowly, you risk throwing off the timing of the machine.
Sewing too quickly might lead to the fabric bunching up and breaking the needle. Fast sewing also causes vibration, which can make the needle brittle.
Use High-Quality Needles
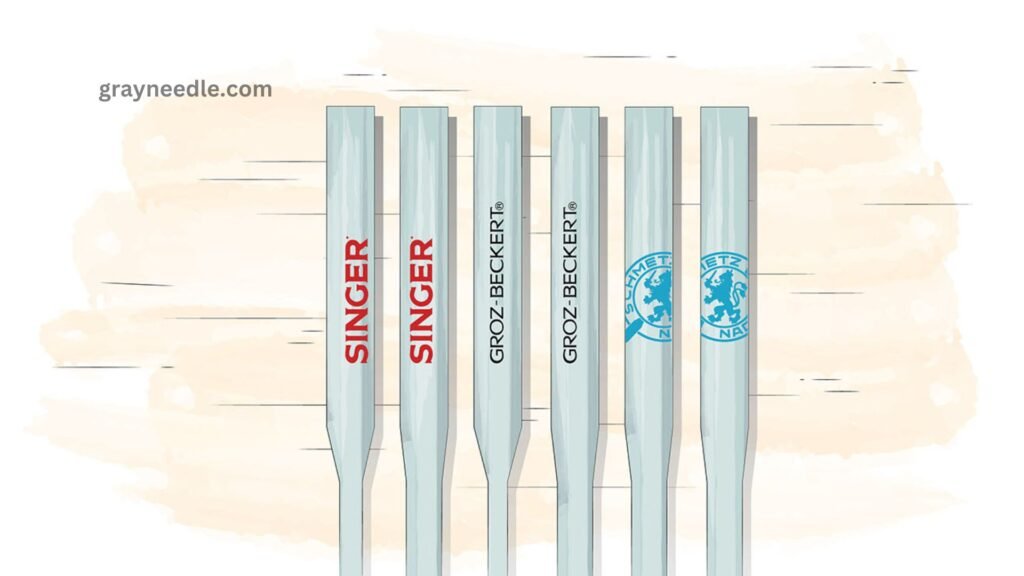
When compared to the price of fabric, thread, and sewing patterns, sewing machine needles are among the least expensive sewing supplies. Not only will using high-quality needles reduce the likelihood of needle breakage, but better seams with more even stitches are the main benefit. Additionally, you’ll be less likely to rip your fabric. Have a variety of needles on hand in your sewing supplies.
Invest in Your Sewing Machine Materials
While sewing, needle breakage is a typical problem, but it doesn’t have to be. You can avoid this annoying issue if you are aware of the reasons why needles break, take appropriate care of them, and sew according to recommended guidelines.
Investing in high-quality supplies and tools yields professional sewing. To achieve greater outcomes and take greater pleasure in sewing, make use of the best tools available and give your machine regular cleanings.
Final Thoughts
The major objective of local dental anesthetic should be to avoid needle fractures. Longer hypodermic needles help avoid complicated retrieval procedures. In the event that the fragment cannot be removed right away, localization, planning, and the required surgical treatment should be scheduled as soon as possible.
1 thought on “How to Prevent Needle Breakage: Troubleshooting Tips”