A crucial sewing skill for upholstery designs, home décor, and clothing is gathering fabric. The gathering stitch can be used to provide ruffles and ornamental finishing to a variety of sewing projects, as well as to give a garment shape. One of the quickest and most popular techniques is machine gathering, which I’ll walk you through six different ways to do here.
Gathering Fabric – How To Gather Tutorial
Fabric can be gathered in a variety of methods, such as with a serger, hand sewing, or even your machine. The type of fabric you intend to gather and the type of machine you own will determine which method is easiest for you.
Which Approach to Take? Here are a few instances of the finest gathering stitch:
- Both a serger and a normal or gathering foot can be used to gather lightweight textiles using a sewing machine.
- The ideal method for gathering light to medium-weight cotton cloth is to use a sewing machine and parallel rows of straight stitches.
- A straight-stitch sewing machine or a ruffler can be used to gather medium-weight textiles.
- It is better to gather heavier materials, such canvas and denim, by hand or with a rope that has been zigzagged over.
- You can gather tulle and other delicate or slick textiles with a cord.
- Since the gathered piece must stretch along with the rest of the garment, it is preferable to collect stretch fabric using elastic. This is especially crucial if you need to gather around the waist.
The following are the top six methods for gathering fabric:
- Hand gathering
- Machine gathering (the most common method)
- Gathering with a serger
- Cord gathering
- Elastic gathering
- Gathering with shirring elastic
6 Gathering Fabric Methods
1. How To Gather Fabric By Machine
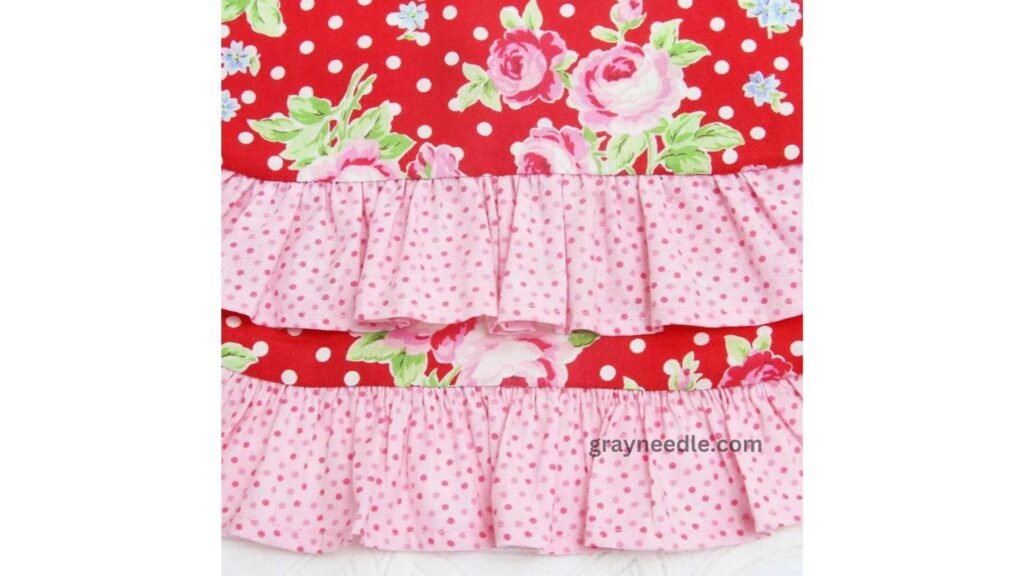
When gathering by machine, the machine stitch length must be changed to a longer stitch. Usually, this has a length of at least 4.0.
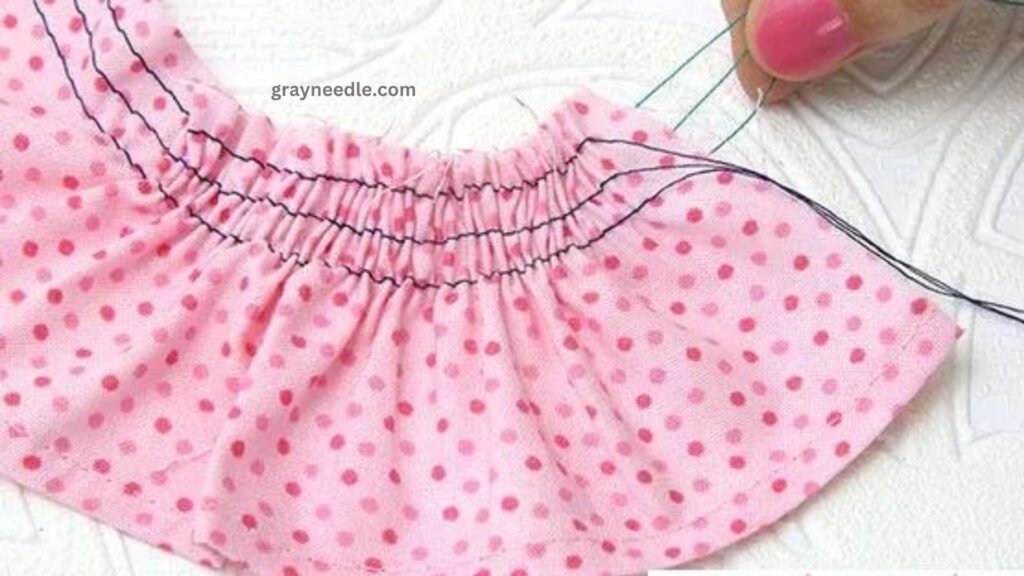
It takes two or three rows of stitching to run parallel to one another. After finishing, the ends are brought up and knotted off to collect the fabric into the shape that calls for a gathered insert.
This is the most popular method used in garment production, and it works well with fine to medium-weight woven textiles.
STEP 1 – SEW GATHERING STITCHES
Using your longest stitch length, sew the first row of straight gathering stitch ⅛ inch (3mm) from the raw edge. Don’t backstitch the ends; instead, leave tails that are long enough to grasp.
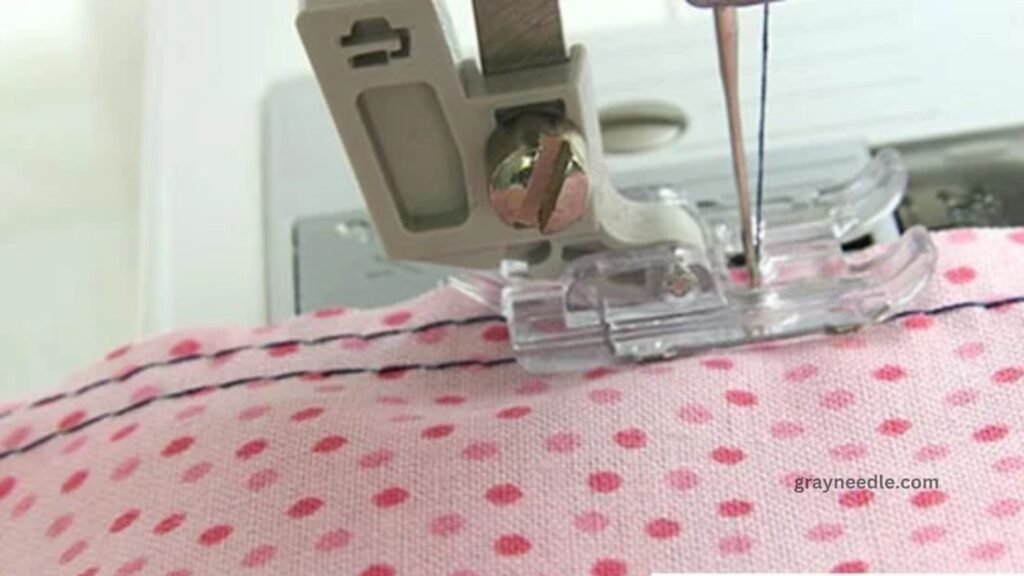
After sewing the first row of straight threads, sew the second row parallel to the first, leaving at least ¼ inch (6mm) between each row. You will avoid having to unpick later if you sew both rows inside the seam allowance. You can sew a third row for delicate gathers. (These rows of basting stitches are known as such.)
STEP 2 – PULL THE BOBBIN THREAD
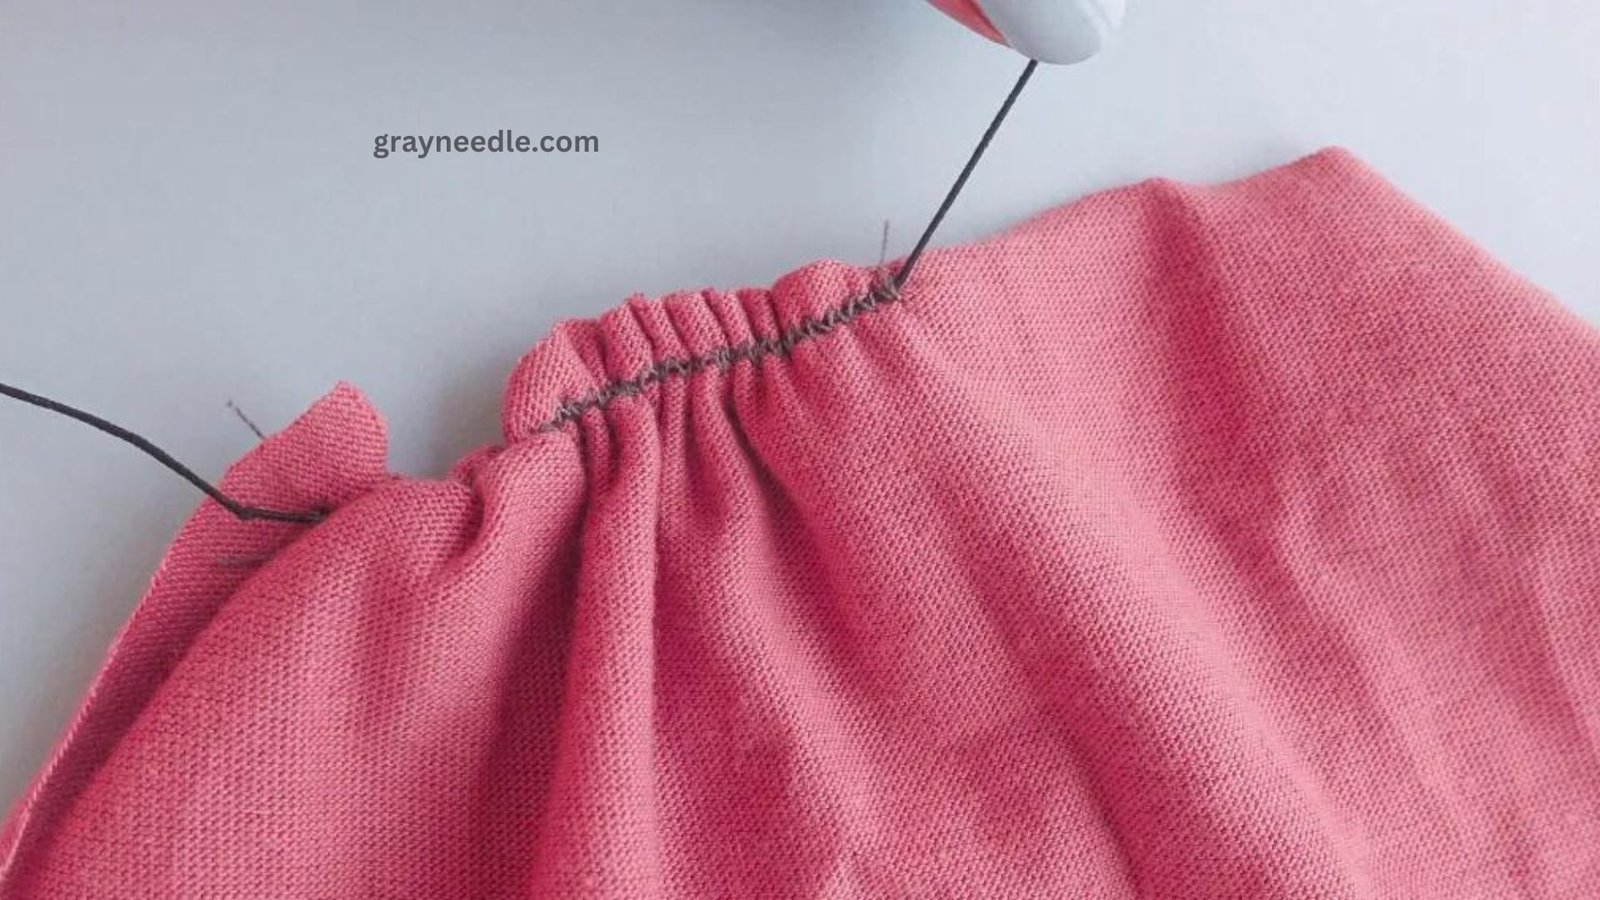
Grasp the tail of the bobbin thread on the incorrect side of the cloth, then gently tug from either end to begin collecting towards the center. For the simplest gathering, it’s crucial that you grip the bobbin threads rather than the top ones.
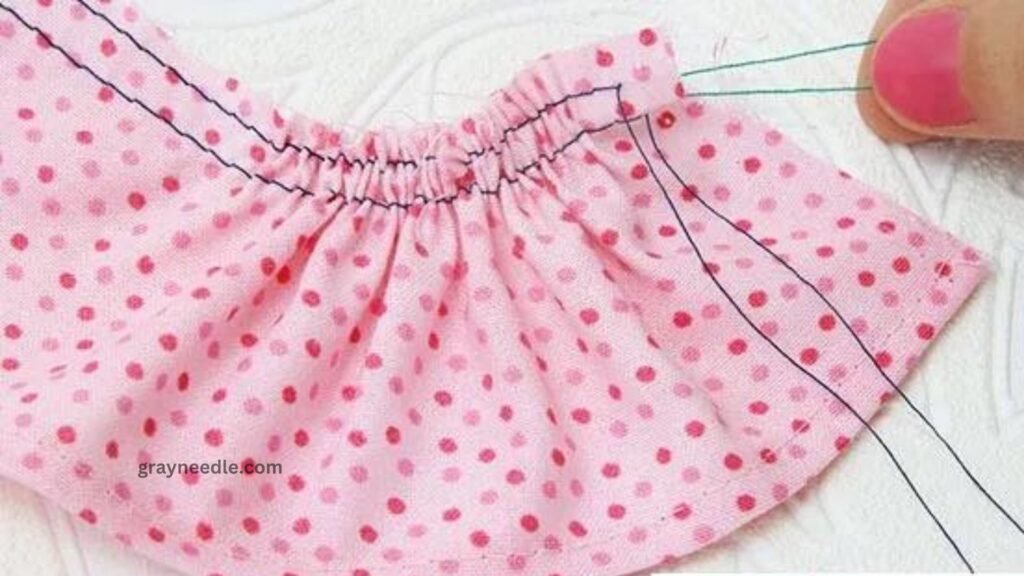
STEP 3 – ADJUST THE GATHERS
Tie the threads after the gathering reaches the length you desire to prevent it from unraveling. The time has come to fasten your gathered piece.
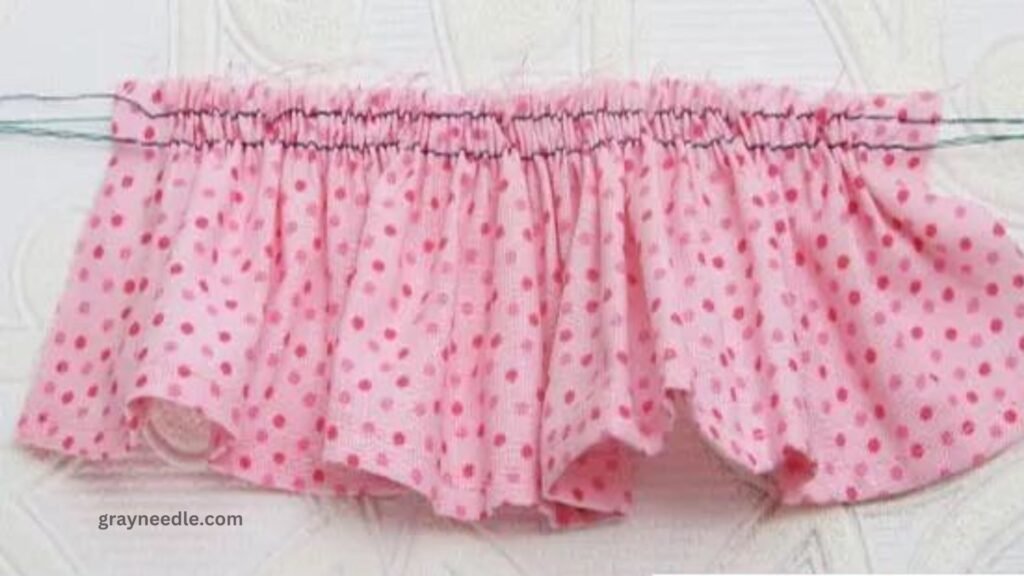
STEP 4 – JOIN THE GATHERED FABRIC TO THE ITEM
Turn your gathered fabric wrong side up and pin it to the edge of a flat piece of cloth to stitch it to.
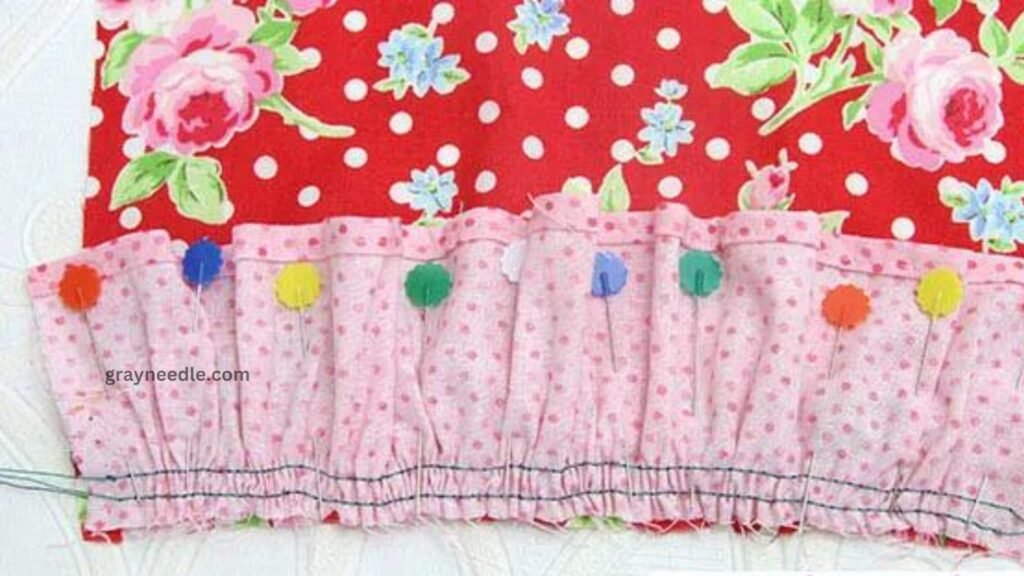
On the seam line, backstitch at both ends and straight stitch using your regular seam allowance. It will be somewhat outside the gathering stitch because the gathers were completed inside the seam allowance.
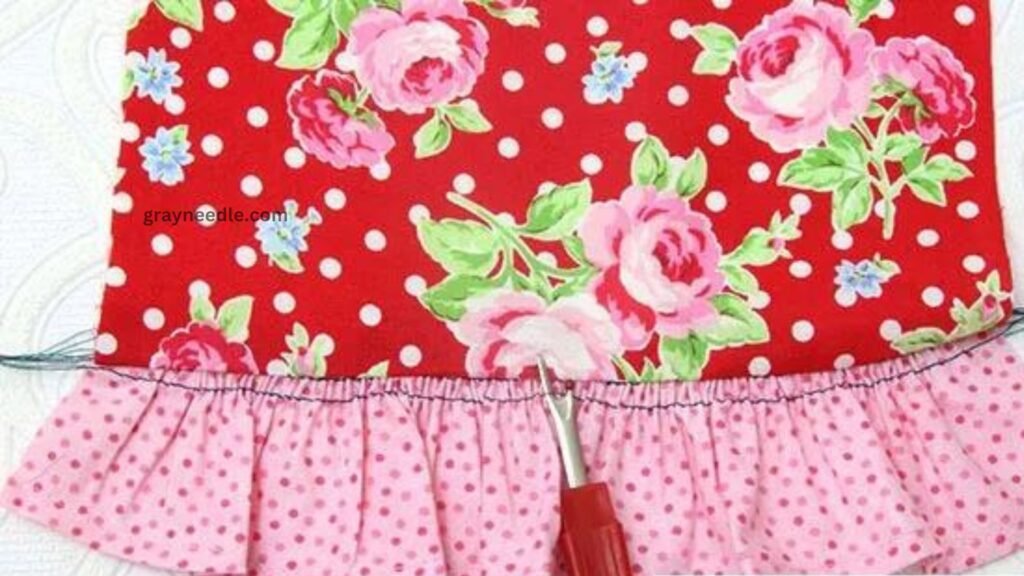
Ensure that the presser foot does not catch the gathers. After pressing the fabric open, you can use your seam ripper to get rid of any collecting stitches that are visible.
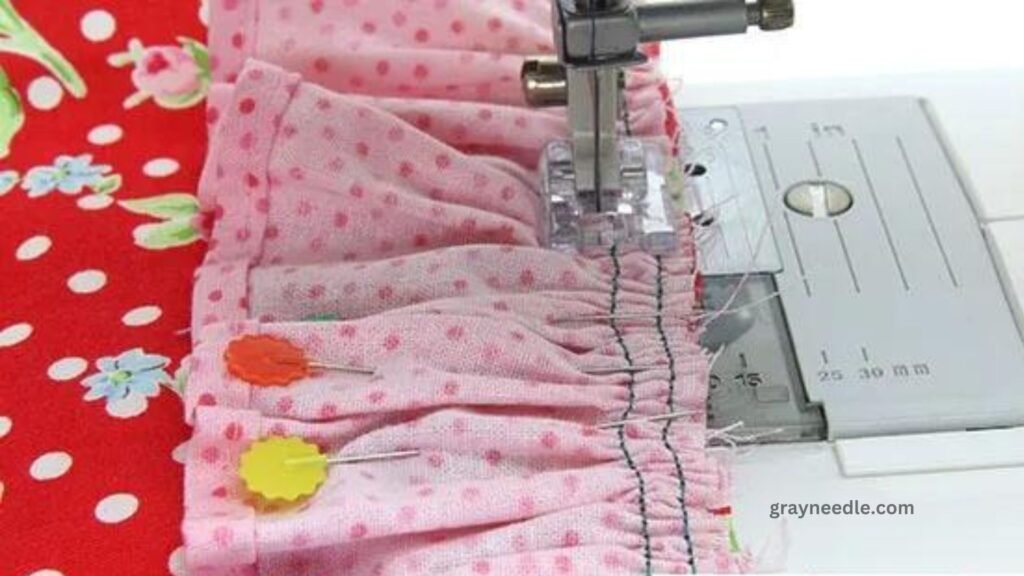
Joining the Gathered Ruffle
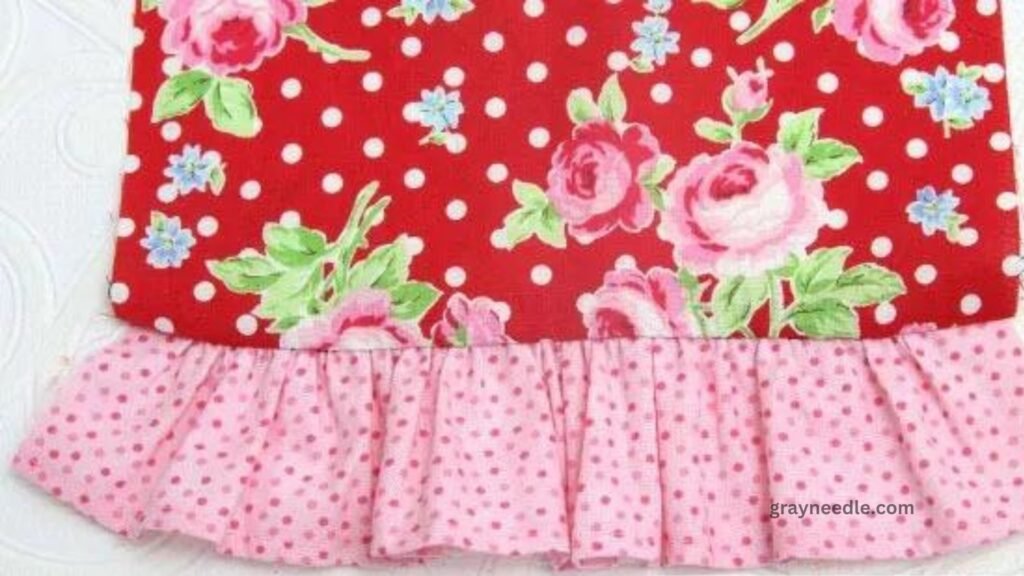
2. How To Gather Fabric With 3 Rows
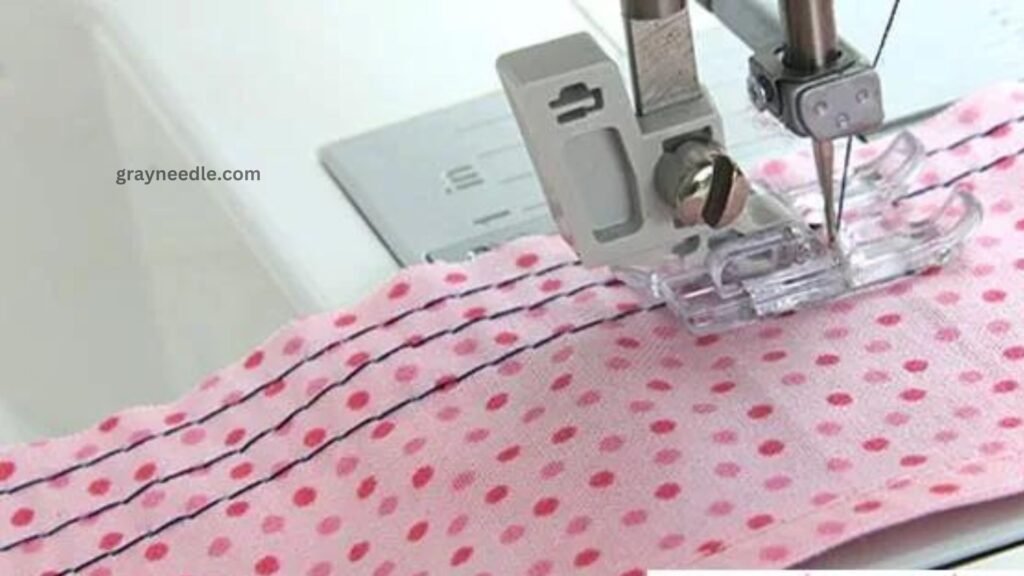
Three rows of gathers are frequently utilized for more control and finer gathers.
- Stitching should begin inside the seam allowance in the first row.
- On the seam allowance is the second row.
- Furthermore, the third row of stitching is later removed because it is outside the seam allowance.
How to Gather Fabric with 3 Parallel Lines
Also Read: Mastering the Straight Stitch: Techniques and Troubleshooting
Attach the ruffle to the straight piece of fabric by sewing just outside the row that forms the center gathering.
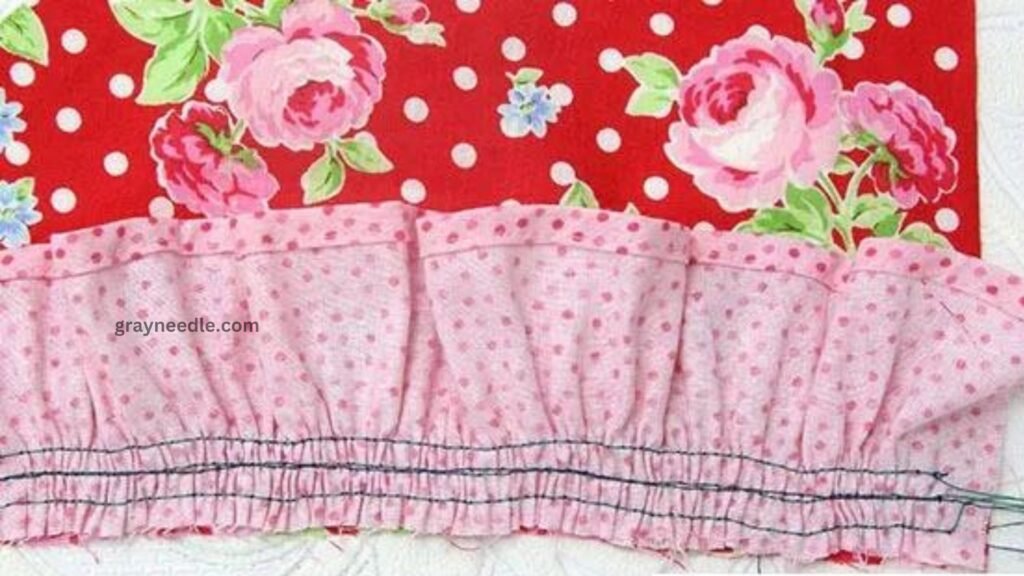
The gathering’s third row needs to be taken out when you open up the ruffle. Since you’ve used a lengthy stitch, this should be rather simple. Most of the time, you can just pull the stitches out in one piece if you can hold an end.
How to Gather Fabric with 3 Rows
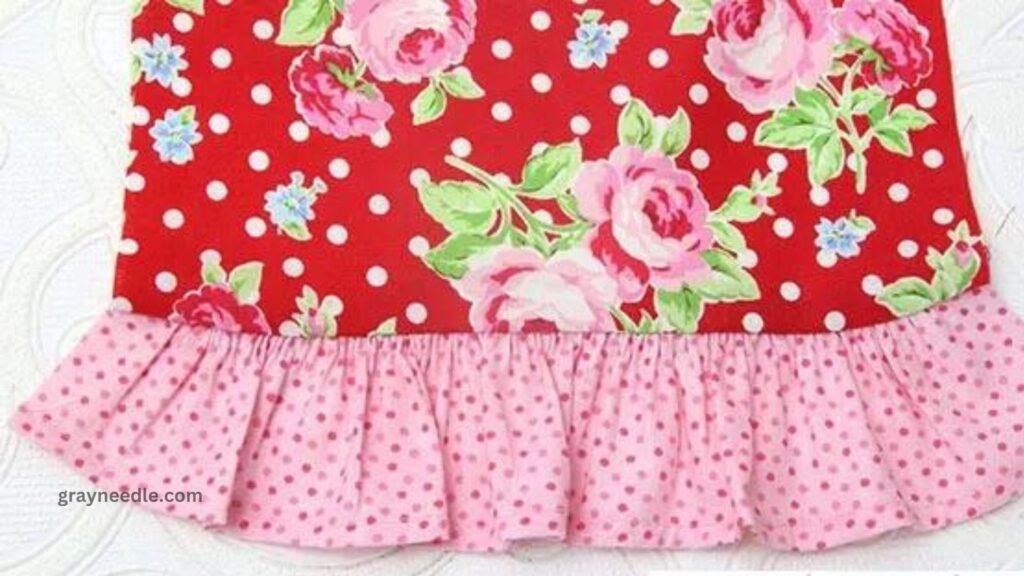
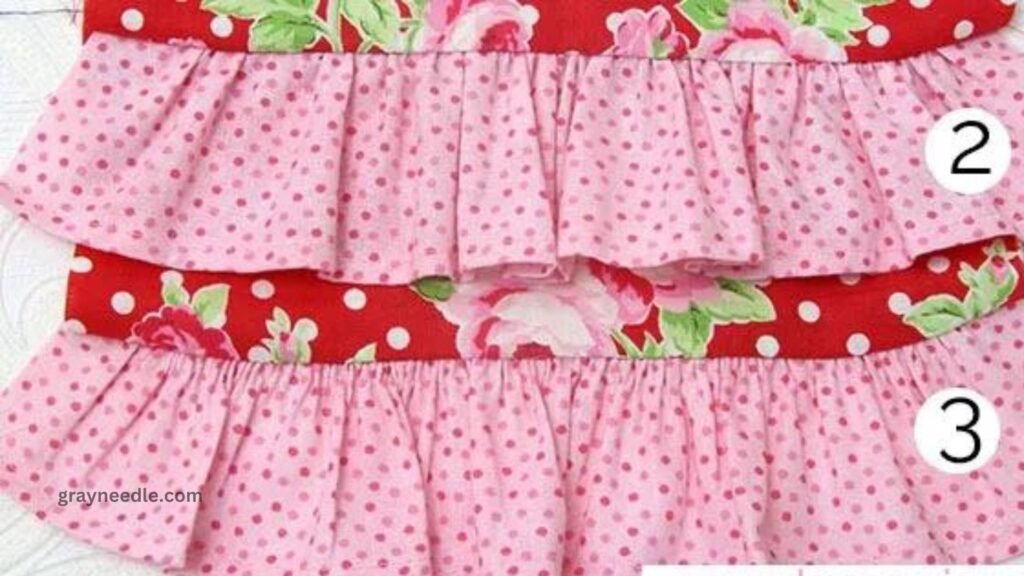
HOW TO GATHER FABRIC METHOD COMPARISON
Observe the subtle variation in stitching between rows two and three. As you can see, the gathers for the bottom three rows of stitching are a little bit finer.
3. Gathering Stitch By Hand
A needle, thread, and the object to be gathered are needed for manual gathering. The gathers are made using two running stitch rows in parallel. It is frequently applied to very thin or thick materials, as well as fabrics that require an exceptional degree of precision.
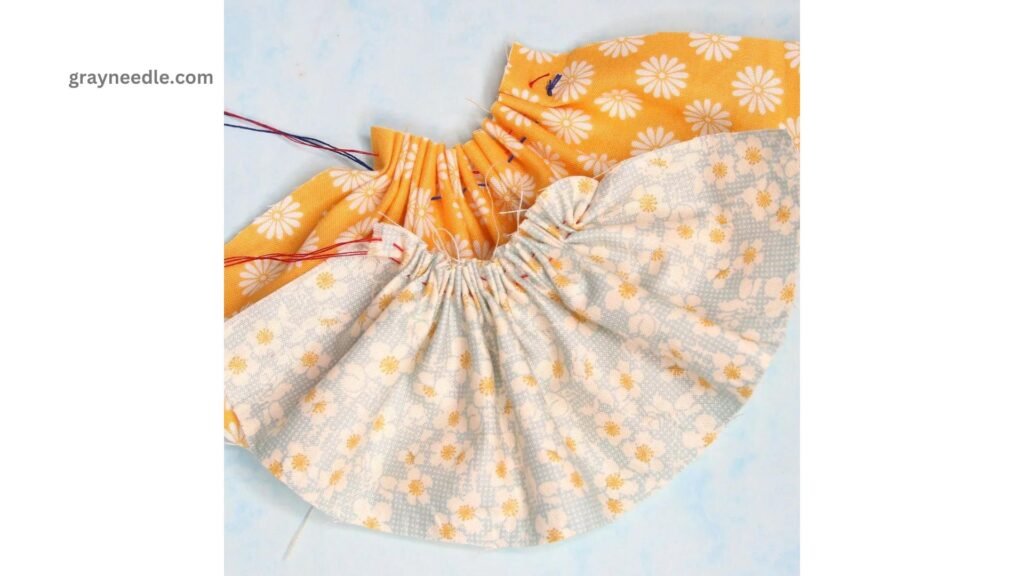
The gathers are deeper the longer the stitch. For delicate materials like silk and chiffon, tiny little stitches should be utilized. The benefit of hand gathering is that the sewer can regulate the stitching size and, consequently, the gathers.
4. Gathering Fabric With A Serger
Adjusting the needle tension is necessary while gathering with a serger. To achieve the best gathers, reset the needle tension wheels to a high number and modify the differential feed.
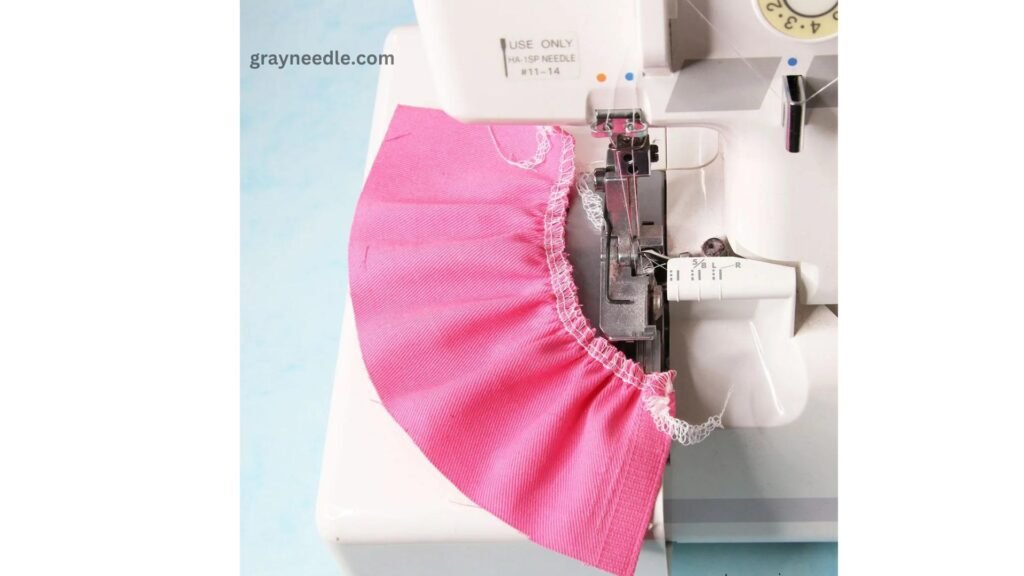
Because the serger contains a blade that cuts the edge of the cloth, you must account for the seam allowance when gathering. The serger creates a very polished and solid collected look. Remember to return your serger settings to their original settings after you’re done.
5. Gathering Fabric With Cord
Cord gathering is a practical way for gathering thick or challenging-to-sew textiles, like tulle. The line that needs to be gathered is marked with dental floss or cord, and the cord is sewed over with a zigzag stitch.
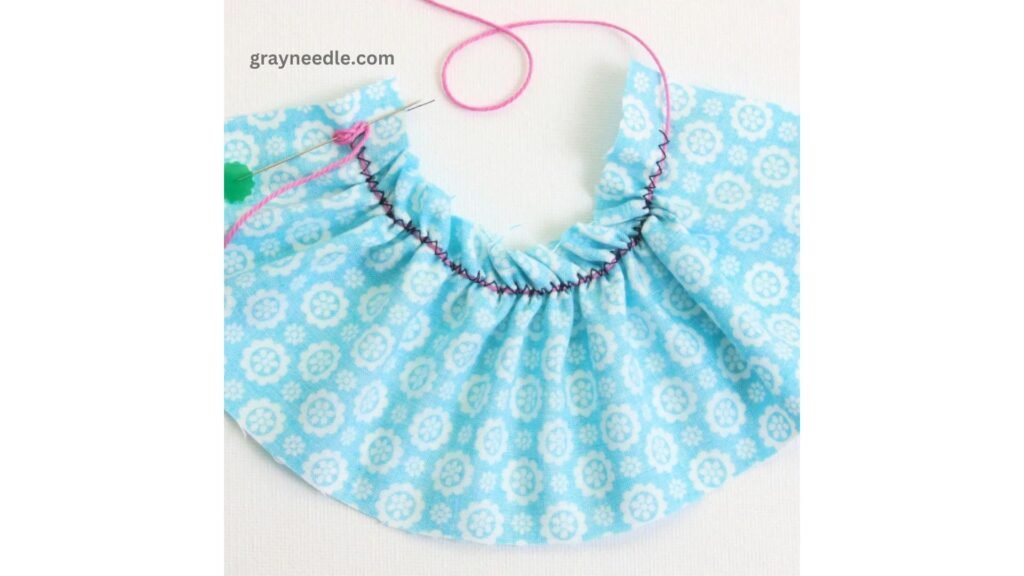
It’s crucial to keep in mind not to collect the stitch into the cord. The fabric collects along the rope, which is then tied off at one end and threaded through the zigzag stitches.
6. Gathering Fabric With Clear Elastic
Since elastic gathering creates a stretched seam that won’t tear, it is frequently used to gather knit textiles. Clear elastic is stretched out and then zigzagged over in this way.
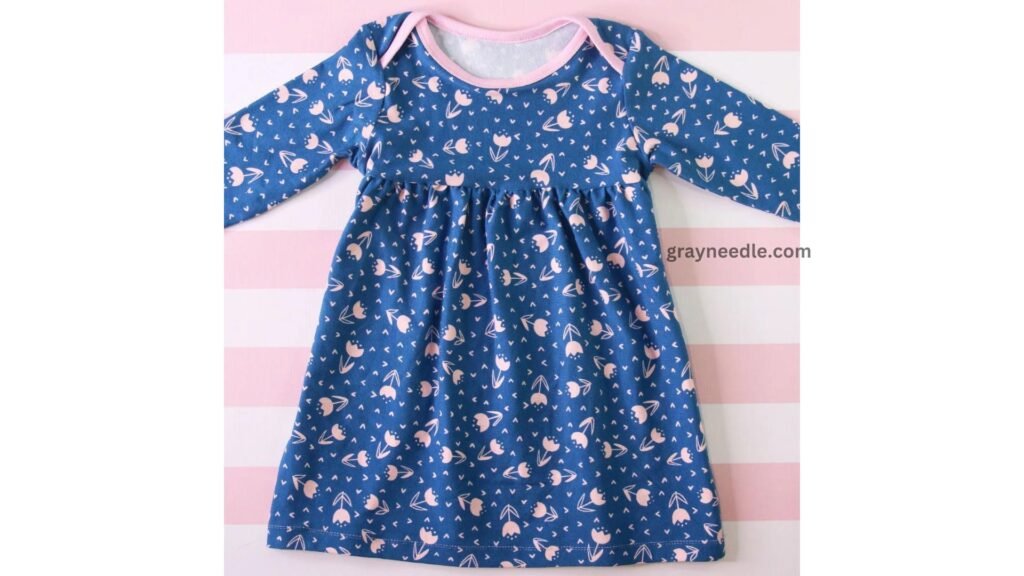
Stitch break prevention works wonders for skirt bottoms. It’s crucial to line up and divide your elastic and cloth into quarters. As a result, the elastic gathers evenly around your object.
7. Gathering Fabric With Shirring Elastic (Elastic Thread)
Depending on how many rows of elastic are used, this wonderful shirring stitching method creates a smocked impression. The bobbin is the single object onto which the shirring elastic—a thin elastic cord—is inserted and coiled.
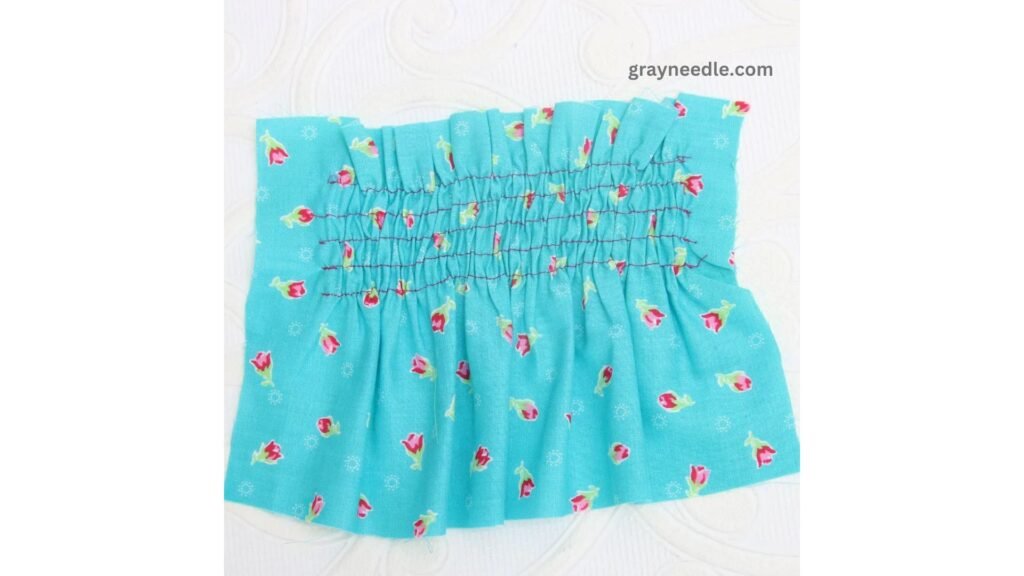
The shirring elastic collects the wrong side of the fabric as the machine stitches, using the biggest stitch appropriate for gathering. The fabric must be pulled straight when stitching a new row in order to avoid puckers and pleats. Although it requires some practice, shifting elastic is a worthwhile endeavor.
Tools To Make Gathering Fabric Faster
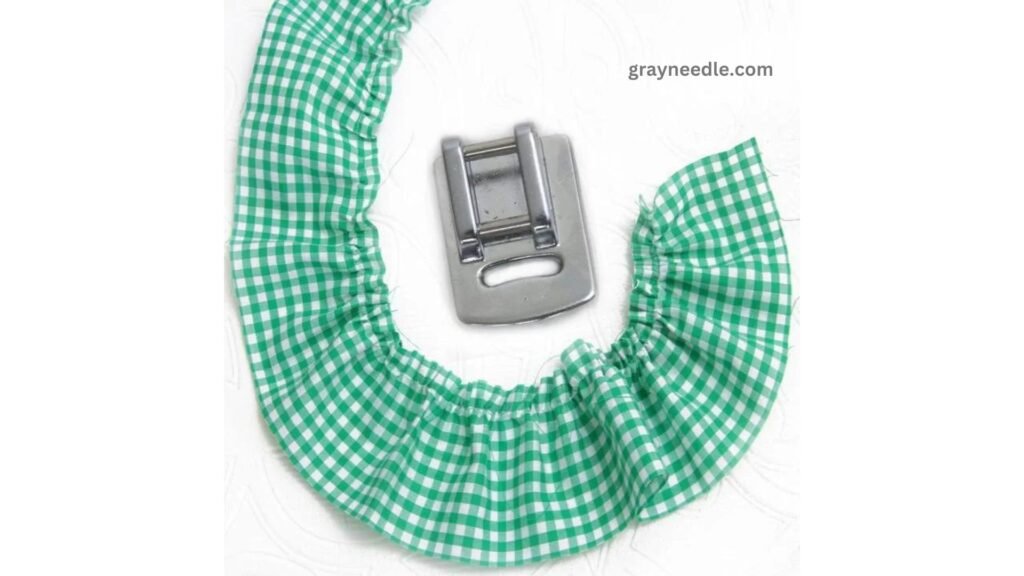
Gadgets have a place in sewing circles, and gathering also has its tools. For better gathers and ruffles, you might wish to experiment with the gathering foot and the ruffler.
How To Gather Fabric With A Gathering Foot
All the gathering foot has to do is gather while you sew. It takes up the fabric in a single motion, taking the role of the standard presser foot. Prior to using a new sewing device, practice and adjust your stitch length to 4.0 on the long setting. The gathering foot will save time by gathering neatly and completing the task with just one line of stitching.
How To Gather Fabric With A Ruffler
With gauges and settings for the necessary size and space between ruffles or pleats, the ruffler takes the place of the presser foot. Adjusting the ruffler and selecting the appropriate notches on the settings will require some practice.
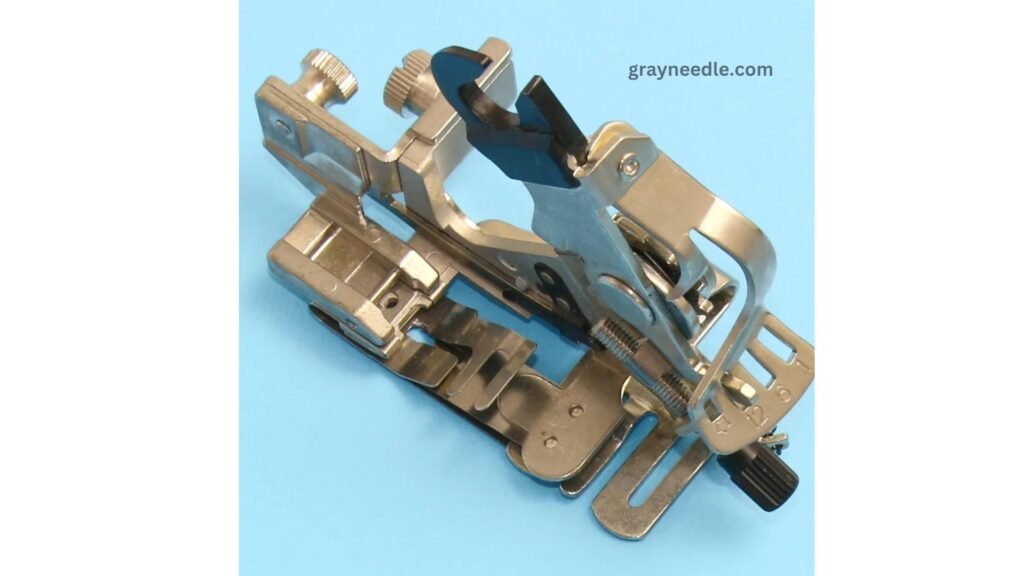
It’s also crucial to make sure the machine’s needle and the recently installed ruffler won’t collide. The needle location can be easily adjusted with a convenient screw.
The result will be highly professional ruffles and gathers after you are up and running with this foot in place. From gathers to tiny tucks and pleats, the various settings lead you through the various sizes.
Tips For Getting The Best Gathering Stitch
These are some helpful pointers that can be used with various gathering stitch techniques.
- LONG RUFFLES – Think of gathering a lengthy piece of cloth twice, once from the middle to the left and once to the right, starting from the center outward. Over a longer distance, this lessens the strain on the threads. It takes some pushing and pulling to get the fabric to gather uniformly when gathering a long piece. Pull the cloth gently to free the gathers and spread them more evenly if you discover that the fabric is bunching up.
- MARKING – Before the meeting starts, make sure to mark every point. The gathers can then be dispersed equally around the area they are positioned in.
- BOBBINS – Make sure you have enough bobbin thread to complete the row by checking it before you begin. It can be really irritating to run out of bobbin thread halfway through. Think about changing the bobbin thread’s color. This will guarantee that the thread you bring up for the gathers is the correct one. It won’t matter because you will be eliminating the thread at the conclusion.
- NUMBER OF ROWS – As the threads are eventually drawn up, a third row of gathering stitch helps to secure the gathers.
- FEET – To discover if you have a gathering foot, look through the many attachments that come with your machine.
- PRESSING – Press gathered fabric on the incorrect side. To fill the gathers, use the iron’s point to press them open.
Final Thoughts
Why not attempt every technique for gathering fabric and record the swatches in a scrapbook so you can consult the one that works best for the fabric you select? It’s helpful to keep notes on the gathering stitch you learnt and the process for gathering fabric in the future.

1 thought on “Creating Perfect Gathered Stitches: Step-by-Step Tutorial”