Are you ready to elevate your sewing skills and create stunning garments that feature beautiful ruffles? Mastering the art of sewing ruffles like a pro can transform your projects from ordinary to extraordinary. Ruffles add a touch of elegance and flair, making them a favorite among both beginner and experienced sewists.
Whether you are working on a dress, a blouse, or even home decor items, ruffles can enhance the design and bring a playful element to your creations. However, many sewers find the process daunting due to the precision and technique required. Fear not! With the right tips and tricks, you can easily learn to sew ruffles with confidence and style.
From selecting the appropriate fabric to understanding different ruffling techniques, this guide will provide you with valuable insights that will help you achieve professional-looking results. Ready to dive in? Visit our website to learn more and get started today! Click here.
Choosing the Right Fabric for Ruffles
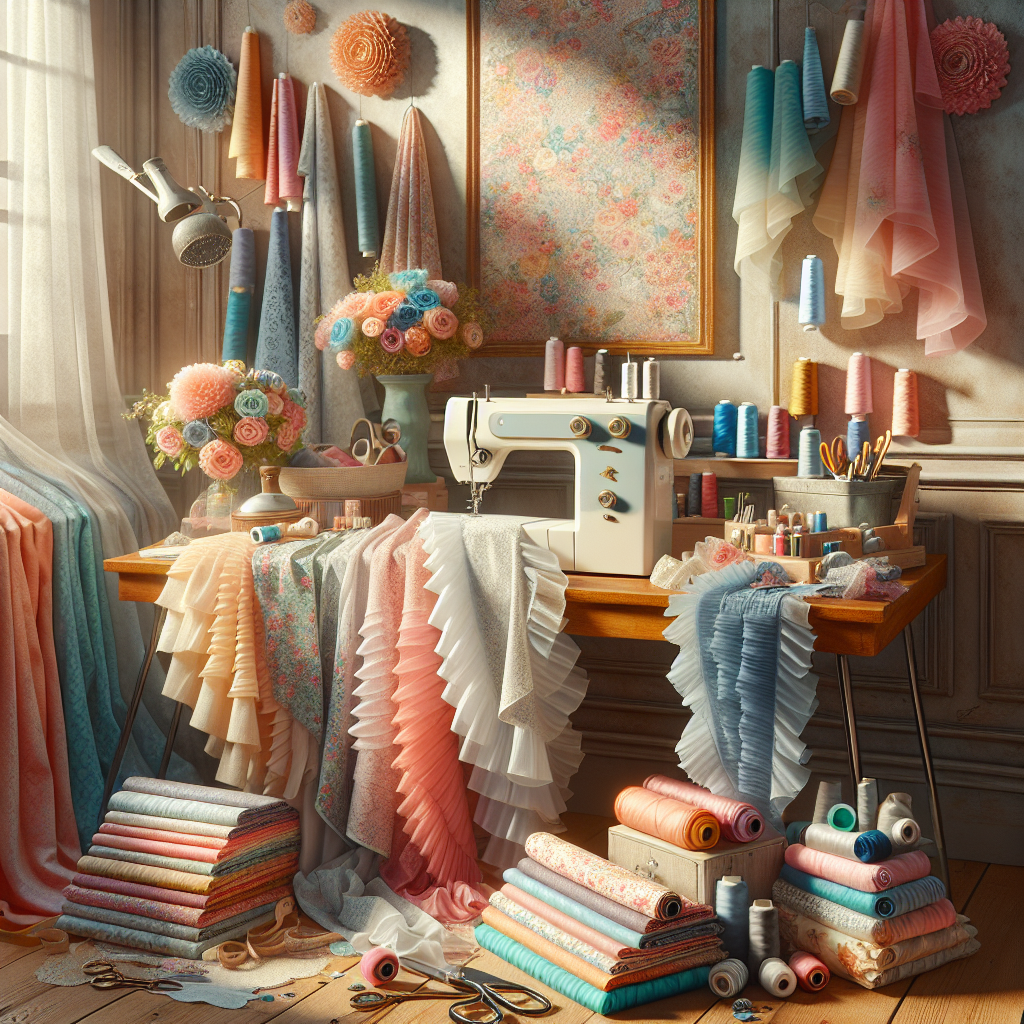
When it comes to sewing ruffles, the choice of fabric is crucial to achieving the desired effect. Not all fabrics ruffle the same way, and understanding the properties of different materials can significantly influence the outcome of your project.
Here are some key factors to consider when selecting the right fabric for your ruffles:
- Weight: Lighter fabrics such as cotton voile, chiffon, or tulle create delicate and airy ruffles, perfect for feminine designs. Heavier fabrics like denim or canvas will produce more structured and pronounced ruffles.
- Texture: Textured fabrics like lace or seersucker can add dimension to your ruffles, making them stand out visually. Smooth fabrics, on the other hand, will create more subtle ruffles.
- Stretch: If you are working with stretchy fabrics like jersey, you will need to adjust your ruffling technique to account for the elasticity. Use a gathering stitch or elastic thread for the best results.
By carefully considering these factors, you can choose a fabric that not only complements your design but also behaves well when gathered. Remember, the right fabric can make all the difference in achieving those beautiful, professional-looking ruffles!
Essential Tools for Ruffle Making
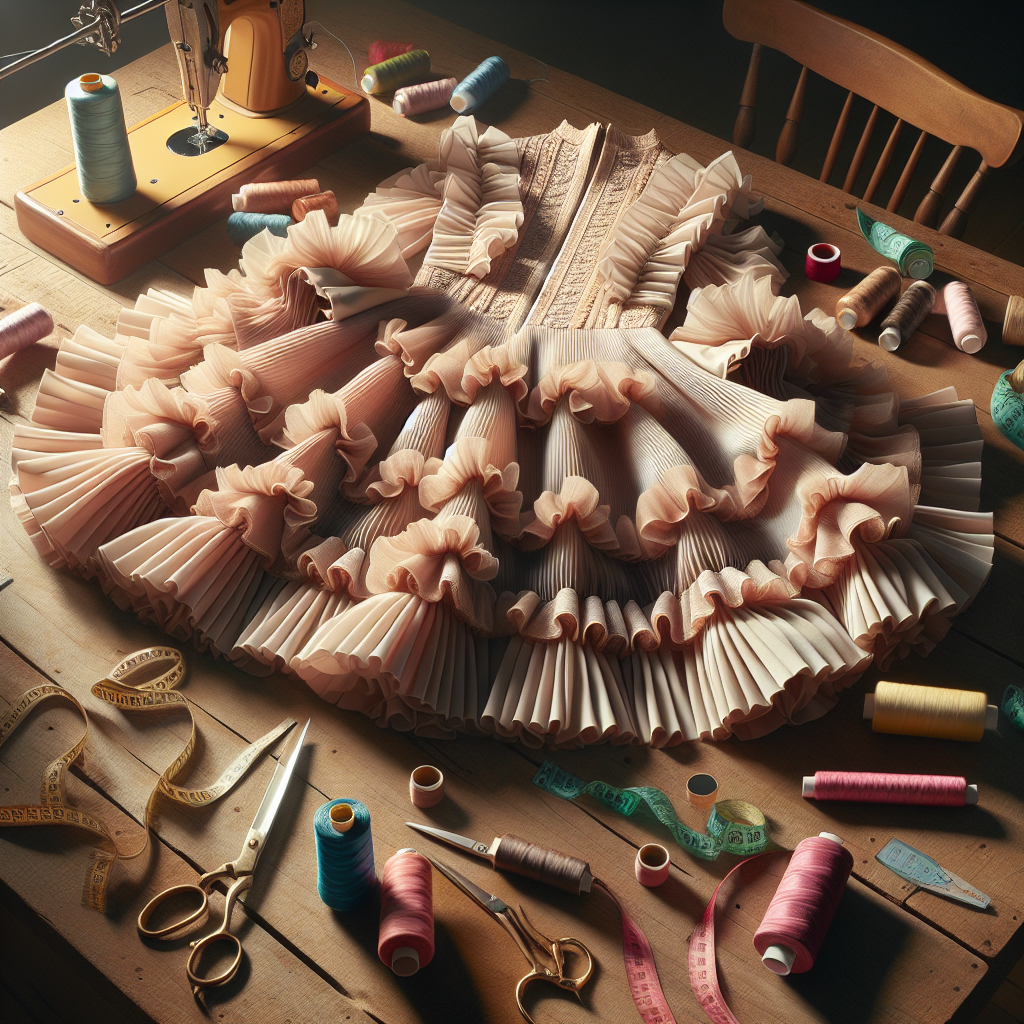
To create stunning ruffles with ease, having the right tools at your disposal is essential. Investing in quality equipment and supplies can save you time and enhance the overall finish of your project. Here’s a rundown of the essential tools for ruffle making:
- Sewing Machine: A reliable sewing machine is a must. Look for models with adjustable stitch lengths and the ability to create various stitch types, such as straight and zigzag stitches.
- Gathering Foot: A gathering foot simplifies the process of creating ruffles by automatically gathering the fabric as you sew. This tool can save you a significant amount of time and effort.
- Measuring Tape: Accurate measurements are critical in sewing. Use a flexible measuring tape to ensure you cut your fabric pieces to the correct dimensions for ruffles.
- Scissors and Rotary Cutter: Sharp scissors are essential for cutting fabric cleanly. A rotary cutter can also be useful for straight cuts and larger pieces.
- Marking Tools: Fabric chalk or markers will help you make precise markings on your fabric, ensuring that your ruffles are evenly spaced and aligned.
Having these tools on hand will not only streamline your sewing process but also help you achieve professional-looking ruffles. With the right equipment, you’ll be well on your way to mastering the art of ruffle making!
Techniques for Creating Perfect Ruffles
Creating perfect ruffles requires a combination of techniques that will help you achieve that beautiful, professional finish. By mastering these methods, you’ll be able to enhance your sewing projects with ease and confidence. Here are some essential techniques for creating flawless ruffles:
- Gathering Stitches: One of the most common methods for creating ruffles is using gathering stitches. Set your sewing machine to a long stitch length and sew two parallel lines of stitches along the edge of the fabric. Gently pull the threads to gather the fabric evenly.
- Using a Ruffle Foot: A ruffle foot can be a game-changer in your sewing toolkit. This specialized foot makes it easier to create perfectly spaced ruffles by allowing you to adjust the amount of fabric gathered as you sew.
- Layering Techniques: For more complex ruffles, consider layering different fabrics or colors. This technique adds depth and visual interest to your ruffles, making them stand out even more.
- Pressing Your Ruffles: After gathering your fabric, it’s essential to press the ruffles. Use a steam iron to shape and set the ruffles into place. This step ensures that your ruffles maintain their shape and look polished.
- Finishing Edges: To prevent fraying and give your ruffles a clean edge, finish the raw edges with a zigzag stitch or serger. This extra step can elevate the overall appearance of your ruffles.
By incorporating these techniques into your sewing routine, you’ll be well-equipped to create stunning ruffles that enhance your garments and projects. Practice makes perfect, so don’t hesitate to experiment and find what works best for you!
Tips for Sewing Ruffles on Different Projects
Sewing ruffles can vary significantly depending on the type of project you are working on. Each project may require specific considerations to achieve the best results. Here are some tailored tips for sewing ruffles on different types of projects:
- Garments: When adding ruffles to clothing, consider the weight and drape of the fabric. Lighter fabrics like chiffon or cotton are ideal for delicate ruffles, while heavier fabrics may require wider ruffles to maintain their shape. Make sure to adjust your gathering stitches accordingly to achieve a balanced look.
- Home Décor: For projects like curtains or cushions, you may want to use a more structured ruffle. Use a sturdier fabric and increase the width of your ruffles to create a bolder statement. Additionally, consider adding a lining to your ruffles for a more finished appearance.
- Accessories: When sewing ruffles on accessories such as bags or headbands, keep in mind the scale of your ruffles. Smaller, more subtle ruffles can add charm without overwhelming the design. Use fabric with a bit of stretch for a snug fit, particularly in headbands.
- Quilting: If you’re adding ruffles to a quilt, ensure they are securely attached to withstand washing and usage. Consider using a fabric that complements the quilt’s colors and patterns. Adding ruffles to the quilt’s border can create an eye-catching finish.
- Special Occasions: For formal garments, such as bridesmaid dresses or flower girl outfits, opt for luxurious fabrics like satin or tulle. Make sure to use a consistent gathering technique to maintain a uniform look across all ruffles.
By adapting your ruffle-making techniques to suit the specific requirements of each project, you’ll enhance the overall quality and appearance of your work. Remember to experiment and trust your instincts as you create!
Troubleshooting Common Ruffle Problems
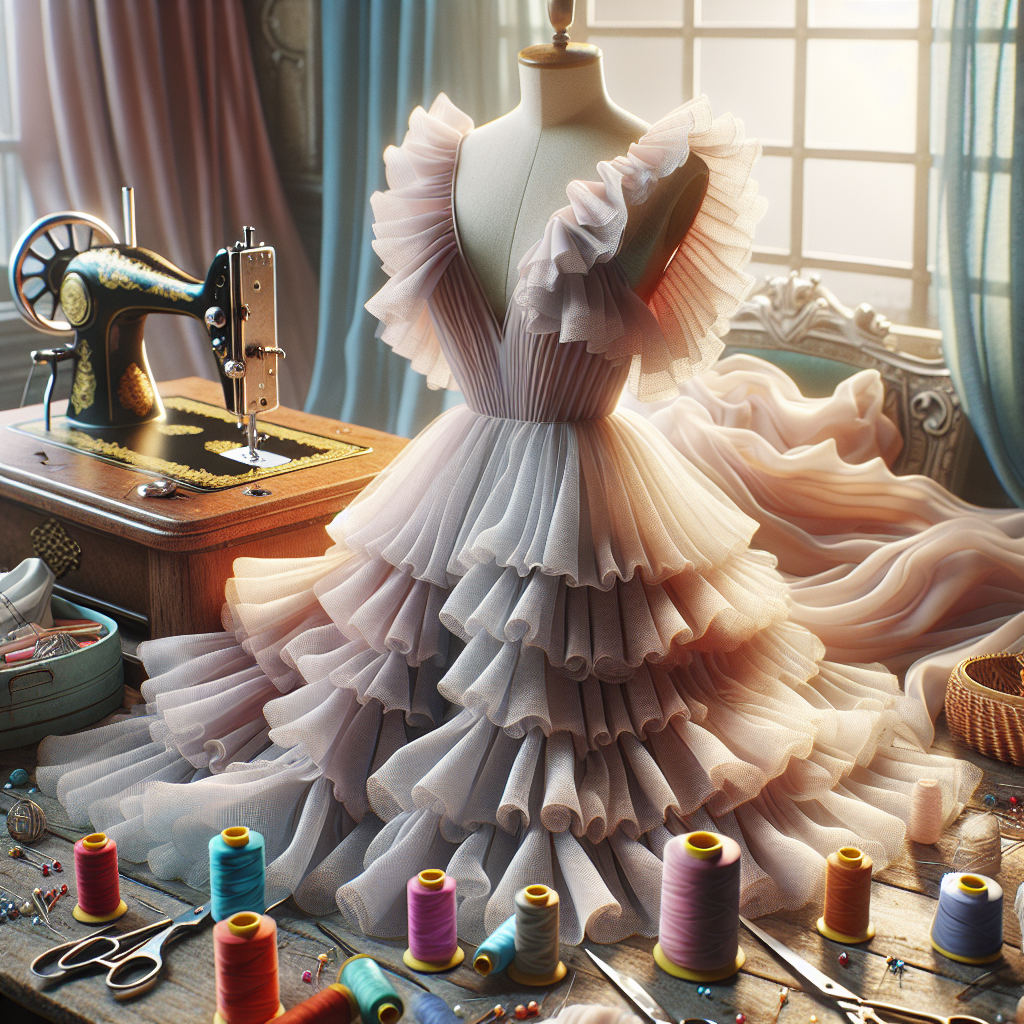
Even seasoned sewists can encounter issues while sewing ruffles. Understanding common ruffle problems can help you troubleshoot effectively and ensure your project turns out beautifully. Here are some frequent ruffle challenges and how to solve them:
- Uneven Gathering: If your gathers are uneven, check your gathering stitches. Make sure you are using a long stitch length and that your threads are not tangled. You can also manually adjust the gathers by pulling the threads gently and redistributing the fabric.
- Ruffles Falling Flat: If your ruffles appear flat rather than fluffy, it may be due to insufficient fabric width. For a fuller look, increase the amount of fabric you use for the ruffles. Additionally, consider using interfacing or a crinoline underlayer to add volume.
- Fabric Fraying: Ruffles can be prone to fraying, especially with delicate fabrics. To prevent this, use a zigzag stitch or a serger to finish the edges. Alternatively, you can apply fray check to the raw edges for extra protection.
- Rippling After Attaching: If your ruffles ripple after being sewn onto the main fabric, it could be due to pulling during the sewing process. To fix this, gently steam the area to relax the fabric. Ensure that your tension settings on the sewing machine are appropriate for the fabric type.
- Wrong Stitch Tension: If your ruffles appear twisted or puckered, it may be due to incorrect stitch tension. Always test on a scrap piece before working on your final project. Adjust the tension settings on your sewing machine if necessary.
By identifying and addressing these common ruffle problems, you can enhance your sewing skills and create stunning ruffles with ease. Visit our website to learn more and get started today!
