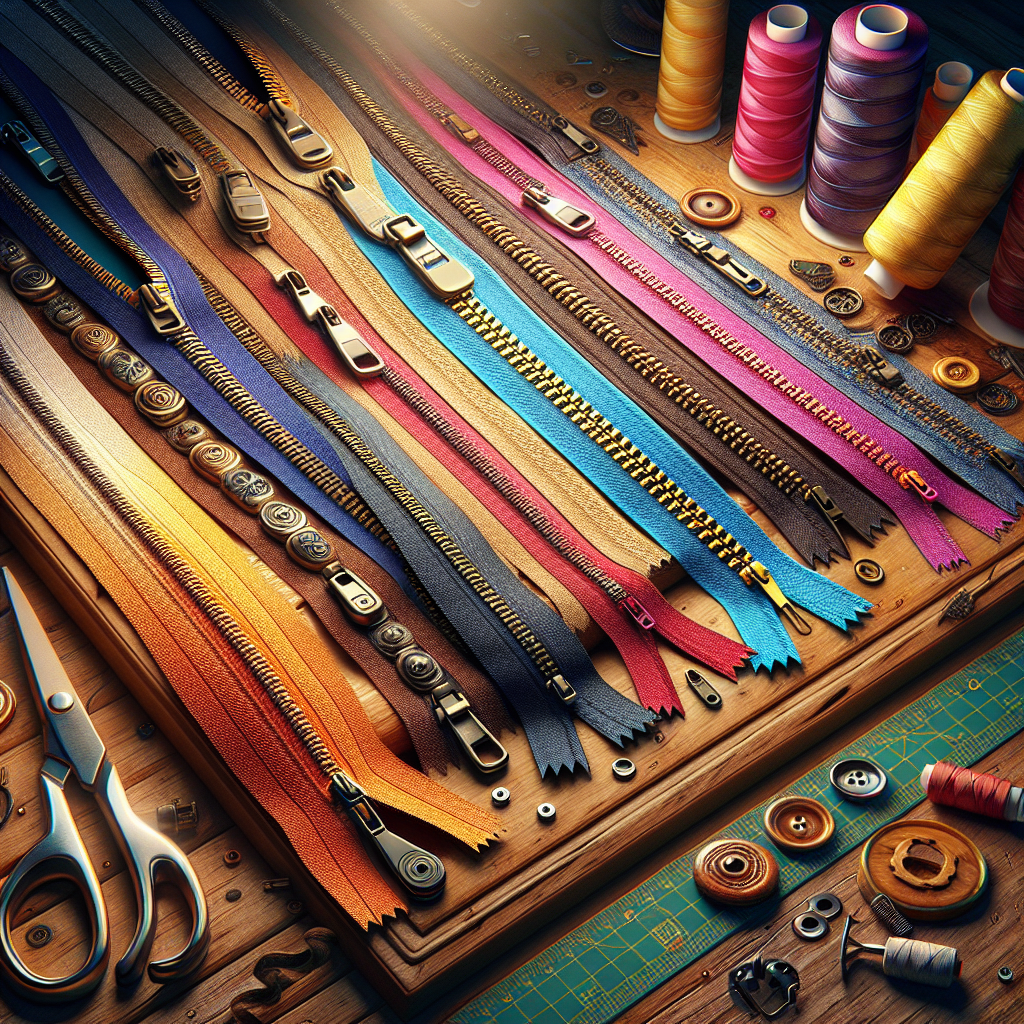
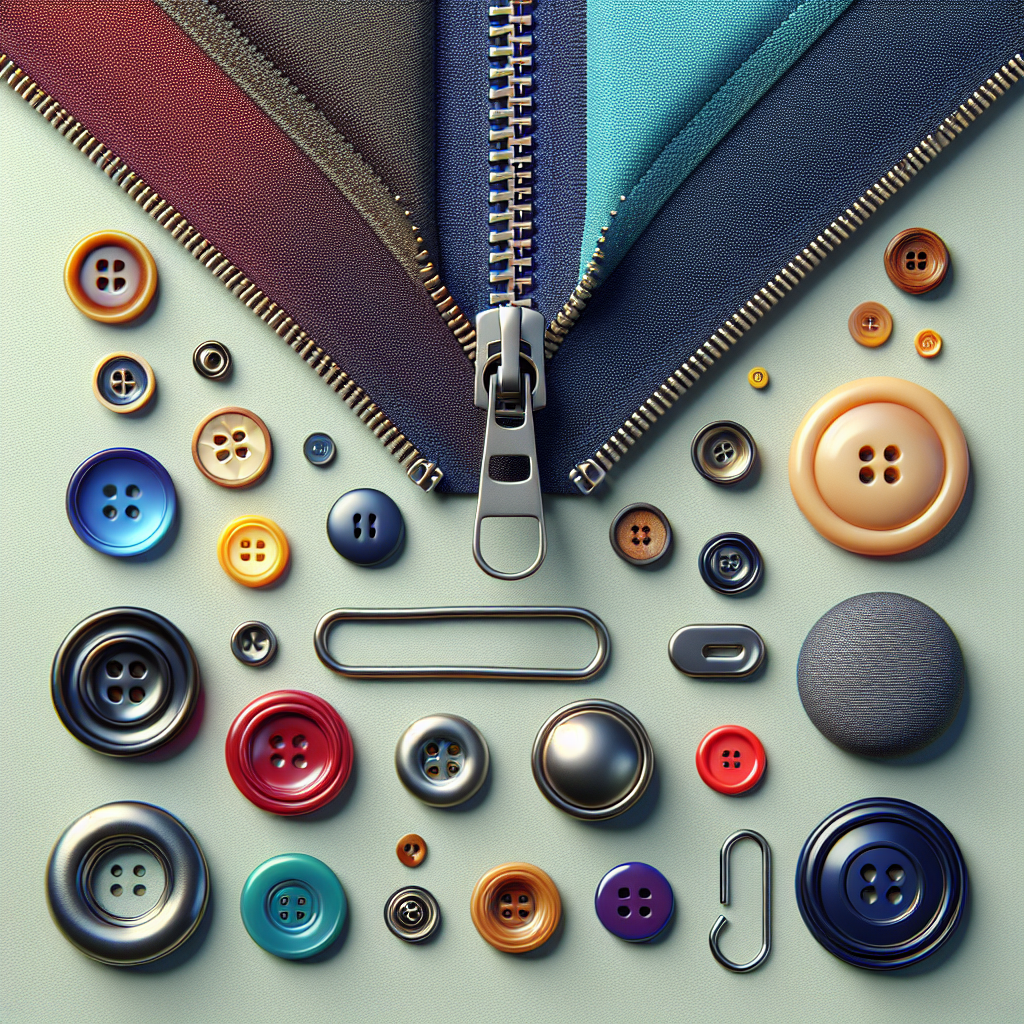
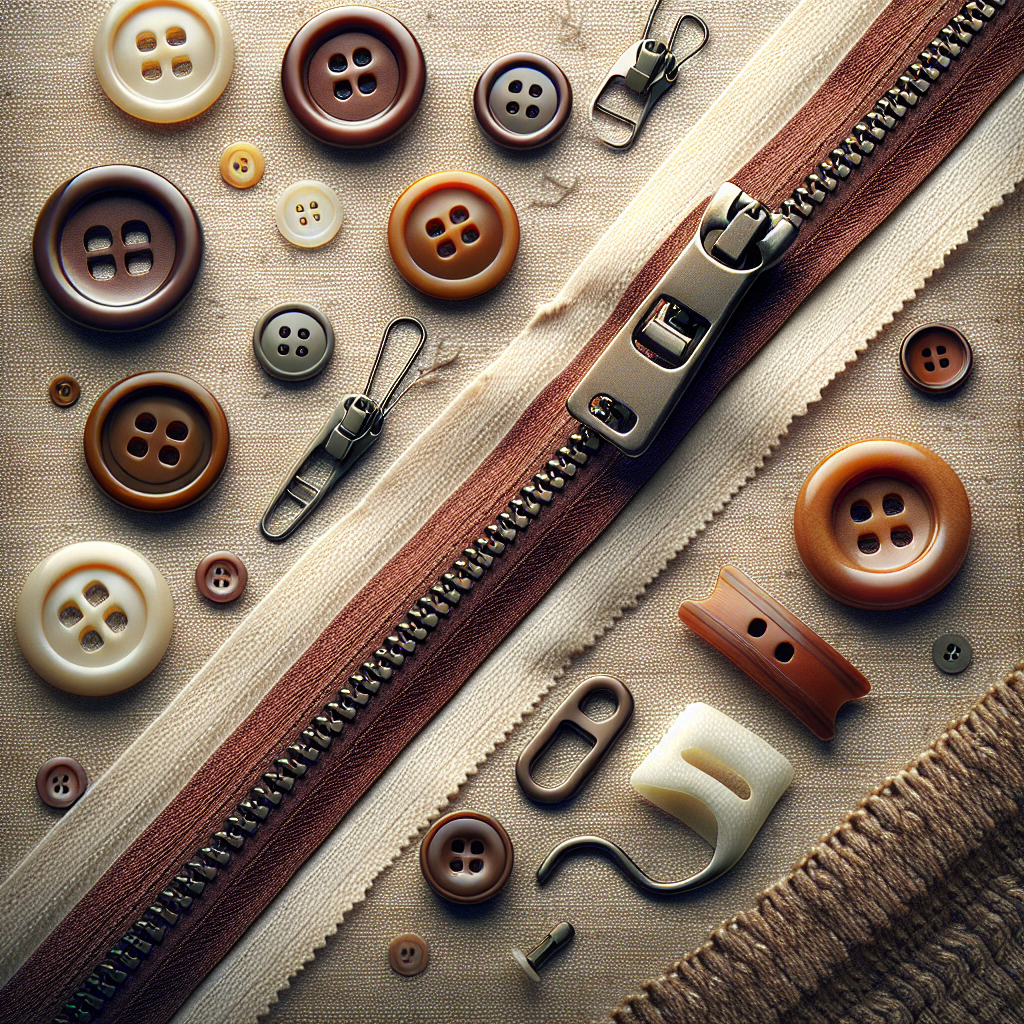
When diving into the world of sewing, understanding the various zippers and closures is essential for creating professional-looking garments. These components are not just functional; they can also serve as decorative elements in your projects. From dresses to bags, the right closure can elevate your work and make it uniquely yours.
There are numerous types of zippers and closures available, each serving different purposes. Here are a few common types to consider:
- Concealed Zippers: Perfect for a sleek look, these zippers are hidden within the seam.
- Visible Zippers: Often used as a design feature, they come in various colors and styles.
- Button Closures: Timeless and versatile, buttons can be used in various designs.
- Hook and Eye Closures: Ideal for fitted garments, they provide a secure hold while remaining discreet.
Understanding the characteristics and applications of each type will help you select the best one for your sewing projects. As you embark on your sewing journey, mastering these closures can significantly enhance your skills and the quality of your creations. Visit our website to learn more and get started today! Click here.
Choosing the Right Zipper Type for Your Project

Selecting the appropriate zipper type for your project is crucial for both functionality and aesthetics. Each zipper type serves a different purpose and can impact the overall look of your finished item. Here are some key considerations to help you choose the right zipper for your sewing project:
- Length: Measure the opening where the zipper will be installed. Zippers come in various lengths, so ensure you choose one that fits your project.
- Style: Decide whether you want a visible or concealed zipper. Visible zippers can add a pop of color or a decorative element, while concealed zippers provide a clean, streamlined appearance.
- Material: Zippers come in different materials, including plastic, metal, and nylon. Metal zippers are sturdy and durable, while nylon zippers are lightweight and flexible, making them ideal for garments.
- Teeth Size: The size of the teeth can affect the look and functionality of your zipper. Larger teeth can create a bold statement, while smaller teeth provide a more delicate finish.
- Application: Consider the context of your project. For instance, heavy-duty zippers are suitable for bags and outerwear, while lightweight zippers are better for delicate fabrics.
By carefully considering these factors, you can ensure that the zipper you choose not only functions well but also complements your design. Making the right choice will ultimately enhance the quality and appearance of your sewing project.
Essential Tools for Sewing Zippers and Closures

To achieve professional results when sewing zippers and closures, having the right tools at your disposal is essential. Here’s a list of the must-have tools that will make your zipper installation smoother and more efficient:
- Sewing Machine: A reliable sewing machine is the backbone of any sewing project. Ensure it has a zipper foot attachment, which allows for precise stitching close to the zipper teeth.
- Zipper Foot: This specialized foot enables you to sew zippers closely and accurately. There are different types of zipper feet available, including adjustable ones for various zipper sizes.
- Fabric Clips: Instead of traditional pins, consider using fabric clips to hold the zipper in place. They are particularly useful with thicker fabrics where pins might create distortion.
- Seam Ripper: Mistakes happen! A seam ripper will be invaluable for removing stitches if you need to redo your zipper installation.
- Iron and Ironing Board: Pressing your fabric and zippers before sewing can help achieve crisp edges and accurate placement. A good iron is essential for finishing touches as well.
- Measuring Tape and Ruler: Accurate measurements are critical. Use a measuring tape for round areas and a ruler for straight lines to ensure your zippers are installed correctly.
Having these essential tools will not only streamline your zipper sewing process but also enhance the quality of your finished projects. Investing in the right equipment is a step toward mastering sewing techniques for zippers and closures.
Step-by-Step Guide to Installing Zippers

Installing zippers can seem daunting, but by following a step-by-step guide, you can achieve a polished finish with ease. Here’s a straightforward process to help you install zippers like a pro:
- Choose Your Zipper: Select a zipper that matches the length and type required for your project. Ensure that it complements your fabric in both style and functionality.
- Prepare the Fabric: Cut the fabric pieces to accommodate the zipper. Mark where the zipper will go, and create an opening that is slightly longer than the zipper length to allow for ease of installation.
- Pin or Clip the Zipper: Align the zipper with the fabric edges, ensuring the right side of the zipper is facing the right side of the fabric. Use fabric clips or pins to hold it securely in place.
- Sew the Zipper: Attach the zipper foot to your sewing machine. Starting at the top of the zipper, sew along the edge close to the zipper teeth. Take your time, stopping to adjust the fabric as needed, especially at the zipper pull.
- Finish the Edges: Once the zipper is securely attached, finish the raw edges of the fabric with either a zigzag stitch or serger to prevent fraying.
- Press the Zipper: After sewing, press the fabric away from the zipper to create a crisp edge. This will help the zipper lay flat and look neat.
- Test the Zipper: Finally, zip and unzip several times to ensure smooth operation. Make any adjustments if necessary to ensure functionality.
By following these steps, you’ll be able to install zippers with confidence, enhancing the quality of your sewing projects.
Common Mistakes to Avoid When Sewing Zippers
When it comes to sewing zippers, mistakes can easily occur, especially for beginners. Being aware of these common pitfalls can save you time and frustration. Here are some common mistakes to avoid when sewing zippers:
- Incorrect Zipper Length: Choosing a zipper that is too long or too short can lead to complications. Always measure the opening accurately and select a zipper that fits properly.
- Ignoring Fabric Type: Using the wrong type of zipper for your fabric can result in poor performance. For instance, lightweight fabrics may require a different zipper than heavier materials. Always check compatibility.
- Improper Alignment: Failing to align the zipper properly can result in a crooked installation. Take your time to ensure that the zipper is placed evenly along the fabric edges before sewing.
- Skipping Basting: Some sewers skip the basting step, thinking they can pin the zipper securely enough. However, basting helps to keep everything in place while you sew, preventing shifts that can lead to misalignment.
- Using the Wrong Foot: Not using a zipper foot can make it difficult to sew close to the zipper teeth, resulting in an uneven finish. Always switch to a zipper foot for a more precise application.
- Neglecting to Test Zipper Functionality: After installation, always test the zipper to ensure it functions smoothly. Failing to do so could lead to frustration later on.
By avoiding these common mistakes, you can enhance your sewing skills and achieve professional-looking results when working with zippers.
Tips for Maintaining and Repairing Zippers

Proper maintenance and repair of zippers are essential to ensure their longevity and functionality in your sewing projects. Here are some tips for maintaining and repairing zippers that can help you keep them in top shape:
- Regular Cleaning: Zippers can accumulate dirt and debris over time. Use a soft brush or cloth to clean the zipper teeth gently. For stubborn grime, a little soap and water can do the trick.
- Lubrication: To ensure smooth operation, consider using a zipper lubricant or a little wax. Applying it along the teeth can prevent sticking and improve performance.
- Inspect for Damage: Regularly check your zippers for signs of wear, such as broken teeth or bent sliders. Catching these problems early can save you from more extensive repairs later on.
- Repairing Minor Issues: If you notice a slider that’s not functioning properly, try gently squeezing it with pliers to restore its grip on the teeth. For missing teeth, replacement sliders can often be purchased to fix the zipper.
- Replace When Necessary: Sometimes, a zipper is beyond repair. If it’s causing too many issues, don’t hesitate to replace it. Invest in a high-quality zipper that suits your project to avoid future problems.
By following these tips, you can extend the life of your zippers and keep your sewing projects looking their best. Visit our website to learn more and get started today! Click here.

