Using just a needle and thread, embroidery is a mesmerizing art form that lets you create beauty. You’re in the perfect place if you’ve ever been fascinated by this age-old art form and want to start your own embroidery journey. We’ll walk you through the process of learning embroidery in this blog, from necessary supplies to fundamental methods, so you may produce your own gorgeous embroidered artwork. The tutorial is broken up into three sections for easier comprehension.
- The Basics of Hand Embroidery
- Step by Step Hand Embroidery
- 10 Top & Popular Stitches in Embroidery
The Basics of Hand Embroidery
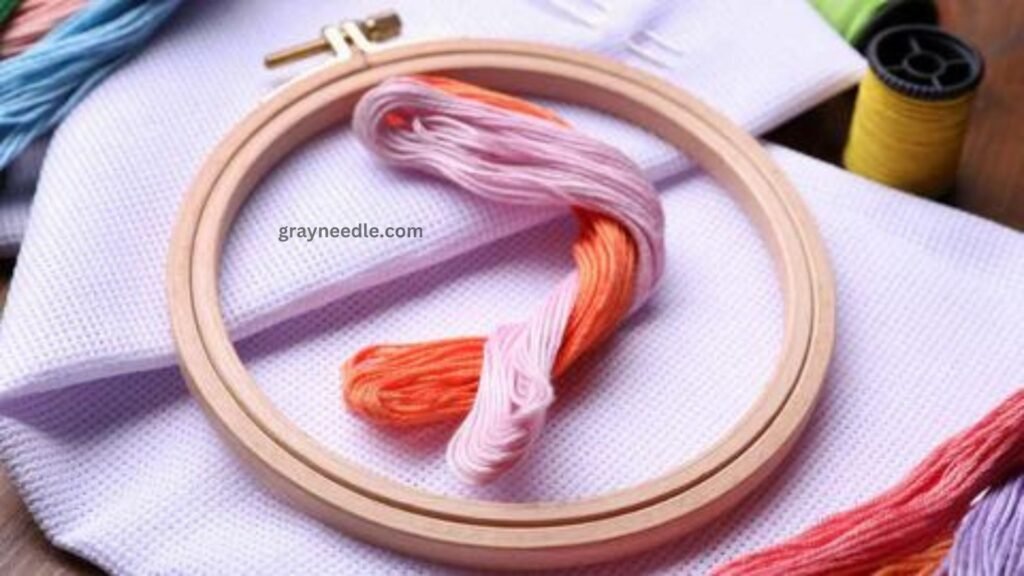
Gathering the Essential Tools: Here are some essential supplies and tools you’ll need to get started with embroidery. The items consist of fabric (cotton or linen is a good choice for beginners), scissors, needles (ideally varied sizes), embroidery hoops (to hold the cloth taut), and a water-soluble pen or pencil for marking designs. After you gather these materials, you’ll be ready to go.
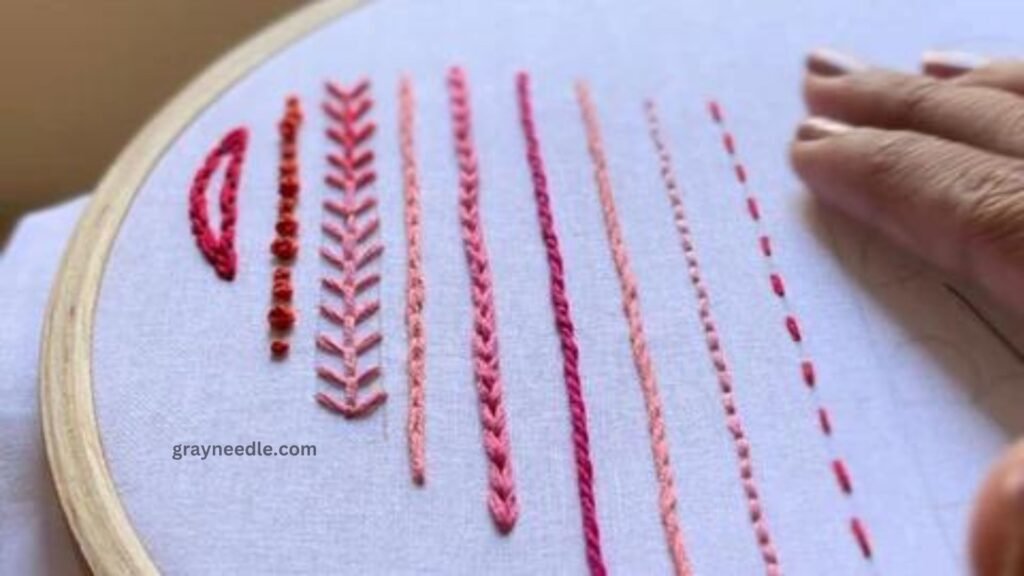
Exploring Basic Stitches: Stitches are the backbone of embroidery, and mastering a few fundamental stitches will help you get started. Begin by performing the French knot, satin stitch, backstitch, and straight stitch. These stitches are multipurpose and serve as the foundation for more intricate patterns. Numerous books, films, and online courses are available that walk through these stitches step-by-step. Use scrap fabric to practice them until you are confident and at ease with your skill.

Learning from Online Resources: A wealth of information about needlework may be found on the internet. Look through stitching-related blogs, YouTube channels, and online instructions. A plethora of knowledge on various stitches, methods, and projects is available. There are also a ton of embroidery forums and groups where you can interact with other stitchers, exchange ideas, and get guidance. Your skills can be substantially improved by interacting with the internet embroidery community and learning from more seasoned embroiderers.
Embrace Patience and Practice: Be patient with yourself because embroidery is a skill that takes time to master. If your initial stitches aren’t flawless, don’t give up. Practice is essential for any kind of art. Even if you only have a few minutes each day, set aside time for stitching on a daily basis. Your stitches will get better and better as you sew more and try out new methods.
Experimenting and Personalization: Once you are confident in the fundamentals, don’t be scared to try new things and give your embroidery projects a unique touch. Try experimenting with different color combinations, varying the thread weight to create texture, and adding extra components like sequins or beads. Give your imagination free rein to create something truly original for every piece.
Step by Step Hand Embroidery
Step 1: Gather Your Materials
- Embroidery hoop: Select a hoop size that works for the task at hand.
- Fabric: Choose a fabric, such linen or cotton.
- Embroidery thread: Use stranded cotton or embroidery floss in the colors you want.
- Embroidery needles: Selecting needles with a sharp point will make stitching simpler.
- Scissors: To cut thread, have a pair of embroidery scissors on hand.
- Transfer method (optional): Select a transfer technique, such as tracing or iron-on transfers, if you’re employing a design.
Step 2: Prepare Your Fabric
- Trim your fabric to the correct length, adding extra length to the edges so the hoop will fit.
- To transfer the design onto the cloth, adhere to the directions if you’re using a transfer method. An alternative is to draw your pattern directly onto the fabric by hand.
Step 3: Set Up the Hoop
Divide the embroidery hoop into two rings: the inner and the outer.
- Ensure that the design is centered as you place the fabric over the inner ring.
- Tighten the screw to fasten the fabric after fitting the outer ring over the inner ring. Make sure the cloth is taut.
Step 4: Thread Your Needle
- Cut a length of embroidery thread, usually around 18 inches (45 cm), in the preferred color.
- Once the needle is in the center of the thread, thread one end of the thread through the needle’s eye and pull it through.
Step 5: Start Stitching
- Start with simple stitches like the backstitch or straight stitch.
- Bring the needle up from the back of the fabric and insert it back down in a straight line to create a straight stitch.
- To make a continuous line, backstitch by raising the needle from the back and inserting it slightly ahead of the previous stitch.
Step 6: Practice More Stitches
- Investigate more fundamental stitches such as the chain, French, or satin stitches.
- Since every stitch has a unique technique, consult embroidery books or tutorials for comprehensive guidance on every stitch.
Step 7: Experiment with Colors and Designs
- Once you’re comfortable with the fundamental stitches, play around with color and stitch combinations to give your design more depth and texture.
- For added flair, think of including ornamental elements like ribbons, pearls, or sequins.

Step 8: Finishing Touches
- After finishing your embroidery, take the fabric out of the hoop and clip off any extra material that hangs over the edges.
- Your needlework can be shown exactly as it is or mounted onto a backing cloth or frame.
Also Read: Creating Perfect Gathered Stitches: Step-by-Step Tutorial
Step 9: Care for Your Embroidery
- Keep your stitching out of direct sunshine and damp conditions to keep it looking its best.
- If necessary, give your completed work a gentle hand wash with a mild detergent and allow it to air dry.
Step 10: Keep Learning and Practicing
- Since embroidery is a skill that must be developed through practice, never stop trying out new stitches, methods, and designs.
- Use books, needlework forums, and online tutorials to share your work and increase your knowledge.

Top 10 Most Popular & Beginner Friendly Stitches in Embroidery
- Backstitch: A simple stitch for making outlines and other details is the backstitch. It entails sewing backward, advancing the needle to the required length, and then starting over.
- Running stitch: The most fundamental and straightforward stitch is the running stitch. To get a dashed line look, the needle is inserted and removed from the fabric at regular intervals. It’s frequently used for gathering and basting cloth.
- Satin stitch: A flexible stitch for filling in shapes and building solid color blocks is the satin stitch. It uses straight stitches spaced near enough to cover the entire target region, giving the appearance of satin.
- Split stitch: The split stitch works well for making outlines and thin, delicate lines. In order to create a continuous line of stitches, it entails raising the needle through the fabric and dividing the thread.
- French knot: A raised knot is created on the fabric by the ornamental stitch known as the French knot. It is frequently used to give designs more depth and substance. It entails re-inserting the thread into the fabric near its beginning after it has been wrapped around the needle.
- Chain stitch: A common stitch for making outlines, decorative borders, and continuous lines is the chain stitch. It entails making a chain-like design out of a sequence of looped stitches.
- Lazy daisy stitch: The lazy daisy stitch, often called the disconnected chain stitch, is a popular technique for making flower petals and leaves. It entails making a looped stitch in the shape of a leaf or petal from a flower.
- Feather stitch: This ornamental stitch has a vine-like appearance. It’s frequently used to enhance texture, fill up gaps, and create borders. To get a feather-like appearance, diagonal threads are made and then stitched through.
- Seed stitch: A quick and easy stitch to employ for adding texture or filling in small spaces is the seed stitch. It entails making sporadic, microscopic stitches that mimic loose seeds.
- Cross stitch: A common stitch for making complex patterns and designs is cross stitch. It includes utilizing two diagonal threads that connect in the middle to create X-shaped stitches.
Final Thoughts
Using stitches, embroidery is a creative and fulfilling skill that lets you convey your artistic vision. You may create stunning embroidered creations by learning the fundamental stitches and techniques described in this guide. Remind yourself to exercise frequently, have patience, and allow your creativity to flow. Savor the excitement of creating art from cloth as you embark on your embroidered journey. Enjoy your sewing!

