When it comes to sewing, understanding the various types of buttons and their specific uses is crucial for achieving the best results. Buttons are not just functional; they also serve as decorative elements that can enhance the overall aesthetic of a garment. Here’s a breakdown of some common types of buttons you might encounter:
- Shank Buttons: These buttons have a loop on the back, allowing them to be sewn onto thicker fabrics. They are ideal for coats and jackets.
- Flat Buttons: Commonly used in shirts and blouses, flat buttons can be sewn directly onto the fabric. They come in various sizes and styles.
- Snap Buttons: These are ideal for quick fastening and are often used in casual wear and children’s clothing.
- Toggle Buttons: Typically used on outerwear, toggle buttons add a unique charm and are often found on trench coats.
- Covered Buttons: These buttons are made from fabric, allowing you to match them perfectly with your project. They are great for adding a personalized touch.
Each type of button serves a particular function, and selecting the right button can significantly impact the garment’s durability and style. When learning how to sew buttons correctly, consider the button type to ensure you’re using the best techniques. Visit our website to learn more and get started today! Click here.
Essential Tools You Need for Sewing Buttons
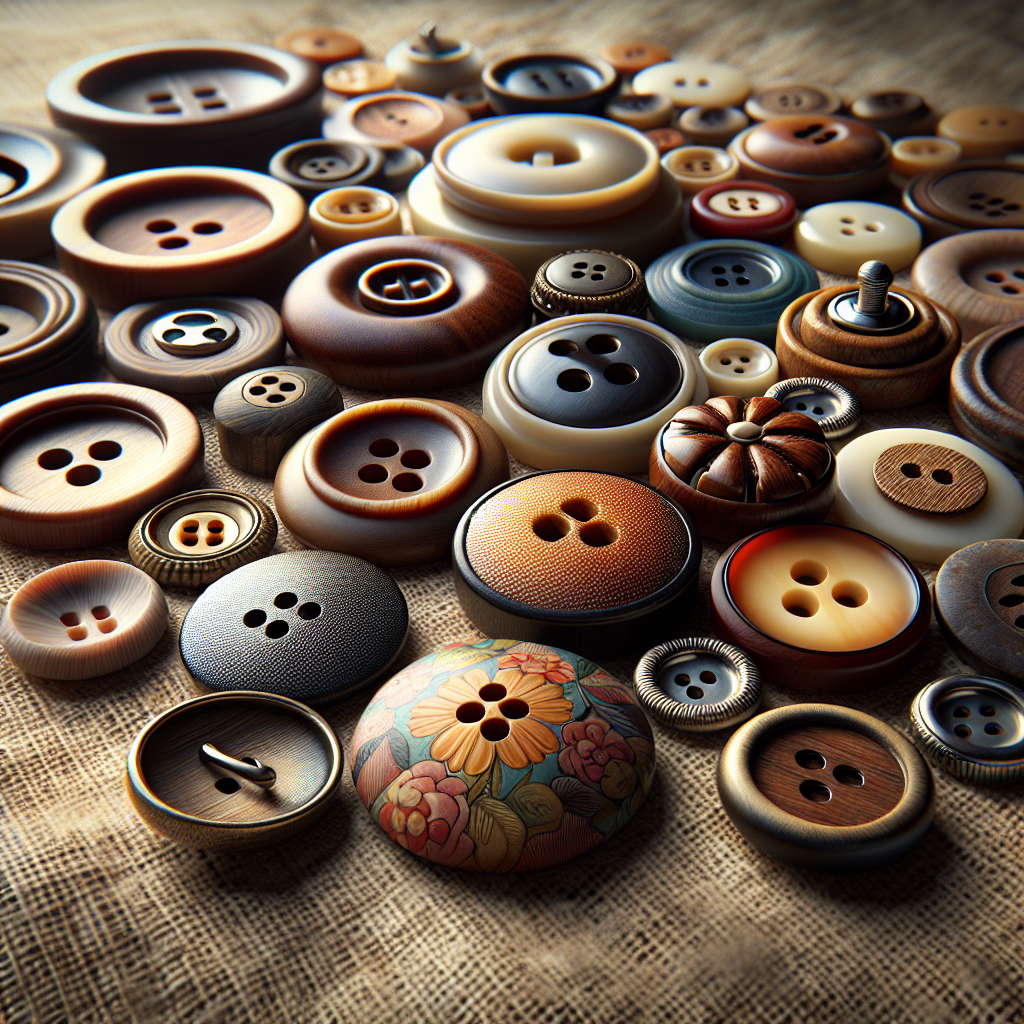
Sewing buttons might seem simple, but having the right tools can make a significant difference in achieving a professional finish. Here are some essential tools you’ll need for sewing buttons:
- Needles: A good quality needle is crucial. For general sewing, a standard sewing needle will suffice, but consider using a specialty needle for thicker fabrics or heavier buttons.
- Thread: Choose a strong thread that matches the fabric and button color. Cotton or polyester threads are popular choices for their durability.
- Scissors: A sharp pair of scissors is essential for cutting thread and trimming fabric edges neatly. Consider investing in fabric scissors for the best results.
- Buttonhole Foot: If you’re using a sewing machine, a buttonhole foot can help create precise buttonholes, ensuring that your buttons fit perfectly.
- Measuring Tape: Accurate measurements are key when positioning buttons. A flexible measuring tape will help you measure distances accurately.
- Pin Cushion: Keeping your pins organized and accessible while you work is crucial. A pin cushion will help you avoid losing pins and keep your workspace tidy.
With these tools, you’ll be well-prepared to tackle any button-sewing project. Each tool serves a specific purpose, and using them correctly will help you achieve a clean and professional appearance in your finished garments.
Step-by-Step Guide on How to Sew Buttons Correctly
Mastering the technique of sewing buttons correctly is essential for any sewing enthusiast. Follow this step-by-step guide to ensure your buttons are both functional and aesthetically pleasing:
- Gather Your Materials: Before you begin, make sure you have all the necessary tools at hand, including your needle, thread, scissors, and the button you plan to attach.
- Prepare Your Fabric: Position your fabric correctly and mark the spot where the button will go. If you’re working with a pre-made buttonhole, ensure that it aligns with the marking.
- Thread Your Needle: Cut a piece of thread, about 18 inches long, and thread it through the needle. Tie a knot at the end to secure it.
- Start Sewing: Insert the needle from the back of the fabric to the front at your marked position. Pull it through until the knot catches.
- Attach the Button: Depending on the button type, insert the needle through one hole and then down through the opposite hole. For four-hole buttons, alternate between the holes diagonally. Repeat this step about 4-6 times to secure the button firmly.
- Create a Shank (if necessary): If you are using thick fabric, you may need to create a shank by sewing over a toothpick or a small piece of thread before securing the button. This will allow the button to sit properly.
- Finish Off: Once the button is securely attached, bring the needle to the back of the fabric. Tie a knot and trim any excess thread.
By following these steps, you can ensure that your buttons are sewn correctly and will withstand regular use. This technique not only enhances the functionality of your garments but also adds a polished look to your sewing projects.
Common Mistakes to Avoid When Sewing Buttons
Sewing buttons may seem straightforward, but there are common pitfalls that can lead to frustration and unsatisfactory results. Here are some common mistakes to avoid when sewing buttons:
- Using Too Short Thread: One of the most frequent errors is using a thread length that’s too short. This can lead to frequent re-threading and can compromise the button’s security. Aim for at least 18 inches of thread.
- Not Securing the Knot: Failing to tie a secure knot at the start can result in the thread slipping through the fabric. Always double-knot to ensure it stays in place.
- Incorrect Button Placement: Misplacing the button can lead to misaligned buttonholes. Always double-check your measurements and align the button properly with the corresponding hole.
- Sewing Too Loosely: A button sewn too loosely may not function correctly and can fall off easily. Make sure to sew with adequate tension to keep the button secure.
- Neglecting the Shank: For thicker fabrics, neglecting to create a shank can result in a button that sits too flat. Always evaluate the fabric thickness and adjust your technique accordingly.
- Using the Wrong Needle: Using a needle that is too thick or too thin can affect the button’s attachment. Choose a needle that is appropriate for the fabric type and button size.
By being aware of these common mistakes, you can improve your button-sewing skills and ensure that your garments are not only functional but also look professionally finished.
Creative Ways to Customize Your Button Sewing
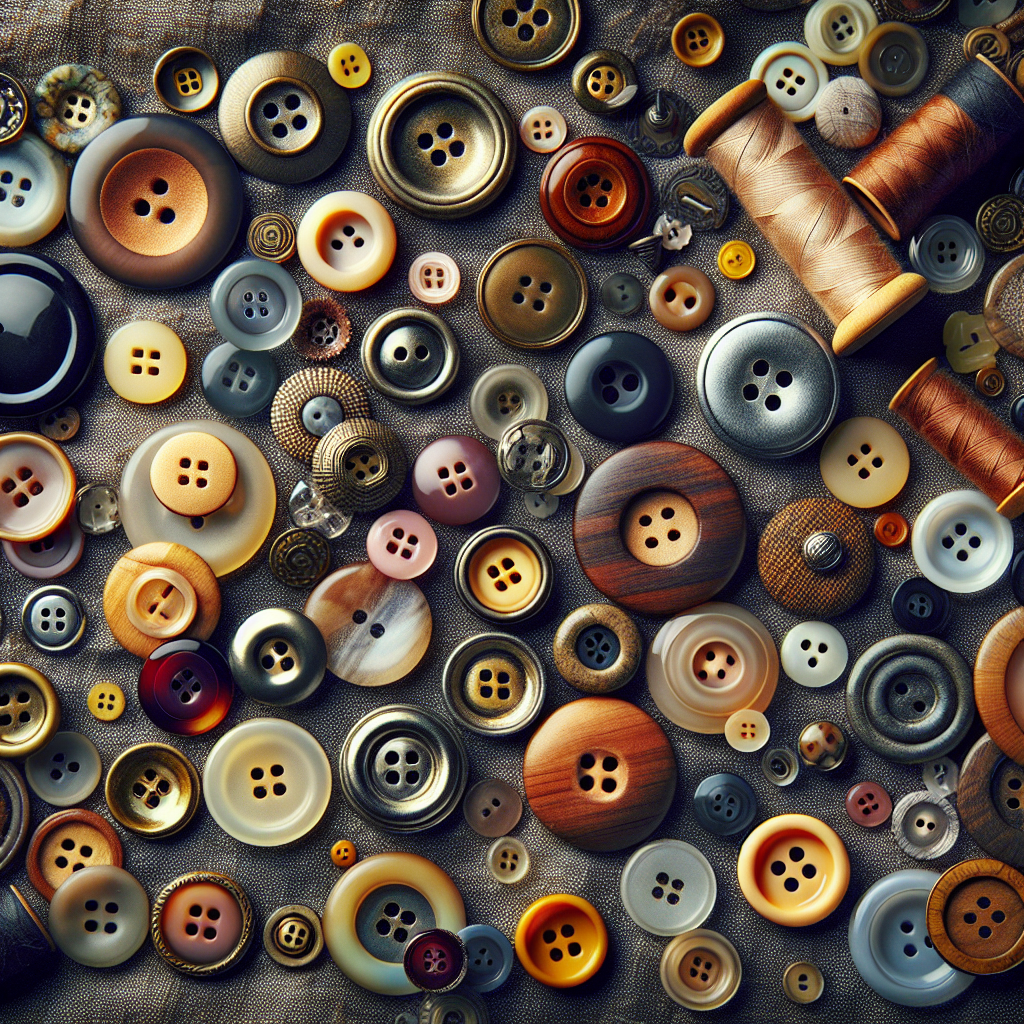
Customizing your button sewing can add a unique flair to your projects and showcase your personal style. Here are some creative ways to enhance your button sewing:
- Use Colorful Threads: Instead of matching the thread to the fabric, opt for a contrasting color. This adds a pop of interest and can turn a simple button into a decorative element.
- Add Beading: Incorporate beads into your button sewing for an elegant touch. Simply thread a bead onto your needle before attaching the button, or sew beads around the button for added sparkle.
- Experiment with Button Shapes: Don’t limit yourself to traditional round buttons. Explore various shapes and sizes, including hearts, stars, or even fabric-covered buttons that can be made from leftover materials.
- Layer Your Buttons: For a 3D effect, layer multiple buttons on top of each other. This technique works especially well with different sizes and colors, creating a fun focal point on your garment.
- Incorporate Embroidery: Use embroidery stitches around the button to create a decorative border. This not only secures the button but also enhances the visual appeal of the project.
- Create Personalized Button Designs: If you’re feeling adventurous, try painting or decorating plain buttons with fabric markers. This personalization makes each piece truly one-of-a-kind.
By incorporating these creative techniques into your button sewing projects, you can transform ordinary garments into stunning, personalized creations that reflect your unique style.
Tips for Maintaining Your Sewn Buttons for Longevity
Once you’ve mastered the art of sewing buttons, it’s essential to ensure they last through wear and tear. Here are some tips for maintaining your sewn buttons for longevity:
- Inspect Regularly: Periodically check sewn buttons for any signs of loosening or wear. Early detection can prevent buttons from falling off and getting lost.
- Avoid Excessive Pulling: Be mindful of how you handle garments with sewn buttons. Excessive pulling or tugging can weaken the thread and lead to button detachment.
- Store Properly: When storing your clothing, avoid cramming them into tight spaces. Use padded hangers or fold items to prevent excessive friction that may damage buttons.
- Wash with Care: When laundering garments with sewn buttons, opt for gentle cycles and consider using a garment bag to protect them from snagging or damage.
- Reinforce When Necessary: If you notice any buttons starting to loosen, don’t hesitate to reinforce them. A few extra stitches can go a long way in ensuring their longevity.
By following these tips, you can keep your sewn buttons looking great and functioning well for years to come. Visit our website to learn more and get started today! Click here.
