In the world of sewing, achieving clean edges is a hallmark of professional craftsmanship. Whether you are a seasoned seamstress or a beginner, understanding the importance of clean edges can significantly enhance the overall appearance of your projects. Clean edges not only provide a polished look but also contribute to the durability and longevity of the finished piece.
The term ‘clean edges’ refers to the neatness and precision of the raw edges of the fabric. This aspect of sewing is crucial, as it prevents fraying, gives structure to the garment, and can even influence how the fabric behaves during wear. As you embark on your sewing journey, incorporating techniques for achieving clean edges will elevate your creations to a new level.
At GrayNeedle.com, we believe that everyone can master the art of sewing with the right guidance. Visit our website to learn more and get started today! Click here.
Choosing the Right Tools for Neat Edges

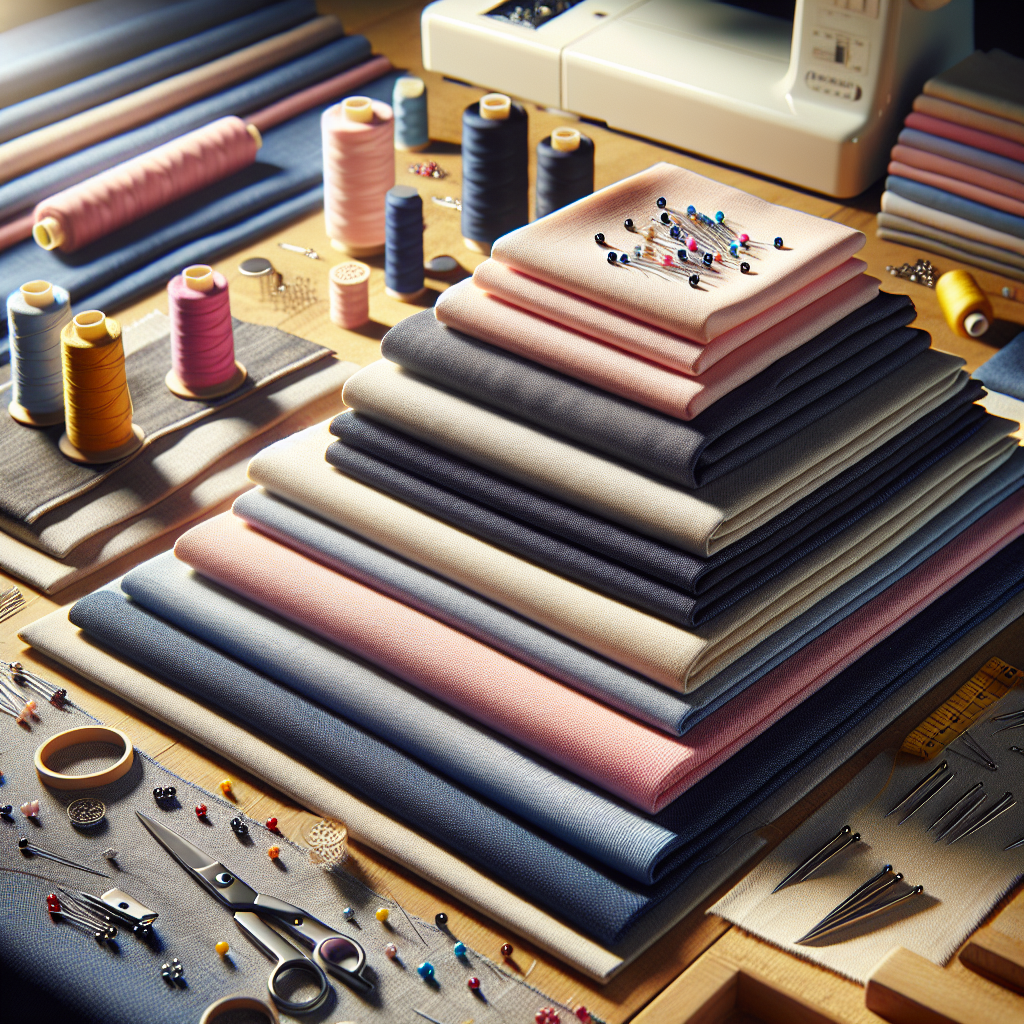
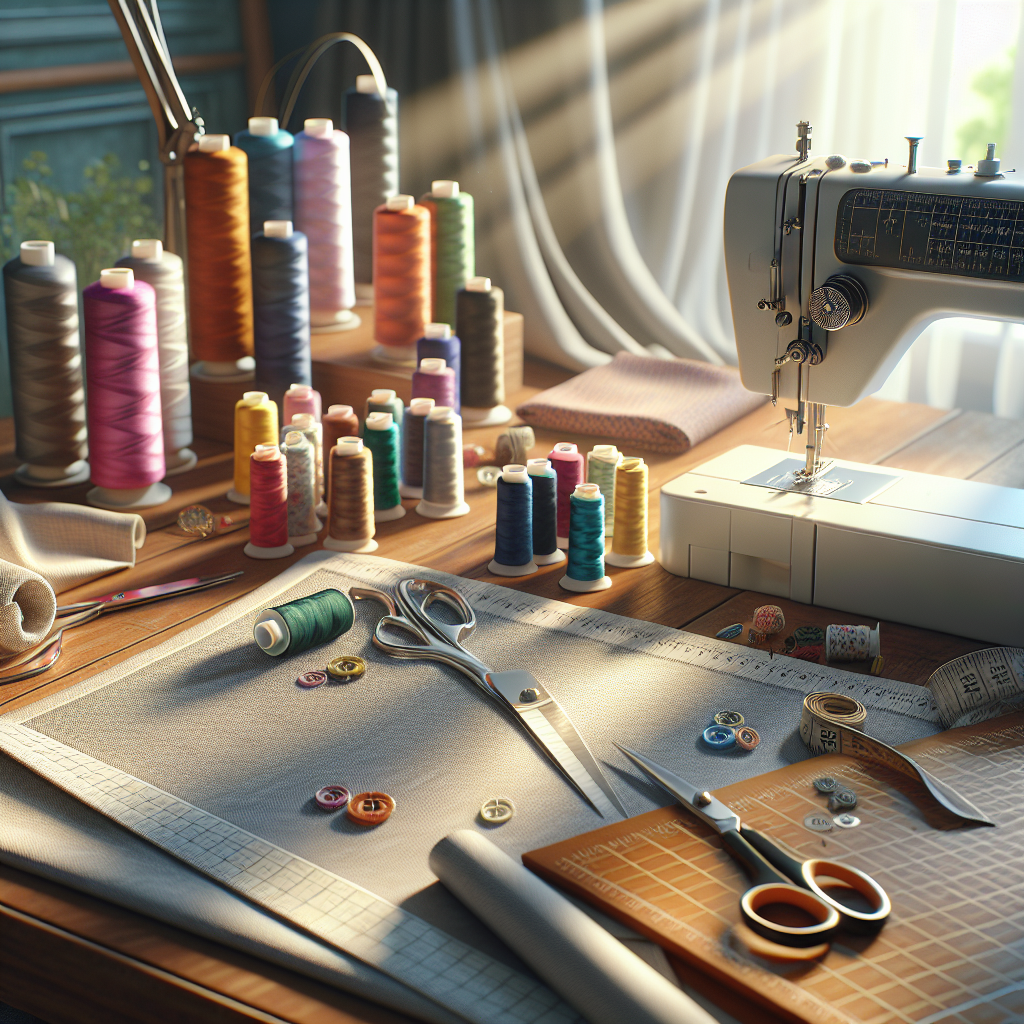
Choosing the right tools is essential for achieving neat edges in your sewing projects. The quality and type of tools you use can significantly impact the final result of your work. Here are some key tools to consider when aiming for clean edges:
- Fabric Scissors: Invest in a good pair of fabric scissors that are sharp and designed specifically for cutting fabric. Dull scissors can lead to jagged edges and fraying.
- Rotary Cutter: For straight cuts, a rotary cutter can provide precision that scissors may not. Pair it with a cutting mat for the best results.
- Serger or Overlock Machine: A serger is an excellent tool for finishing raw edges. It trims the fabric while simultaneously enclosing the edge with thread, preventing fraying and providing a professional finish.
- Bias Tape: Use bias tape to encase edges neatly. This is especially useful for curves and can add a decorative touch to your projects.
- Pinning Tools: Proper pinning is key to maintaining the alignment of fabric edges. Use straight pins or clips to secure layers together before sewing.
Each of these tools plays a vital role in ensuring that your edges are not only clean but also consistent throughout your project. By selecting the right tools and using them correctly, you can achieve that polished, professional finish that every sewing enthusiast strives for.
Techniques for Achieving Perfectly Clean Edges
Mastering the right techniques is crucial for achieving perfectly clean edges in your sewing projects. Here are some effective methods to elevate your edge-finishing skills:
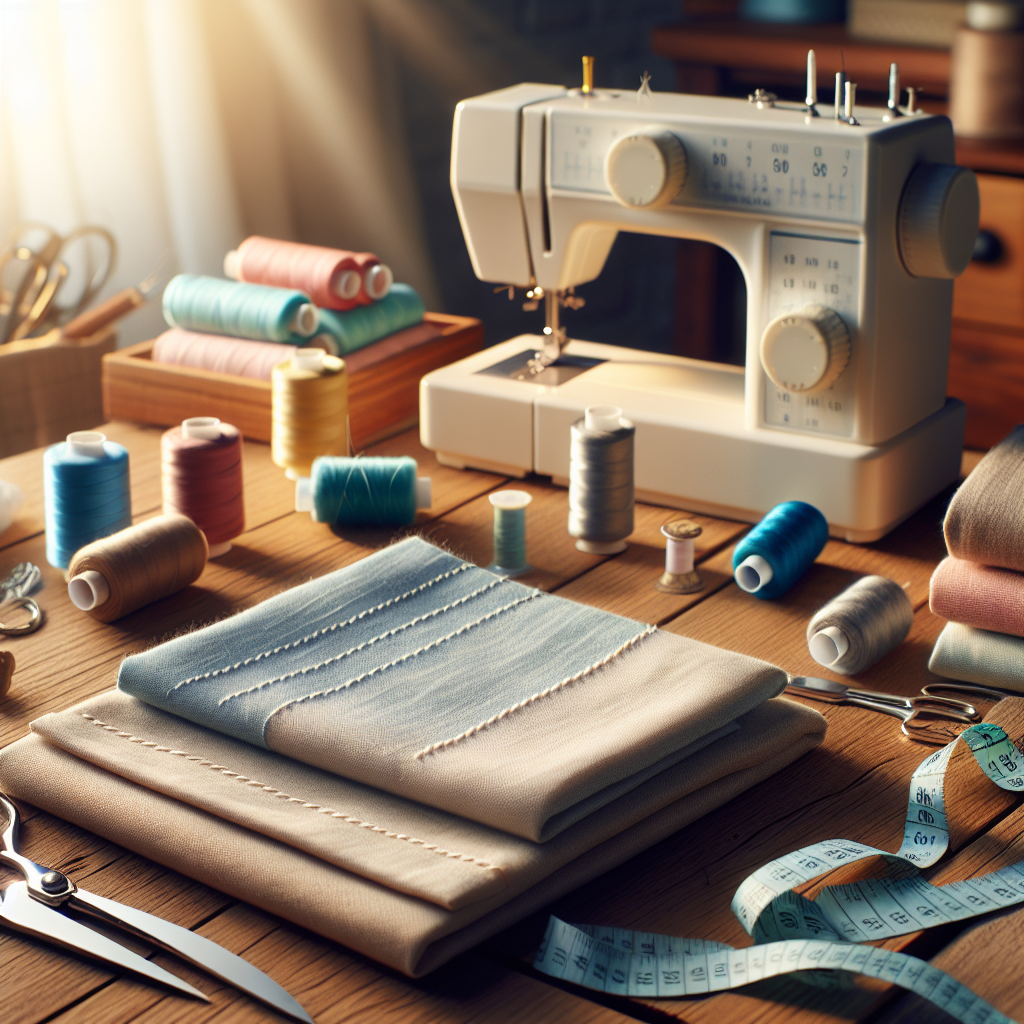
- Stay Stitching: Before cutting your fabric, consider stay stitching along the edges. This technique helps prevent stretching and distortion, particularly in curved areas, ensuring your edges remain true to shape.
- Pressing Seams: After sewing seams, pressing them open or to one side can significantly enhance the appearance of your edges. Use a steam iron on the appropriate heat setting for your fabric type to help achieve crisp, clean edges.
- Seam Allowance: Maintain a consistent seam allowance to help your edges align perfectly. Use a seam guide or marking tool to ensure accuracy, which contributes to a polished finish.
- Using a Zigzag Stitch: To prevent fraying, utilize a zigzag stitch along the raw edges of your fabric. This simple technique encases the edge and can be done on a regular sewing machine.
- Bias Binding: For a neat finish, consider using bias binding to cover the edges. This technique is not only functional but also adds a decorative element to your projects.
By incorporating these techniques into your sewing routine, you can enhance the overall quality of your work. With practice, achieving perfectly clean edges will become second nature, allowing you to create professional-looking projects every time.
How to Finish Edges to Prevent Fraying

Preventing fraying is essential for maintaining the integrity of your sewing projects. The following methods offer effective solutions for finishing edges and ensuring durability:
- Overlocking: An overlock machine is specifically designed to finish raw edges. If you have access to one, this technique will not only prevent fraying but also give your seams a professional look.
- French Seams: This method encloses the raw edges within the seam itself, making it an excellent choice for lightweight and delicate fabrics. To create a French seam, sew the fabric with wrong sides together, trim the seam allowance, and then sew again with right sides together.
- Pinked Edges: Using pinking shears allows you to cut fabric with a zigzag edge, which helps reduce fraying. While this method is quick and easy, it works best for fabrics that do not unravel easily.
- Bias Tape: Applying bias tape to the raw edges not only prevents fraying but also adds a stylish finish to your projects. This technique is particularly useful for curved edges and intricate designs.
- Fray Check: This liquid solution can be applied directly to the raw edges of your fabric. It dries clear and creates a barrier that helps prevent fraying without adding bulk.
Incorporating these finishing techniques into your sewing projects will not only enhance their durability but also maintain their visual appeal. By taking the time to finish edges properly, you ensure your hard work stands the test of time.
Tips for Maintaining Clean Edges During Sewing
Maintaining clean edges while sewing is crucial for achieving a polished look in your projects. Here are some practical tips to help you keep those edges neat and tidy:
- Use the Right Presser Foot: A walking foot or a foot designed for specific fabrics can help guide the fabric evenly as you sew, minimizing the chances of shifting that can lead to uneven edges.
- Keep Your Fabric Taut: Gently pulling the fabric as you sew can help keep it aligned. This is especially important for stretchy or slippery fabrics, which are prone to moving and causing misalignment.
- Align Your Fabric Edges: Before starting to sew, ensure the edges of your fabric are aligned perfectly. Use pins or clips to secure the layers together, which will help maintain their position while you sew.
- Stitch with Consistency: Aim for a consistent seam allowance throughout your project. Using a guide or a marked line on your presser foot can help you maintain an even distance from the edge, resulting in cleaner edges.
- Practice on Scrap Fabric: If you’re working with a new technique or fabric, practice on scrap pieces first. This will help you get a feel for how the fabric behaves and allow you to refine your technique before working on the final project.
By incorporating these tips into your sewing routine, you can significantly enhance the quality of your finished projects. Clean edges not only look great but also contribute to the overall durability and longevity of your creations.
Conclusion and Final Thoughts on Clean Edges

Achieving clean edges is a vital aspect of sewing that contributes to the professionalism and quality of your projects. By implementing the tips outlined in this article, you can elevate your sewing skills and create beautiful, polished pieces every time. Remember, practice makes perfect, and the more you sew, the more adept you will become at maintaining those crisp edges.
As you embark on your sewing journey, don’t hesitate to experiment with different techniques and tools designed to help you achieve the best results. Whether you are a beginner or an experienced sewist, there is always room to grow and refine your skills.
Visit our website to learn more and get started today! Click here to explore additional resources and connect with fellow sewing enthusiasts who share your passion.

