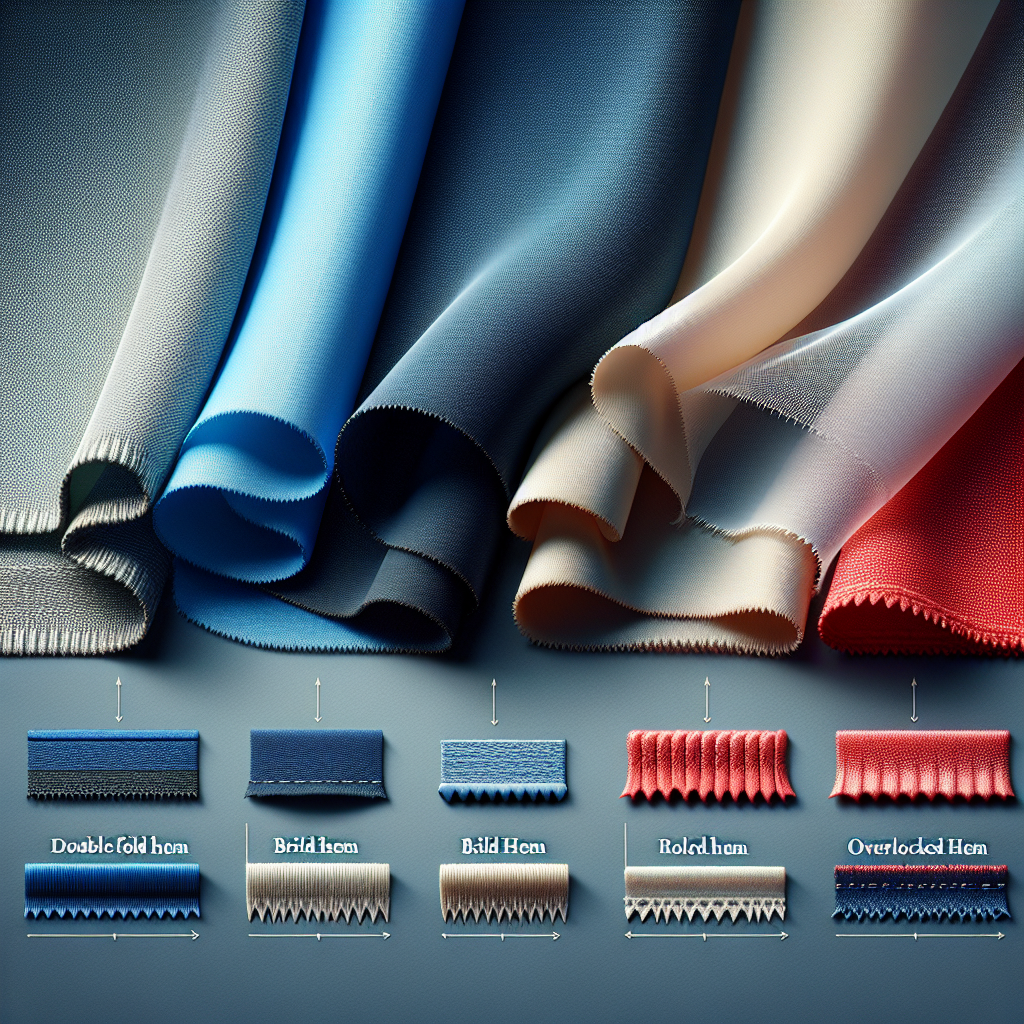
When it comes to sewing, understanding the different types of hems is crucial for achieving a polished and professional finish. Hems not only enhance the appearance of a garment but also provide durability and structure. Here are some popular types of hems you should be familiar with:
- Double Fold Hem: This is one of the most common types of hems, where the fabric is folded twice to create a clean edge. It’s ideal for lightweight fabrics and offers a neat finish.
- Blind Hem: Perfect for formal wear, a blind hem is nearly invisible from the outside of the garment. It’s achieved using a blind hem foot and is great for trousers and skirts.
- Rolled Hem: Often used in lightweight fabrics like chiffon or silk, a rolled hem is folded once and then stitched. This hem gives a delicate finish and is ideal for scarves and lightweight blouses.
- Overlocked Hem: This method uses an overlock machine to create a finished edge that prevents fraying. It’s perfect for knit fabrics and adds a professional touch to casual garments.
By familiarizing yourself with these different types of hems, you’ll be better equipped to choose the right technique for your projects. Visit our website to learn more and get started today! Click here.
Essential Tools for Sewing Perfect Hems
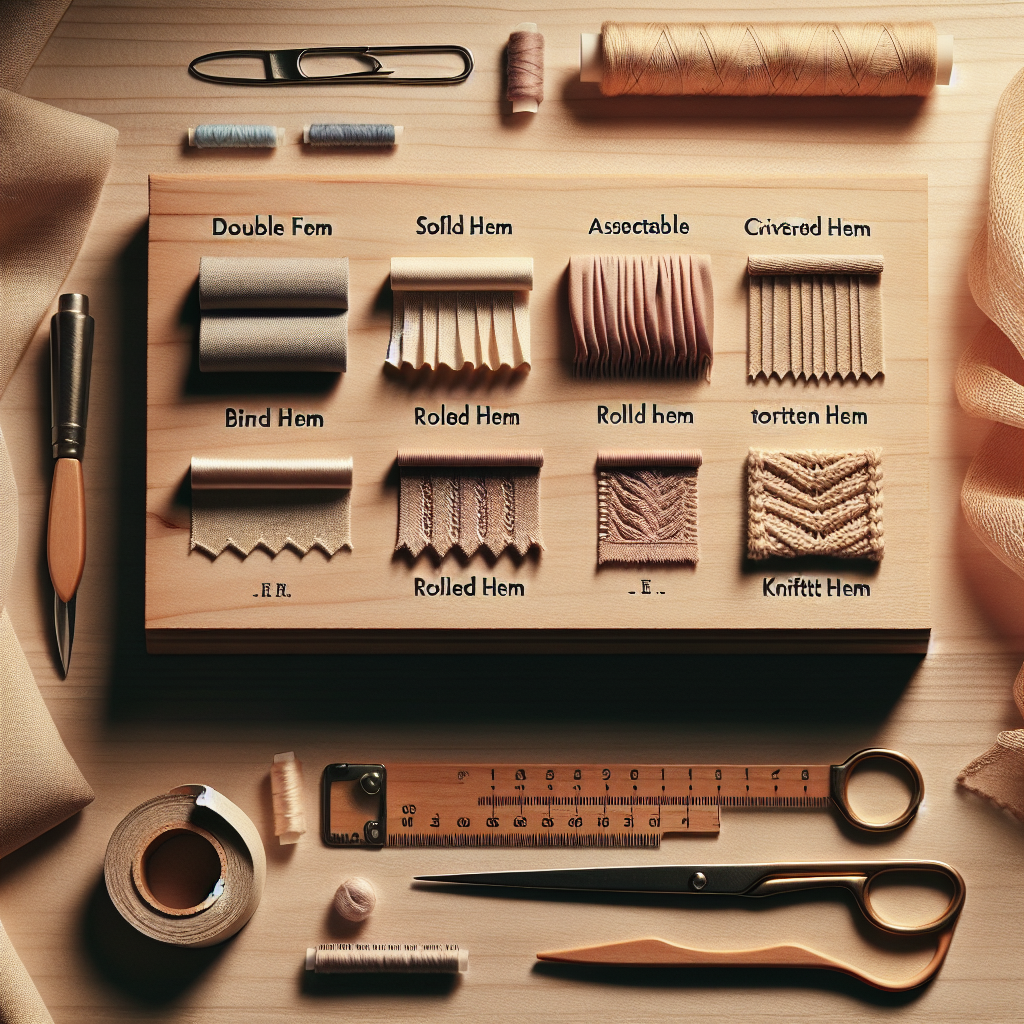
To achieve impeccable hems, having the right tools at your disposal is essential. Each tool serves a unique purpose and can significantly enhance your sewing experience. Here are some must-have tools for sewing perfect hems:
- Measuring Tape: Accurate measurements are foundational in sewing. A flexible measuring tape allows you to measure curves and straight edges easily.
- Fabric Scissors: Invest in a good pair of fabric scissors for precise cutting. Dull scissors can lead to uneven hems, so keep them sharp!
- Iron and Ironing Board: Pressing fabric is crucial for creating crisp hems. An iron helps set your stitches and gives your hems a professional finish.
- Sewing Machine: A reliable sewing machine is a key player in achieving consistent hems. Ensure you have the right needle and foot for the type of hem you plan to sew.
- Hem Gauge: This handy tool is perfect for measuring and marking hem lengths. Its adjustable slider makes it easy to replicate measurements accurately.
- Pinning Tools: Use pins or fabric clips to secure your hem in place before sewing. This prevents slippage and ensures even stitching.
Equipping yourself with these essential tools will streamline your workflow and elevate the quality of your hems, making your sewing projects more enjoyable and successful.
Step-by-Step Guide to Sewing Hems

Sewing hems may seem daunting at first, but with a clear step-by-step approach, you can master this essential sewing technique. Follow these guidelines for flawless hems:
- Prepare Your Fabric: Begin by washing, drying, and pressing your fabric to prevent any shrinkage after you’ve sewn the hem.
- Decide on Hem Width: Determine how wide you want your hem to be. Common widths range from 1/4 inch to 2 inches, depending on the garment style.
- Mark the Hem: Using a fabric marker or chalk, mark the desired hemline on your fabric. A hem gauge can help ensure accuracy.
- Fold and Press: Fold the hem up to the marked line, pin in place, and press with an iron to create a crisp edge. This sets the hem and makes it easier to sew.
- Sew the Hem: Using your sewing machine, sew along the folded edge. Use a straight stitch or a zigzag stitch, depending on the fabric type. Make sure to remove pins as you sew.
- Finish the Raw Edge: To prevent fraying, finish the raw edge with a zigzag stitch, serger, or pinking shears.
- Press Again: Once sewn, give your hem a final press to ensure it lays flat and looks polished.
By following this step-by-step guide, you’ll be well on your way to creating professional-looking hems that enhance the overall appearance of your sewing projects.
Common Mistakes to Avoid When Sewing Hems

Even seasoned sewists can encounter issues when sewing hems, which can lead to frustration and unsatisfactory results. To ensure your hems turn out perfectly, here are some common mistakes to avoid:
- Skipping the Pre-Wash: Failing to wash your fabric before sewing can result in shrinkage, which may distort your hem after the garment is complete.
- Incorrect Hem Width: Not measuring your hem width accurately can lead to uneven hems. Always double-check your markings before cutting and folding.
- Not Using the Right Stitch: Choosing an inappropriate stitch type for your fabric can affect the hem’s durability and appearance. For instance, using a straight stitch on stretchy fabrics may cause puckering.
- Poor Pinning: Inadequate pinning can lead to shifting fabric layers while sewing, resulting in crooked hems. Take the time to pin securely and consistently.
- Ignoring Fabric Grain: Cutting hems against the fabric grain can cause distortion. Always align your hem with the fabric grain for a smoother finish.
- Neglecting to Press: Skipping the pressing step can leave hems looking wrinkled and unprofessional. Always press your hem at each stage for the best results.
By being aware of these common pitfalls, you can improve your sewing technique and achieve beautifully finished hems every time.
Creative Hem Finishing Techniques to Try

Once you’ve mastered the basics of hemming, it’s time to explore some creative hem finishing techniques that can elevate your sewing projects. These methods not only add a unique touch but also enhance the overall aesthetic of your garments. Here are some innovative options to consider:
- Bias Binding: This technique involves using bias tape to finish the hem, providing a clean and stylish edge. It’s perfect for curves and adds a pop of color or pattern.
- Rolled Hem: Ideal for lightweight fabrics like chiffon or silk, a rolled hem creates a narrow, delicate finish. This technique can be executed with a rolled hem foot or by manually folding the fabric.
- Overlocked Hem: Use an overlocker (serger) to create a professional-looking hem with a clean finish. This method prevents fraying and works well with knits and stretchy fabrics.
- Fringed Hem: For a casual or bohemian look, try a fringed hem. Simply trim the fabric to the desired length and pull threads to create a frayed edge.
- Decorative Stitches: Incorporate decorative stitches along the hemline for an artistic flair. This technique can showcase your personality and creativity.
- Hand-stitched Hem: A hand-stitched hem can add a touch of elegance to your garments. Techniques like the blind hem stitch or slip stitch are perfect for achieving an invisible finish.
Experimenting with these creative hem finishing techniques can turn a simple hem into a standout feature of your sewing projects, allowing you to express your personal style.
Troubleshooting Tips for Hem Sewing Issues

Even the most seasoned sewists encounter challenges while sewing hems. Understanding common issues and how to resolve them can save you time and frustration. Here are some troubleshooting tips for hem sewing issues that can help you achieve a polished finish:
- Uneven Hem Length: If your hem appears uneven, check that you’re using a hem gauge or measuring tape consistently. Ensure that the fabric is laid flat and adjust as necessary before securing your hem.
- Fabric Bunching: Bunching often occurs with fabrics that have a lot of stretch. To prevent this, use a walking foot or a Teflon foot to guide the fabric smoothly through the machine.
- Puckering: Puckering can happen when the tension is too tight or the fabric is not adequately supported. Adjust the tension settings on your sewing machine and consider using a stabilizer for delicate fabrics.
- Visible Stitches: If your stitches are visible on the right side of the fabric, try using a longer stitch length or a narrower hem allowance. A blind hem stitch can also help conceal stitches.
- Fabric Fraying: To prevent fraying, finish raw edges with an overlock stitch or zigzag stitch. Additionally, consider using pinking shears to trim edges for a decorative touch while preventing fray.
By keeping these troubleshooting tips for hem sewing issues in mind, you can tackle any problems that arise and continue to create beautiful, well-finished garments. Visit our website to learn more and get started today! Click here.

