When embarking on your sewing journey, one of the first steps is to understand the various types of sewing patterns available. Each pattern serves a different purpose and caters to different skill levels, making it essential to choose the right one for your project.
There are primarily three categories of sewing patterns:
- Commercial Patterns: These are pre-made patterns sold in stores or online. They come in various sizes and styles, providing a straightforward option for beginners to start with. Most commercial patterns include detailed instructions, making them user-friendly.
- PDF Patterns: These digital patterns have gained popularity in recent years. Customers can purchase and download them, printing the pattern at home. PDF patterns often allow for greater customization and are environmentally friendly.
- Custom Patterns: For those with more experience, creating custom patterns can be incredibly rewarding. This involves drafting a pattern based on specific measurements and design preferences, allowing for a unique and personalized garment.
Understanding these different types of patterns will help you make informed choices about your sewing projects. Whether you are just starting out or looking to expand your skills, choosing the right pattern is crucial for success. Visit our website to learn more and get started today! Click here.
Essential Tools for Working with Patterns
Equipping yourself with the right tools is vital for working efficiently with sewing patterns. Having the appropriate tools not only enhances your sewing experience but also ensures precision and accuracy in your projects. Here’s a list of essential tools that every sewing enthusiast should consider:
- Fabric Scissors: A good pair of fabric scissors is crucial. They should be sharp and dedicated solely to cutting fabric to ensure clean edges and prevent fraying.
- Pattern Weights: Instead of using pins, pattern weights are a great alternative for holding your pattern pieces in place while cutting. They prevent shifting and can be more efficient, especially with slippery fabrics.
- Measuring Tools: A measuring tape and ruler are indispensable. They allow you to accurately measure fabric and ensure that your pattern pieces align correctly.
- Tailor’s Chalk or Marking Pens: These tools help you mark fabric without leaving permanent marks. They are essential for transferring pattern markings onto your fabric.
- Seam Ripper: Mistakes happen, and a seam ripper is your best friend for quick corrections. It easily removes stitches, allowing you to fix errors without damage to your fabric.
- Rotary Cutter and Cutting Mat: For a more professional finish, consider using a rotary cutter and a self-healing cutting mat. This combination offers precise cuts and is particularly effective for straight edges.
Investing in these essential tools will significantly enhance your sewing experience and help you achieve better results with your patterns.
Preparing Your Fabric for Pattern Cutting
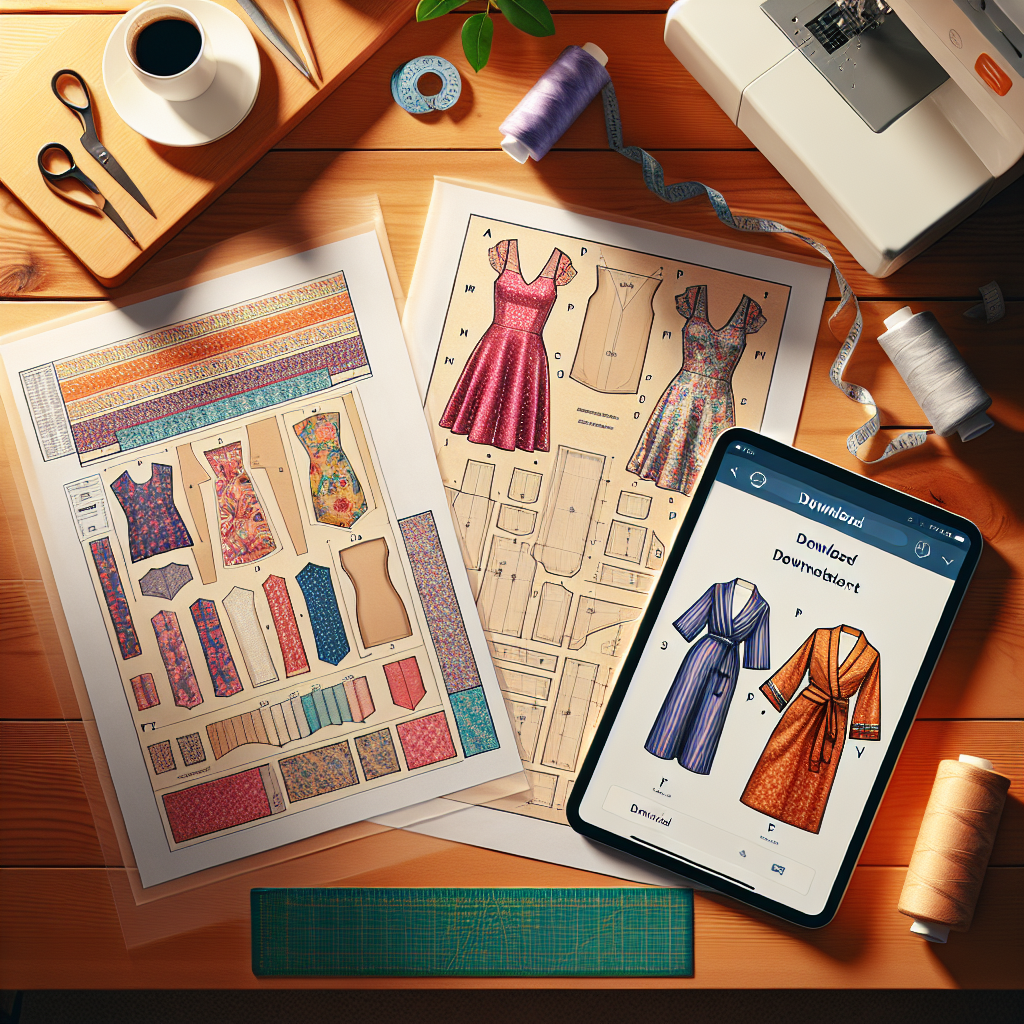
Before diving into the exciting world of sewing patterns, it’s crucial to prepare your fabric adequately. Proper fabric preparation can make a significant difference in the quality of your finished project. Here are some key steps to follow:
- Pre-Wash Your Fabric: Always wash your fabric before cutting. This step removes any sizing or chemicals that may affect the fabric’s drape and ensures that it won’t shrink after you’ve sewn your project together.
- Press Your Fabric: After washing, press your fabric to eliminate wrinkles. Smooth, flat fabric allows for more accurate pattern placement and cutting. Be mindful of the fabric type and use the appropriate heat settings on your iron.
- Check the Grain: Understanding the grain of the fabric is essential. Align your pattern pieces with the fabric grain to ensure that the final garment hangs correctly and maintains its shape.
- Cutting Layout: Before cutting, lay out your pattern pieces according to the recommended cutting layout. This layout helps you utilize the fabric efficiently and minimizes waste.
- Stabilizing Delicate Fabrics: If you’re working with delicate fabrics, consider using a lightweight stabilizer or interfacing to prevent stretching and distortion during cutting.
By taking the time to prepare your fabric properly, you set a solid foundation for your sewing project. This preparation not only enhances the overall outcome but also boosts your confidence as you work with your chosen patterns.
Techniques for Accurate Pattern Placement
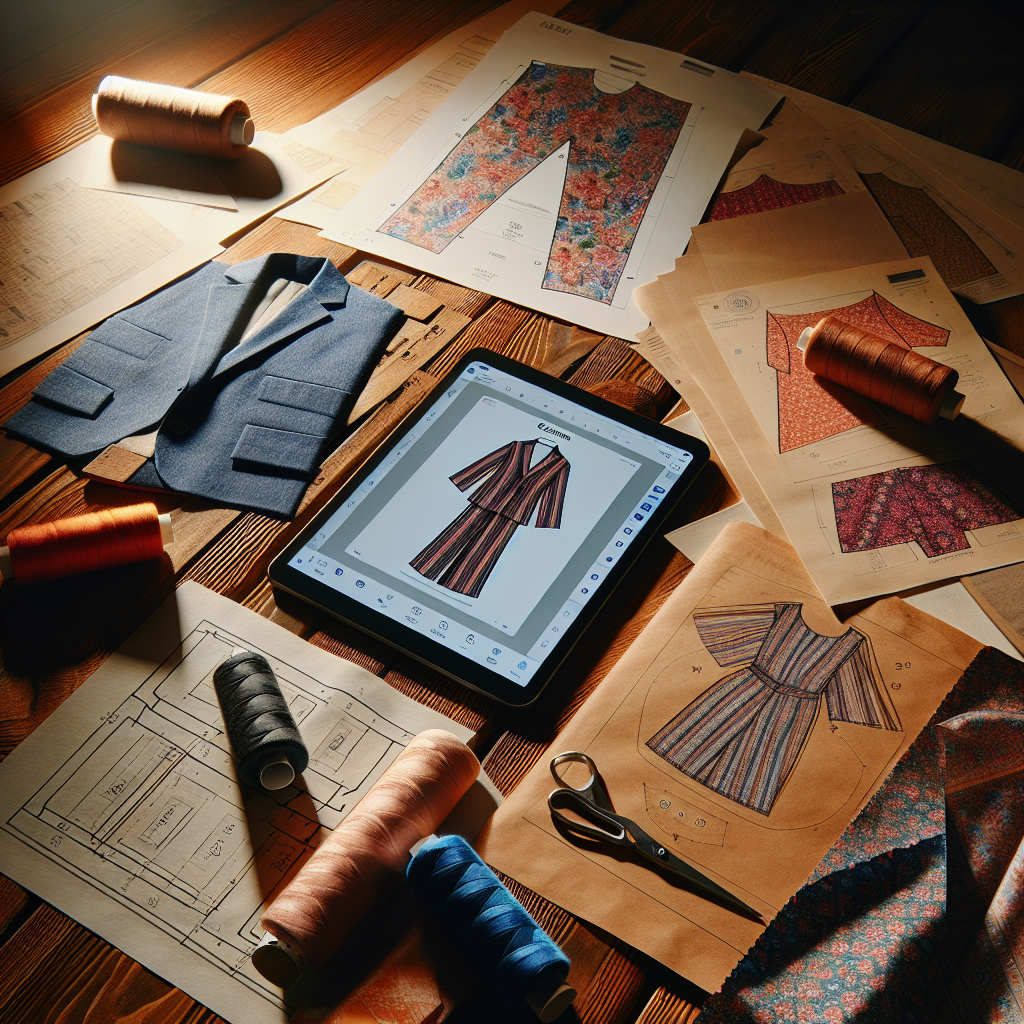
Once your fabric is prepped and ready, the next step is ensuring that your pattern pieces are placed accurately. Proper pattern placement is vital for achieving a well-fitting garment and ensuring design elements align correctly. Here are some effective techniques to enhance your pattern placement:
- Use Weights Instead of Pins: To prevent distortion, consider using pattern weights instead of pins. Weights allow the fabric to lay flat without leaving holes or marks, ensuring a cleaner cut.
- Align Pattern Notches: Pay close attention to the notches on your pattern pieces. These markings are crucial for matching seams and ensuring that all elements fit together beautifully.
- Check for Fabric Nap: If your fabric has a nap (like velvet or corduroy), make sure all pattern pieces are laid in the same direction to maintain a consistent look.
- Use a Measuring Tape: Measure distances from the fabric edges to your pattern pieces to ensure uniform placement. This practice is especially important for complex designs where precision is key.
- Double-Check Your Grainlines: Ensure that the grainlines on your pattern pieces are aligned with the fabric grain. Misalignment can lead to garments that twist or hang incorrectly.
Applying these techniques will enhance your accuracy in pattern placement, leading to more professional-looking results. Each step you take to ensure precision brings you one step closer to a beautifully crafted piece.
Common Mistakes to Avoid When Using Patterns
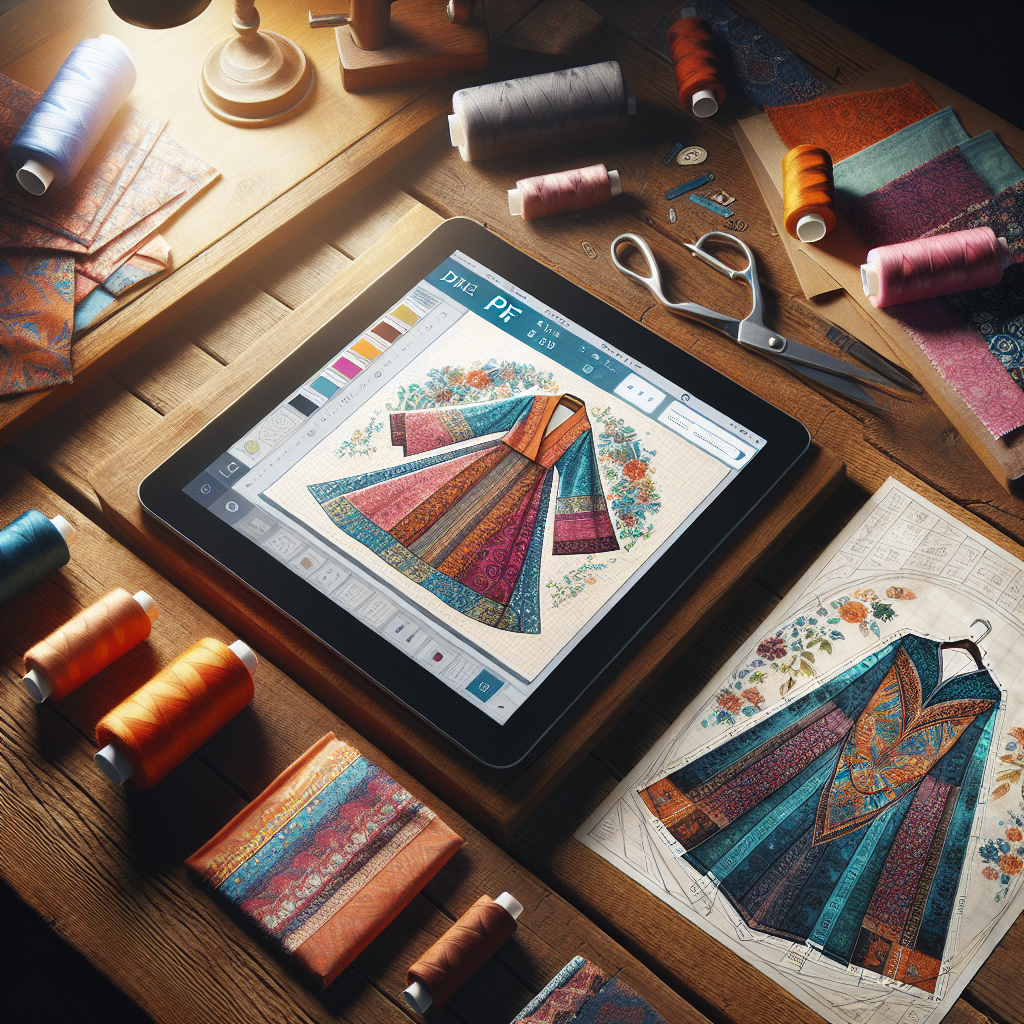
Understanding the common pitfalls when working with sewing patterns can save you time, fabric, and frustration. Here are some prevalent mistakes to avoid to ensure your sewing projects turn out as envisioned:
- Ignoring Fabric Recommendations: Each pattern comes with specific fabric suggestions. Ignoring these can lead to poor drape and fit. Always check the pattern envelope for recommended materials.
- Skipping the Pre-Wash: Failing to pre-wash your fabric can result in shrinkage after you’ve completed your garment, leading to fit issues. Always wash and dry your fabric according to its care instructions before starting.
- Not Making a Muslin: For complex patterns or new techniques, consider making a muslin (a test garment) first. This practice can help you identify fit issues without risking your fashion fabric.
- Overlooking Pattern Markings: Pattern markings such as darts, pleats, and button placements are essential for construction. Neglecting these markings can result in misaligned seams and poor fit.
- Cutting Without Planning: Always lay out your pattern pieces and plan your cuts carefully. Hasty cutting can waste fabric and result in unintentional mistakes, especially with patterned fabrics.
By being aware of these common mistakes, you can enhance your sewing experience and achieve better results. Avoiding these pitfalls will contribute to your growth as a skilled sewing enthusiast.
Tips for Adjusting Patterns to Fit Perfectly
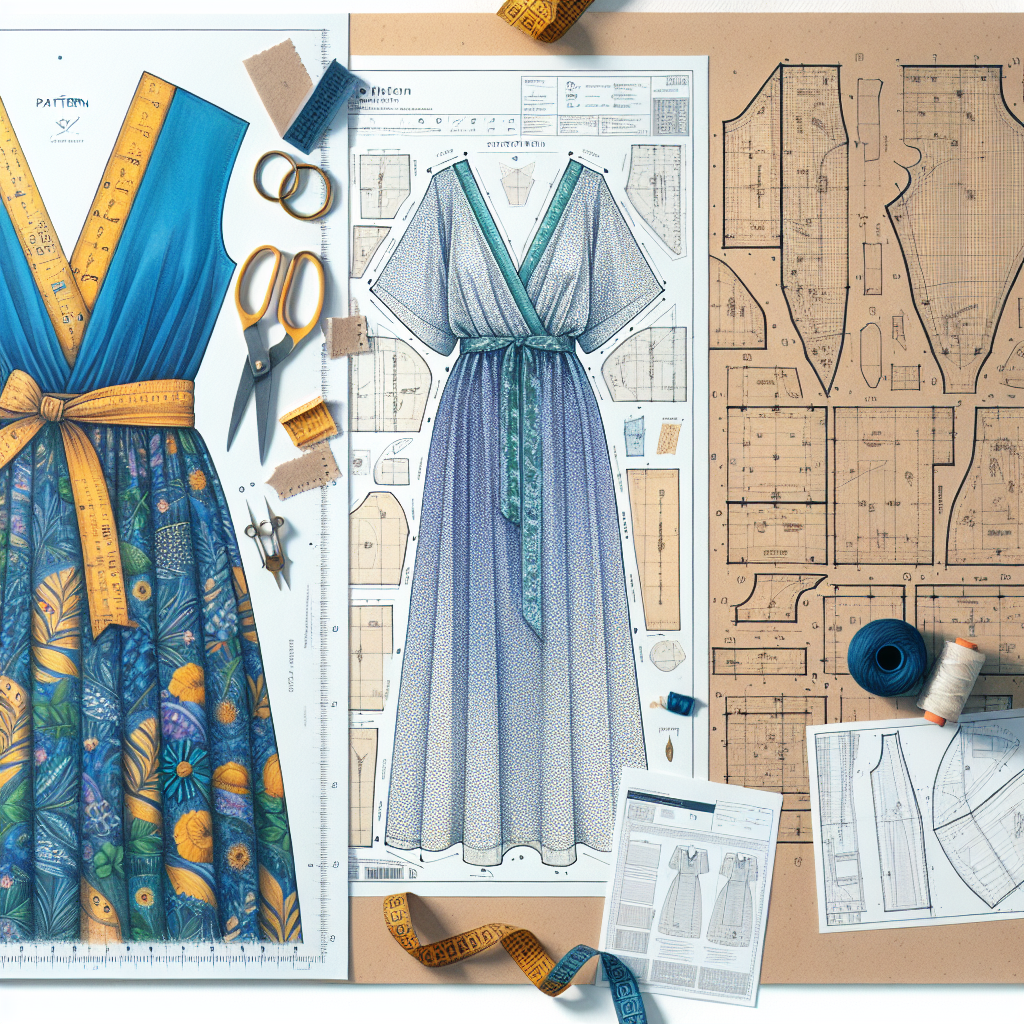
Achieving a perfect fit is one of the most rewarding aspects of sewing. Here are some essential tips for adjusting patterns that can help you tailor your garments to your unique body shape:
- Take Accurate Measurements: Before making any adjustments, ensure that you take precise measurements of your bust, waist, hips, and any other relevant areas. Compare these measurements with the pattern size chart to choose the correct size.
- Length Adjustments: If the pattern is too long or short, make length adjustments at the designated lines on the pattern. This can be done at the hem for skirts and pants or at the waist for dresses and tops.
- Adding or Removing Ease: If you find a pattern too tight or loose, you can add or remove ease. This can be accomplished by taking in or letting out seams or by adjusting the side seams of the pattern before cutting.
- Full Bust Adjustments: For those with a larger bust, consider performing a full bust adjustment (FBA) to ensure the garment fits comfortably. This involves altering the front pattern piece to add extra fabric where needed.
- Use the Muslin Method: As mentioned earlier, creating a muslin of your pattern can help you make fit adjustments before cutting into your final fabric. This practice allows you to see how the pattern fits and make necessary changes.
With these tips, you can confidently adjust sewing patterns for a perfect fit every time. Visit our website to learn more and get started today! Click here.
