If you’re looking to add a touch of elegance and style to your sewing projects, learning how to sew pleats is an essential skill. Pleats not only enhance the aesthetic appeal of garments but also allow for better movement and fit. For beginners, the concept of pleating may seem daunting, yet it can be broken down into simple, manageable steps.
Pleats are folds of fabric that are sewn into place, creating texture and depth. They can vary in size, style, and placement, making them incredibly versatile for different types of garments, from skirts to blouses. Understanding the basics of pleats can open up a world of creative possibilities in your sewing journey.
Before diving into the techniques, it’s important to gather the right materials. You will need:
- Fabric: Choose a fabric that holds pleats well, such as cotton or polyester.
- Measuring tools: A ruler and fabric measuring tape are essential for accurate dimensions.
- Sewing machine: Familiarize yourself with your machine, especially the stitch types.
- Iron: Pressing is key in achieving crisp, professional-looking pleats.
To kickstart your pleating journey, visit our website to learn more and get started today! Click here.
Essential Tools and Materials for Pleating
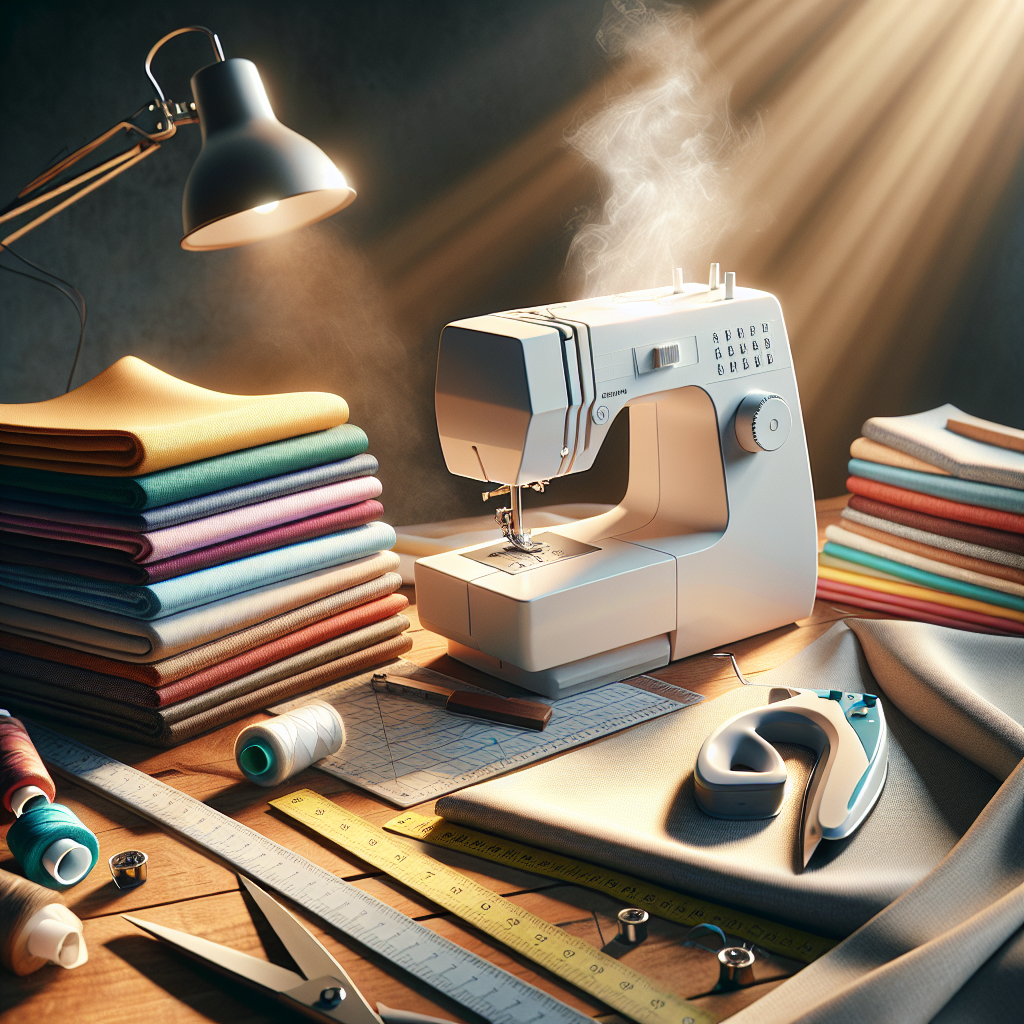
Before you embark on your pleating adventure, it’s crucial to gather all the essential tools and materials that will help you achieve the best results. Having the right equipment on hand not only makes the process smoother but also enhances the final outcome of your pleated projects.
Here’s a list of the key items you will need:
- Fabric: Select a fabric that drapes well and can hold a pleat. Common choices include cotton, linen, and lightweight polyester.
- Measuring Tape: A flexible measuring tape is vital for accurate measurements. It ensures that your pleats are evenly spaced and consistent throughout.
- Ruler or Quilter’s Ruler: A clear ruler will help you mark precise lines for your pleats, making it easier to fold and sew accurately.
- Fabric Chalk or Marker: Use fabric chalk or a fabric-safe marker to outline where your pleats will go. This will serve as a guide during the sewing process.
- Sewing Machine: A sewing machine with adjustable stitch length and tension is ideal for sewing pleats. Make sure to familiarize yourself with its settings beforehand.
- Pressing Iron: A good-quality iron is essential for pressing pleats into place. Proper pressing helps maintain the shape and crispness of the pleats.
- Thread: Choose a thread that matches your fabric. A strong, durable thread will ensure that your pleats hold together well.
Having these tools and materials ready will set you up for success in creating beautiful pleats. As you get accustomed to working with these essentials, you’ll find that your skills and confidence will grow, paving the way for more complex pleating techniques in the future.
Step-by-Step Guide to Creating Perfect Pleats
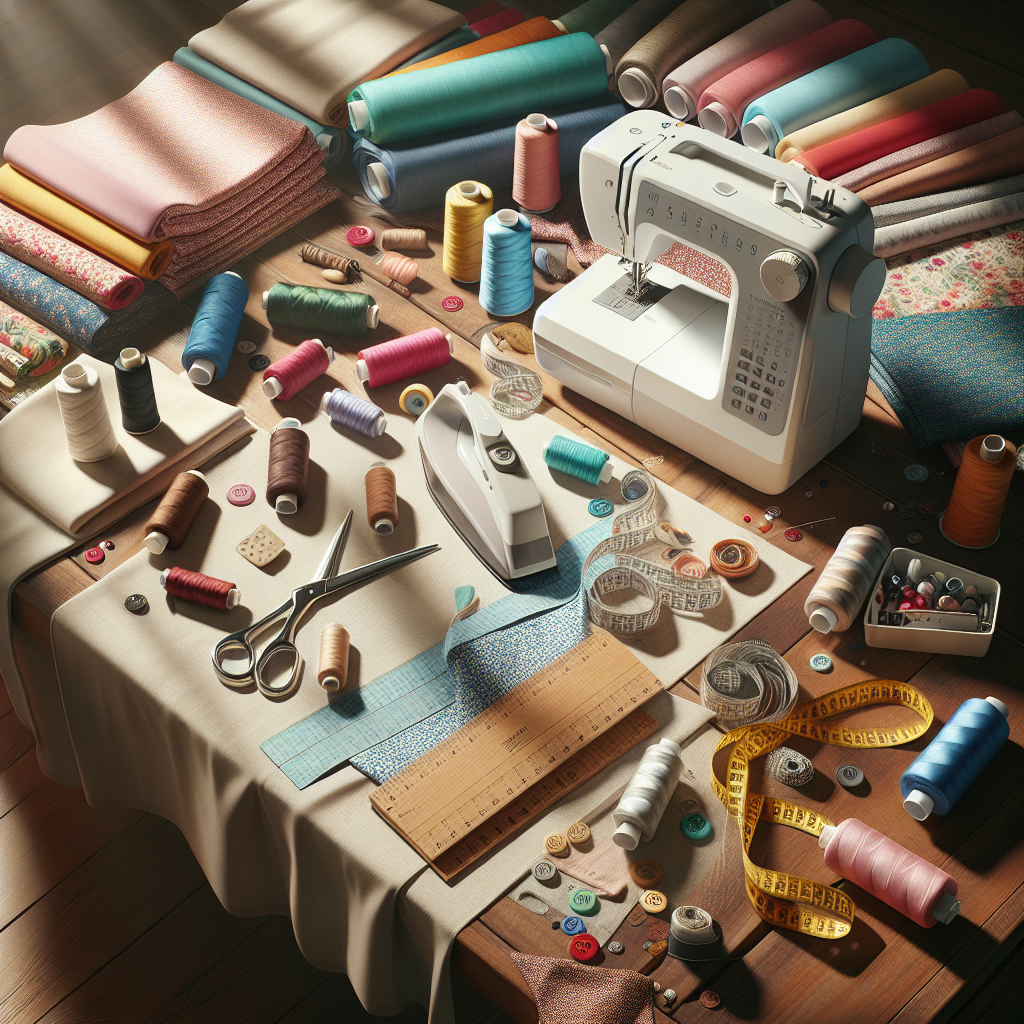
Creating perfect pleats may seem daunting at first, but with a clear step-by-step guide, you can master this technique in no time! Follow these simple instructions to achieve beautifully tailored pleats that will elevate your sewing projects.
- Measure and Mark: Begin by measuring the desired length and width of your pleats on the fabric. Use your measuring tape and a ruler to ensure accuracy. Mark your pleat lines with fabric chalk or a fabric-safe marker.
- Fold the Fabric: Start folding the fabric along the marked lines. For knife pleats, all folds go in one direction, while for box pleats, alternate the direction of the folds. Pin each fold in place to keep them secure.
- Press the Folds: Use your pressing iron to carefully press the folds. This step is crucial as it helps set the pleats and gives them a crisp appearance. Make sure to press gently to avoid damaging the fabric.
- Sew the Pleats: With the pleats pinned and pressed, it’s time to sew! Start at the top of the pleat and sew down to secure it. Use a straight stitch and backstitch at the beginning and end to ensure durability. Repeat this for each pleat.
- Finish the Edges: After sewing the pleats, you may want to finish the raw edges to prevent fraying. Zigzag stitching or using a serger can help secure the edges effectively.
- Final Press: Once all pleats are sewn, give them a final press with the iron to set the shape. Be cautious with the heat settings based on your fabric type to avoid damage.
By following these steps, you will create stunning pleats that add texture and style to your sewing projects. With practice, you’ll become more comfortable with the process, allowing you to experiment with different fabric types and pleat styles!
Common Mistakes to Avoid When Pleating
Pleating can be a beautiful addition to any sewing project, but it’s important to avoid some common pitfalls that can lead to frustrating results. Here are key mistakes to watch out for when learning how to sew pleats:
- Inaccurate Measurements: One of the most frequent mistakes is not measuring accurately. Always double-check your measurements and use a reliable measuring tool to avoid uneven pleats.
- Skipping the Pressing Step: Failing to press your fabric before sewing pleats can result in wrinkled or misaligned pleats. Pressing not only helps shape the fabric but also makes it easier to sew precise folds.
- Over-Pinning: While it’s important to secure your pleats, over-pinning can create bulk and interfere with sewing. Use enough pins to hold the fabric in place without overcrowding the area.
- Ignoring Fabric Grain: Always pay attention to the grain of the fabric. Pleats should be cut along the grain to ensure they lay flat and maintain their shape. Cutting against the grain can lead to distortion and unevenness.
- Choosing the Wrong Fabric: Some fabrics are more challenging to pleat than others. Avoid overly thick or slippery fabrics when starting out, as they can complicate the pleating process. Instead, opt for medium-weight cotton or polyester blends.
- Neglecting to Backstitch: Not backstitching at the beginning and end of your pleats can cause them to unravel over time. Always secure your stitches to maintain the integrity of your work.
By being mindful of these common mistakes, you can enhance your pleating skills and achieve impressive results in your sewing projects. Each error is an opportunity to learn, so keep practicing and refining your technique!
Creative Ways to Incorporate Pleats in Your Projects
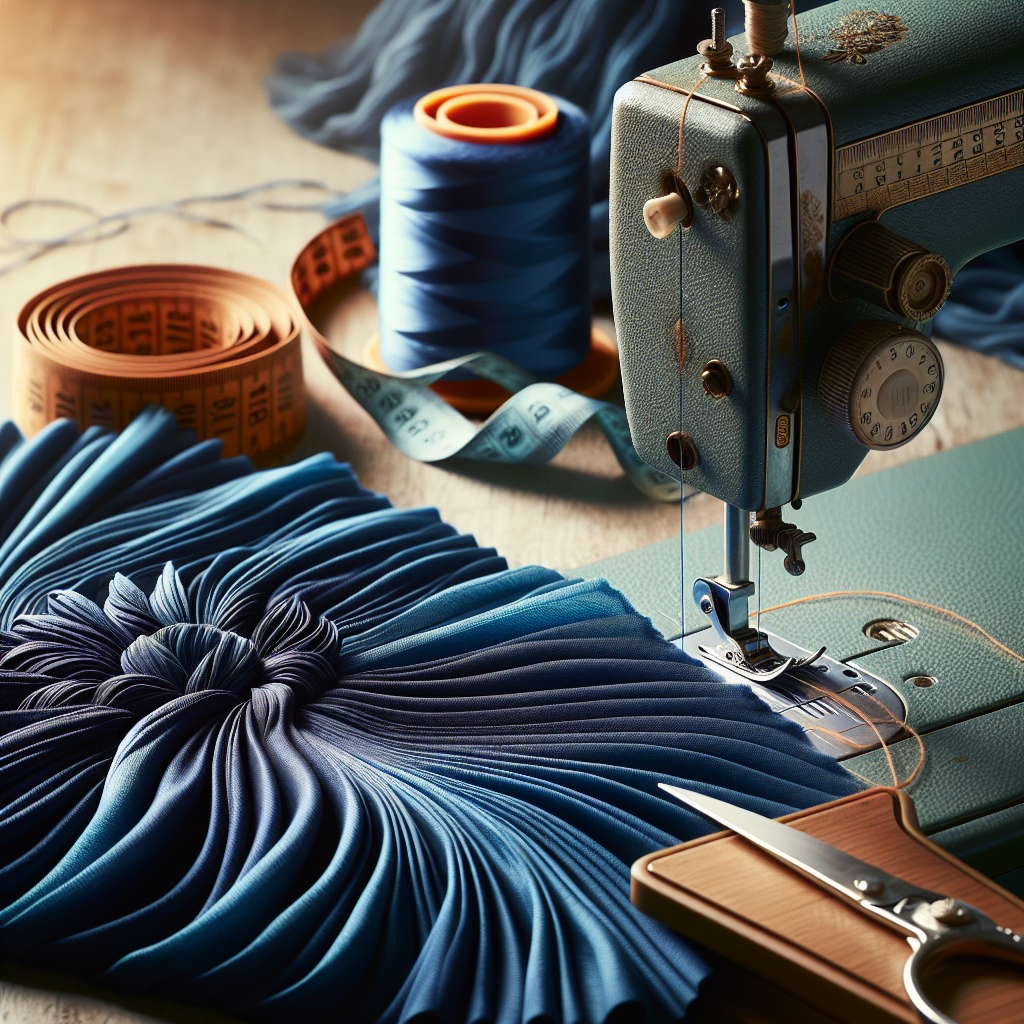
Pleats are not only functional but also add a unique aesthetic to various sewing projects. Whether you’re a beginner or an experienced sewer, incorporating pleats can elevate your creations. Here are some creative ways to incorporate pleats into your projects:
- Pleated Skirts: A classic application, pleats can transform a simple skirt into a fashionable statement piece. Experiment with different pleat sizes and depths to achieve the desired look.
- Pleated Sleeves: Add flair to blouses or dresses with pleated sleeves. This technique can create volume and movement, making your garments stand out.
- Pleated Bags: Create stylish bags by adding pleats to the sides or front. This not only enhances the design but also provides extra space for storage.
- Pleated Table Linens: Incorporating pleats into tablecloths or napkins can add elegance to your dining setting. Use contrasting fabrics to highlight the pleats for an eye-catching effect.
- Pleated Home Décor: From cushion covers to curtains, pleats can bring a sophisticated touch to your home. Consider adding pleats to throw pillows for a decorative flair.
- Pleated Accessories: Don’t forget about accessories! Adding pleats to headbands, hair clips, or belts can create chic and trendy items that complement your outfits.
By exploring these creative avenues, you can make pleats an integral part of your sewing repertoire. Let your imagination guide you, and don’t hesitate to experiment with various styles and techniques!
Conclusion and Final Tips for Sewing Pleats
As you embark on your journey to master the art of sewing pleats, remember that practice and patience are key. With the right techniques and a bit of creativity, you can create stunning pleated designs that will surely impress.
Here are some final tips for sewing pleats:
- Choose the Right Fabric: Lighter fabrics like cotton or silk work well for pleats, as they hold their shape better compared to heavier materials.
- Use a Pressing Cloth: When pressing your pleats, always use a pressing cloth to avoid damaging the fabric. This will help maintain the integrity of the pleats.
- Mark Your Pleats Clearly: Take your time to mark your pleats accurately using tailor’s chalk or fabric markers. Clear markings ensure uniformity and precision.
- Practice Makes Perfect: Don’t be discouraged by initial challenges. Keep practicing your pleating technique until you feel comfortable and confident.
- Experiment with Different Styles: Explore various pleat styles, such as knife pleats, box pleats, and even decorative pleats to find what suits your projects best.
With these tips in mind, you’re ready to tackle any pleated project with confidence. Remember, the sewing community at GrayNeedle.com is here to support you. Visit our website to learn more and get started today! Click here.
