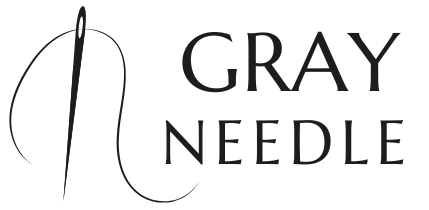
Ironing seams is a fundamental skill for anyone venturing into the world of sewing. For beginners, it may seem like a simple task; however, mastering this technique can significantly enhance the overall quality of your sewing projects. Whether you are working on a garment, a quilt, or any fabric-based creation, crisp and well-pressed seams are crucial for achieving that professional finish.
Understanding the importance of ironing seams goes beyond aesthetics. Properly pressed seams help to ensure that your fabric lays flat, which is essential for accurate measurements and alignment. This is especially vital when you’re piecing together multiple fabric sections. Additionally, ironing seams can help to reduce bulk in certain areas, allowing your final product to have a more polished and refined appearance.
As you begin your journey into sewing, it’s vital to equip yourself with the right tools and techniques for ironing seams effectively. Simple practices can lead to dramatic improvements in your sewing results. From choosing the proper heat settings to understanding the difference between pressing and ironing, each aspect plays a role in achieving the best possible outcome.
To kickstart your sewing adventure, visit our website to learn more and get started today! Click here.
Essential Tools for Ironing Seams Effectively
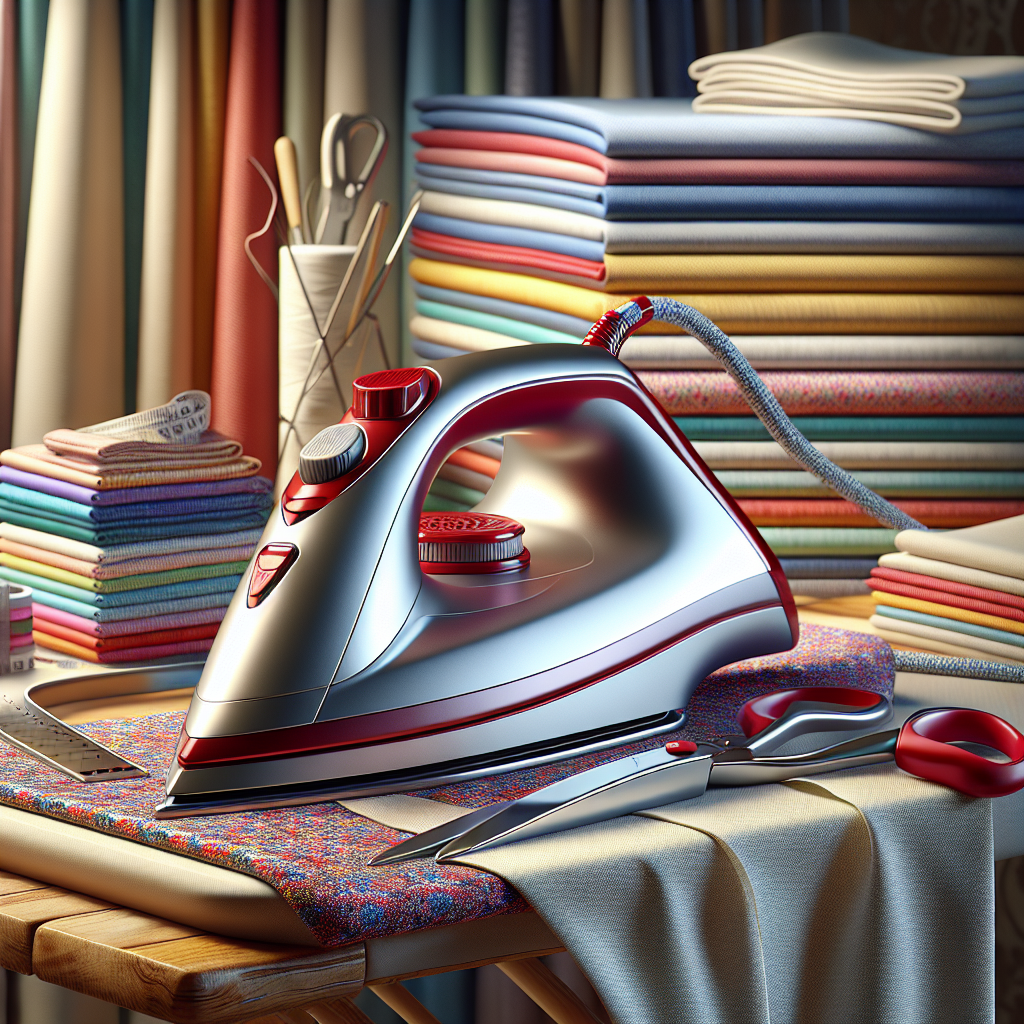
Having the right tools at your disposal is essential for effective ironing seams. This not only makes the process easier but also ensures that your results are consistent and professional-looking. Here are some essential tools that every beginner should consider:
- Iron: A good quality iron is the cornerstone of any ironing setup. Look for one with adjustable heat settings, steam options, and a smooth soleplate to glide over fabric easily.
- Ironing Board: An ironing board provides a flat, padded surface to work on. Opt for one that is height-adjustable for comfort and has a cover that allows heat to pass through easily.
- Pressing Cloth: Using a pressing cloth can protect delicate fabrics from direct heat and prevent shine. It’s especially useful for fabrics like silk or synthetics.
- Tailor’s Ham: This tool helps to press curved seams and contours, giving you better results on areas like sleeves and darts.
- Seam Roll: A seam roll is perfect for pressing seams in narrow areas or on small pieces, such as collars or cuffs, allowing you to achieve precision without flattening the surrounding fabric.
- Water Spray Bottle: Lightly misting your fabric with water before pressing can help to relax the fibers, making it easier to achieve crisp seams.
Investing in these tools will not only enhance your ironing skills but also contribute to better sewing outcomes. Each tool has its unique purpose, and together they make the task of ironing seams an efficient and effective process.
Step-by-Step Guide to Ironing Seams
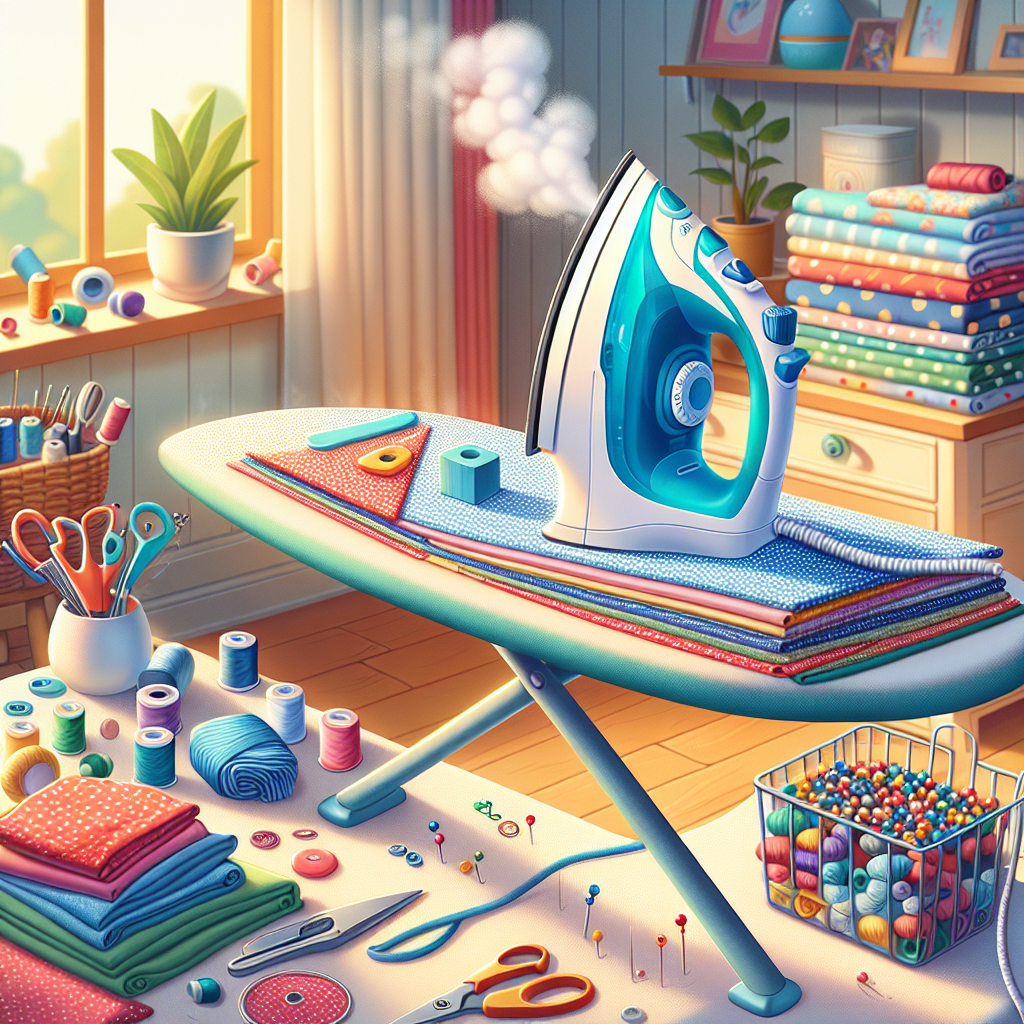
Ironing seams might seem straightforward, but following a systematic approach can dramatically improve your results. Here’s a step-by-step guide to help you iron seams like a pro:
- Prepare Your Workspace: Set up your ironing board in a comfortable position and ensure your iron is plugged in and pre-heated to the appropriate temperature for your fabric.
- Start with Clean Fabric: Make sure your fabric is clean and free from any wrinkles before starting. Ironing dirty fabric can set stains, making them harder to remove.
- Press Your Seams: Lay the garment or fabric flat on the ironing board. Use the tip of the iron to press open the seam allowances. This helps to create a sharp crease.
- Use Steam: For stubborn seams, use the steam function on your iron. Hold the iron slightly above the seam, and let the steam penetrate the fabric without direct contact.
- Press the Right Side: After pressing the seam allowance, flip the fabric over to the right side and gently press to smooth out any remaining wrinkles.
- Check for Crispness: Carefully inspect the seam to ensure it’s pressed evenly. If necessary, repeat the process until you achieve the desired crispness.
- Finish with a Pressing Cloth: For delicate fabrics, always finish with a pressing cloth over the seam to avoid scorching or damaging the fabric.
By following these steps, you’ll master the art of ironing seams, making your sewing projects look polished and professional.
Common Mistakes to Avoid When Ironing Seams
Even experienced sewers can encounter setbacks when ironing seams. Recognizing and avoiding common mistakes is crucial for achieving that perfect finish. Here are some common mistakes to avoid:
- Skipping the Pre-Press: Many beginners jump straight to ironing without pre-pressing the fabric. Always start with a quick press to eliminate initial wrinkles, setting the stage for a smoother seam.
- Incorrect Temperature: Using the wrong heat setting can ruin your fabric. Always check the care label and adjust the iron’s temperature accordingly to avoid scorching or damaging your seams.
- Forgetting Steam: Neglecting to use steam can lead to stubborn wrinkles remaining in seams. Utilize the steam function to help relax the fibers and achieve a crisp finish.
- Ironing Over Pins: Ironing over pins can bend your iron and damage your fabric. Always remove pins before pressing to prevent these issues.
- Not Using a Pressing Cloth: For delicate fabrics, failing to use a pressing cloth can lead to burns or shiny spots. Always shield your fabric with a cloth when pressing.
- Ironing in the Wrong Direction: Ironing seams in the opposite direction can create puckering. Always press in the direction of the seam to avoid this problem.
- Neglecting to Check for Crispness: Skipping the final inspection can leave you with uneven seams. Always check your work to ensure a professional finish.
By being aware of these common pitfalls, you can enhance your ironing technique and achieve beautifully pressed seams every time.
Tips for Maintaining Your Iron and Fabric
Maintaining your iron and fabric is essential for achieving optimal results in your sewing projects. A well-maintained iron ensures consistent performance, while proper fabric care prolongs the life of your materials. Here are some tips for maintaining your iron and fabric:
- Regularly Clean Your Iron: Build-up from starch and fabric fibers can accumulate on your iron’s soleplate. Clean it regularly using a damp cloth or specialized cleaning products to avoid transferring residue onto your fabric.
- Descale Your Iron: Hard water can lead to mineral build-up inside your iron. To prevent this, descale your iron periodically according to the manufacturer’s instructions, ensuring optimal steam performance.
- Store Your Iron Properly: When not in use, store your iron upright and ensure the cord is neatly coiled. Avoid placing heavy items on top of it to prevent damage.
- Check Cord and Plug: Regularly inspect your iron’s cord and plug for any signs of wear or damage. This not only ensures safety but also helps maintain the iron’s efficiency.
- Use the Right Fabrics: Choose fabrics that are suitable for your projects and compatible with your iron’s temperature settings. This prevents damage and ensures a smooth ironing experience.
- Pre-Wash Fabrics: Always pre-wash fabrics before sewing. This helps remove any sizing or chemicals that may affect their performance during ironing.
- Store Fabrics Properly: Keep your fabrics in a cool, dry place to prevent fading and mildew. Consider using fabric covers or bins to protect them from dust and damage.
By following these tips, you can maintain your iron and fabric effectively, ensuring that your sewing projects turn out beautifully every time.
Conclusion: Perfecting Your Ironing Technique
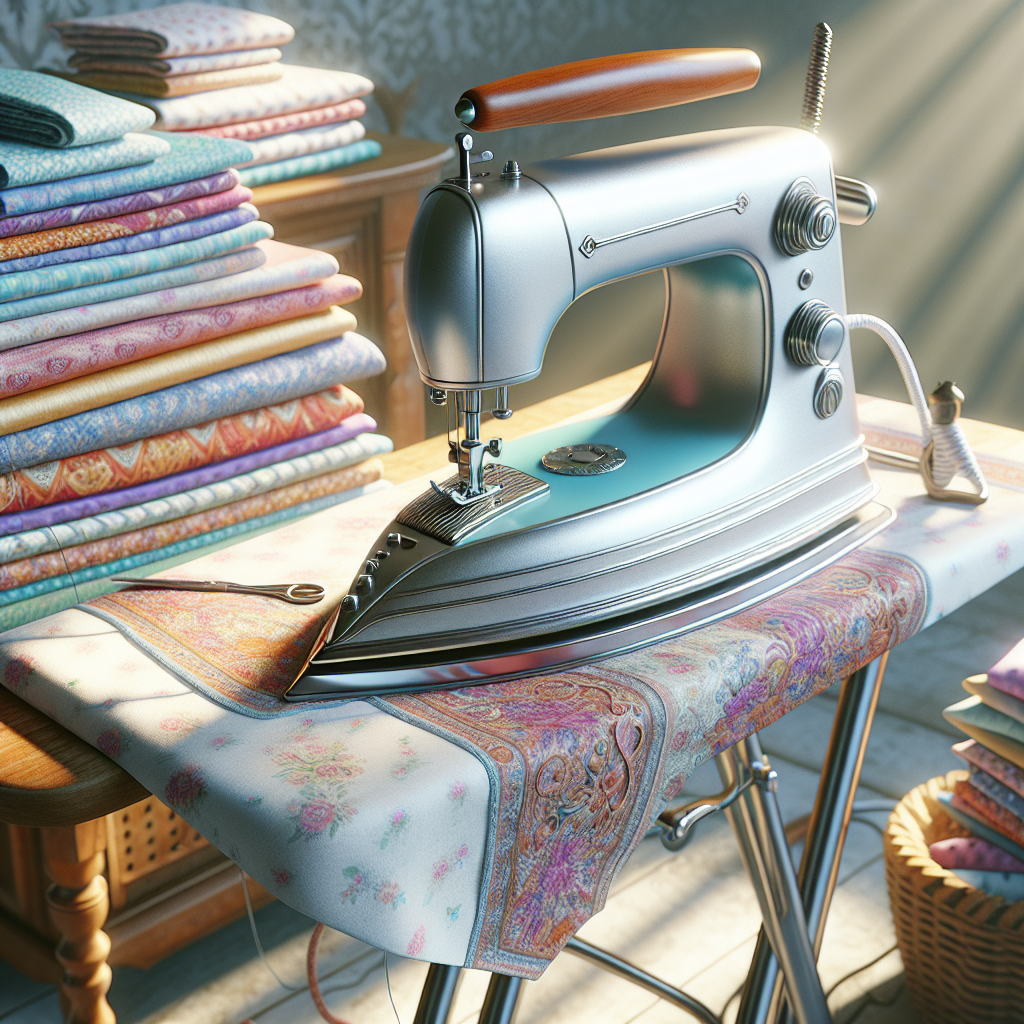
Perfecting your ironing technique is crucial for achieving professional-looking seams and a polished finish in all your sewing projects. With the right approach, tools, and knowledge, you can transform your fabric from wrinkled to crisp with ease. Remember to practice the various techniques discussed, such as using steam effectively, adjusting your iron’s temperature based on fabric type, and maintaining your iron for longevity.
As you gain confidence, experiment with different fabrics and styles, applying what you’ve learned to enhance your skills. The more you practice, the more intuitive your ironing technique will become. This will not only improve the quality of your work but also make the sewing process more enjoyable.
Visit our website to learn more and get started today! Click here.
