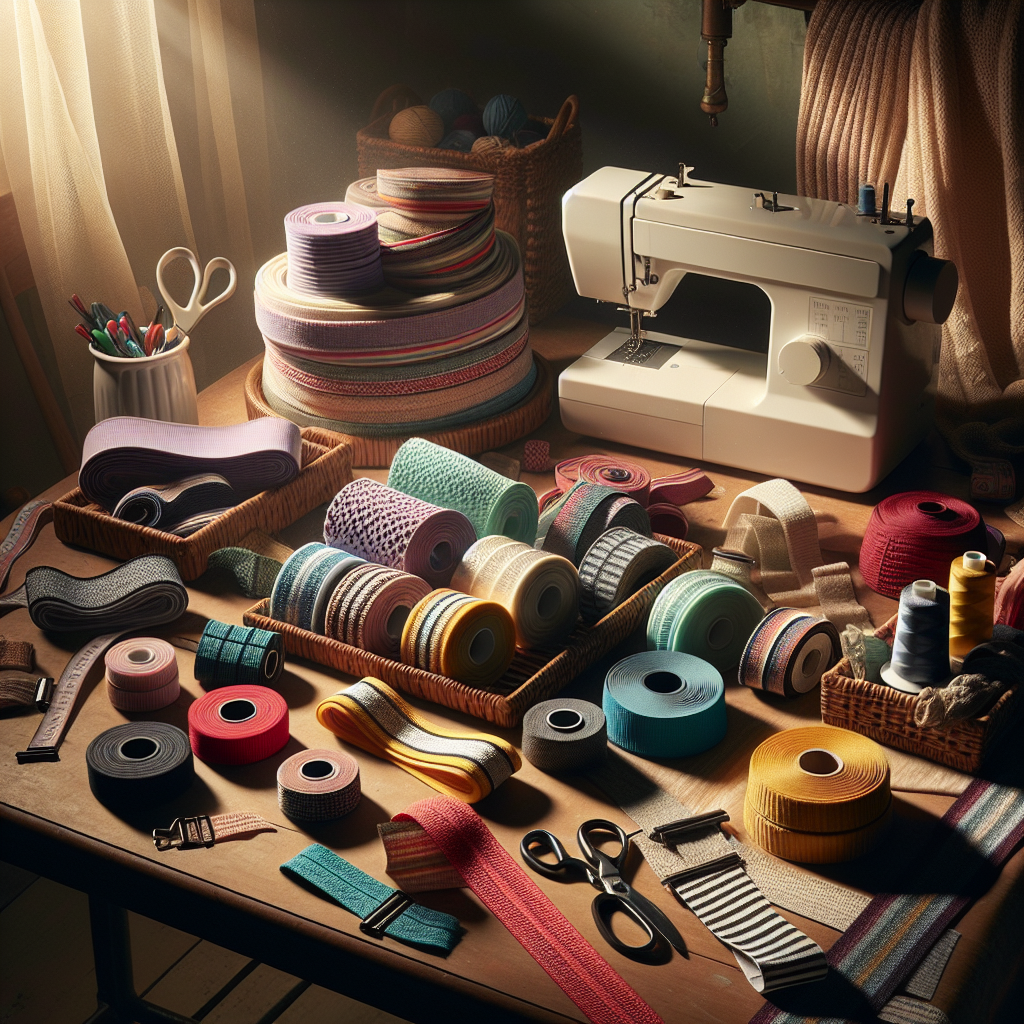
For many sewing enthusiasts, mastering the art of sewing elastic perfectly is a crucial skill that can elevate any project. Whether you’re making garments, home decor, or accessories, elastic serves as an essential component that adds flexibility and comfort. From waistband finishes to cuffs, understanding the various techniques involved in sewing elastic can make a significant difference in the quality and appearance of your work.
Before diving into the nitty-gritty of sewing elastic, it’s important to familiarize yourself with the different types of elastic available. Common varieties include:
- Soft elastic: Ideal for delicate fabrics, providing a gentle stretch.
- Knitted elastic: Offers more stretch and recovery, perfect for casual wear.
- Woven elastic: Provides stability and is often used in waistbands.
Each elastic type has its unique properties and applications, making selection crucial for achieving a flawless finish. Additionally, learning about the right stitches, tension settings, and sewing techniques will greatly enhance your sewing experience.
Ready to dive deeper into the world of elastic sewing? Visit our website to learn more and get started today! Click here.
Choosing the Right Type of Elastic

Choosing the right type of elastic is essential for achieving the desired fit and functionality in your sewing projects. With various options available, knowing which elastic to select can greatly influence the outcome of your garments and accessories. Here are some popular types of elastic and their best uses:
- Soft Elastic: This type is gentle against the skin and is perfect for items like lingerie and children’s clothing. It provides a comfortable stretch without pinching.
- Knitted Elastic: Known for its excellent stretch and recovery, knitted elastic is ideal for waistbands, sleeves, and casual garments. It conforms well to the body, making it a versatile choice.
- Woven Elastic: This elastic is more rigid and offers great support. It’s best suited for applications that require stability, such as waistbands in heavier fabrics or tailored garments.
- Clear Elastic: Often used in swimwear and activewear, clear elastic is nearly invisible and provides a discreet finish. It’s perfect for areas where you want to maintain a clean aesthetic.
- Fold-over Elastic: This elastic is designed for binding edges and is often used in sewing projects like headbands and diaper covers. Its unique design allows it to be folded over the fabric edge for a polished look.
When choosing elastic, consider factors such as the type of fabric you’re using, the stretch required, and the overall design of your project. Understanding these subtleties will ensure you select the best elastic for your needs.
Preparing Your Fabric for Elastic Application

Before you begin sewing elastic into your project, it’s crucial to prepare your fabric properly. This step will help ensure a smooth application and a professional finish. Here are some essential tips for getting your fabric ready:
- Pre-Wash Your Fabric: Always pre-wash your fabric before cutting and sewing. This process helps to remove any sizing or chemicals and allows the fabric to shrink, preventing future distortion after the elastic is added.
- Press Your Fabric: Iron your fabric to eliminate wrinkles and ensure that it lays flat. This will make it easier to measure and cut accurately, as well as assist in achieving a neat finish when sewing elastic.
- Mark Your Measurements: Use fabric chalk or a washable fabric marker to mark where the elastic will be applied. This ensures precise placement and helps you maintain an even distribution when gathering fabric.
- Choose the Right Stitch: Depending on the type of elastic and fabric, select an appropriate stitch that allows for stretch. A zigzag stitch or a stretch stitch is often recommended, as it accommodates the movement of the elastic and fabric.
- Cut Your Elastic: Measure and cut your elastic according to your project’s specifications. Remember to account for any overlaps or seam allowances, as this will ensure the elastic fits snugly without being too tight.
Taking the time to prepare your fabric properly not only enhances the overall outcome of your sewing project but also makes the process smoother and more enjoyable. By following these steps, you’ll be well on your way to achieving a flawless elastic application.
Sewing Techniques for Perfect Elastic Placement

Once your fabric is prepared, mastering the sewing techniques for perfect elastic placement is essential for achieving a polished finish. Here are several effective methods to ensure your elastic is sewn in flawlessly:
- Stretch as You Sew: When sewing the elastic, gently stretch it to fit the fabric. This technique ensures that the elastic is evenly distributed and provides the right amount of tension, creating a comfortable fit.
- Use a Walking Foot: A walking foot is beneficial when working with elastic and slippery fabrics, as it helps to feed the layers evenly through the machine. This reduces the risk of puckering and misalignment.
- Pin or Baste the Elastic: Secure the elastic to the fabric with pins or a basting stitch before sewing. This helps to hold everything in place while you sew, making it easier to achieve a straight line.
- Keep Your Stitch Line Straight: Maintain a consistent distance from the edge of the elastic while sewing. A good rule of thumb is to sew approximately 1/4 inch from the edge for a neat finish. This consistency will also help to prevent twisting.
- Topstitch for Added Security: After attaching the elastic, consider doing a topstitch along the edge. This not only gives a professional look but also secures the elastic in place, preventing it from rolling or shifting.
By employing these sewing techniques, you can ensure that your elastic is placed perfectly, enhancing both the functionality and aesthetic of your sewing projects. Mastering these methods will elevate your skills and result in beautiful, well-fitted garments.
Common Mistakes to Avoid When Sewing Elastic
When it comes to sewing elastic, even seasoned enthusiasts can encounter pitfalls that can affect the overall quality of their work. Understanding the common mistakes to avoid when sewing elastic can make a significant difference in achieving a professional finish. Here are some key errors to watch out for:
- Using the Wrong Type of Elastic: Not all elastic is created equal. Using the wrong type, such as heavy-duty elastic for lightweight fabrics, can lead to discomfort and an unflattering fit. Always choose the appropriate elastic for your fabric type and project.
- Neglecting to Pre-Stretch Elastic: Failing to pre-stretch your elastic before sewing can result in excessive bunching or sagging once the garment is worn. Always stretch the elastic slightly before attaching it to the fabric to achieve the best fit.
- Sewing with Too Much Tension: Adjusting the tension too tightly while sewing can cause the fabric to pucker. Keep the tension moderate to ensure a smooth finish without distorting the fabric.
- Ignoring Fabric Grain: Not paying attention to the fabric’s grain can lead to uneven stretching when wearing the garment. Always align your elastic and fabric according to the grain to ensure an even look and fit.
- Forgetting to Test Stitch: Skipping the test stitch can lead to unexpected results. Always test on a scrap piece of fabric to fine-tune your stitch settings and ensure the elastic behaves as expected.
By being aware of these common mistakes, you can enhance your sewing skills and achieve flawless results when working with elastic. Avoiding these pitfalls will not only save you time but also boost your confidence in your sewing projects.
Final Touches for a Professional Finish

After successfully sewing elastic into your project, it’s time to focus on the final touches for a professional finish. These finishing steps not only enhance the overall look but also ensure longevity and functionality in your garment.
- Trimming Excess Threads: Clean up any loose threads around the seams. This simple step can significantly elevate the appearance of your finished piece, making it look polished and well-crafted.
- Pressing Seams: Gently press your seams with an iron to create crisp edges. Be cautious with the heat settings, especially when working with elastic, to avoid damaging it.
- Adding a Topstitch: Consider adding a topstitch along the edge of the elastic for added security and a decorative touch. This not only reinforces the elastic but also creates a professional aesthetic.
- Using a Serger: If you have access to a serger, use it to finish the raw edges of your fabric. This will prevent fraying and give your garment a clean, tailored look.
- Checking Fit: Before you declare your project complete, try it on or have someone else try it on to check the fit. Make any necessary adjustments to ensure comfort and ease of movement.
By focusing on these final details, you can take your sewing project from good to great. Every stitch counts, and these finishing touches will leave your garment looking as if it were made by a professional. Visit our website to learn more and get started today! Click here.

