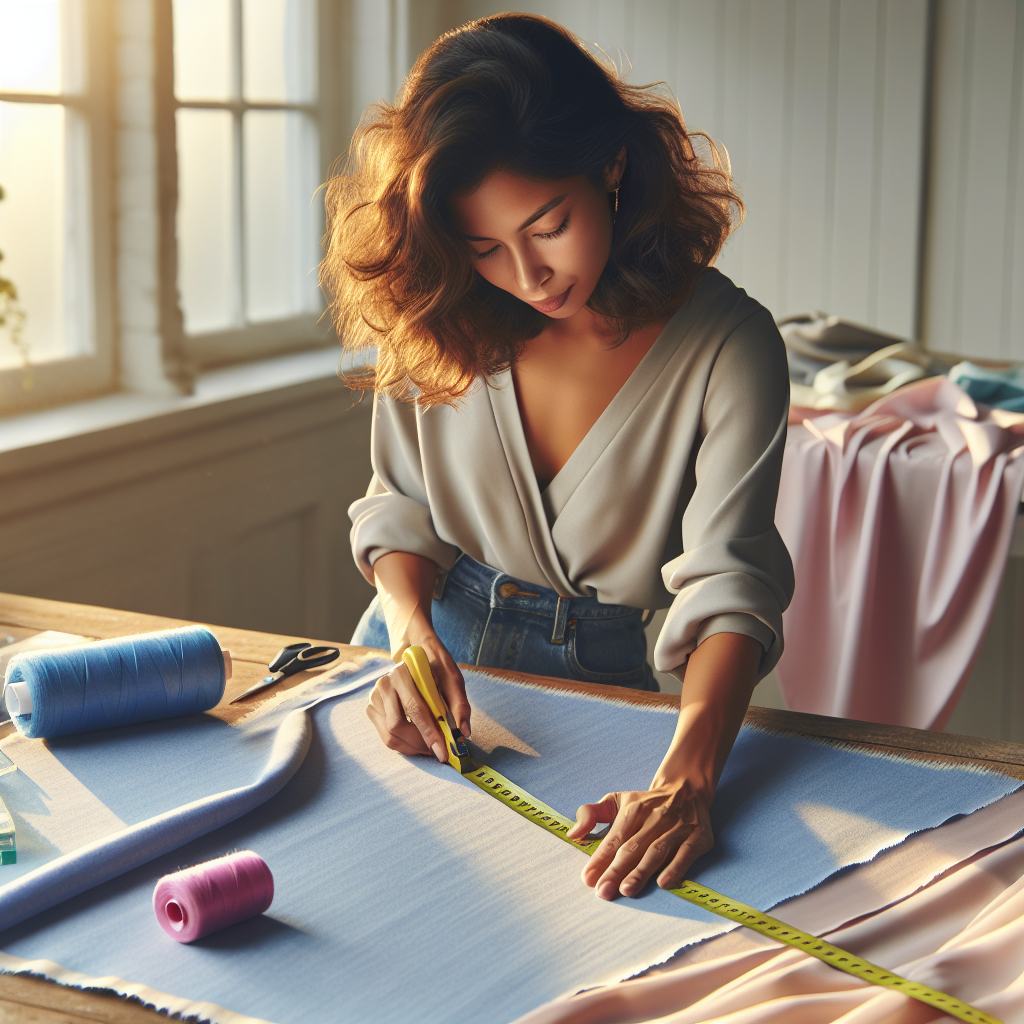
Sewing is an art that requires precision, and one of the most critical aspects of this craft is ensuring accurate measurements. Whether you are a novice or an experienced seamstress, understanding how to measure correctly can make a significant difference in the quality of your finished projects. Accurate measurements not only lead to a better fit but also enhance the overall aesthetic of your creations.
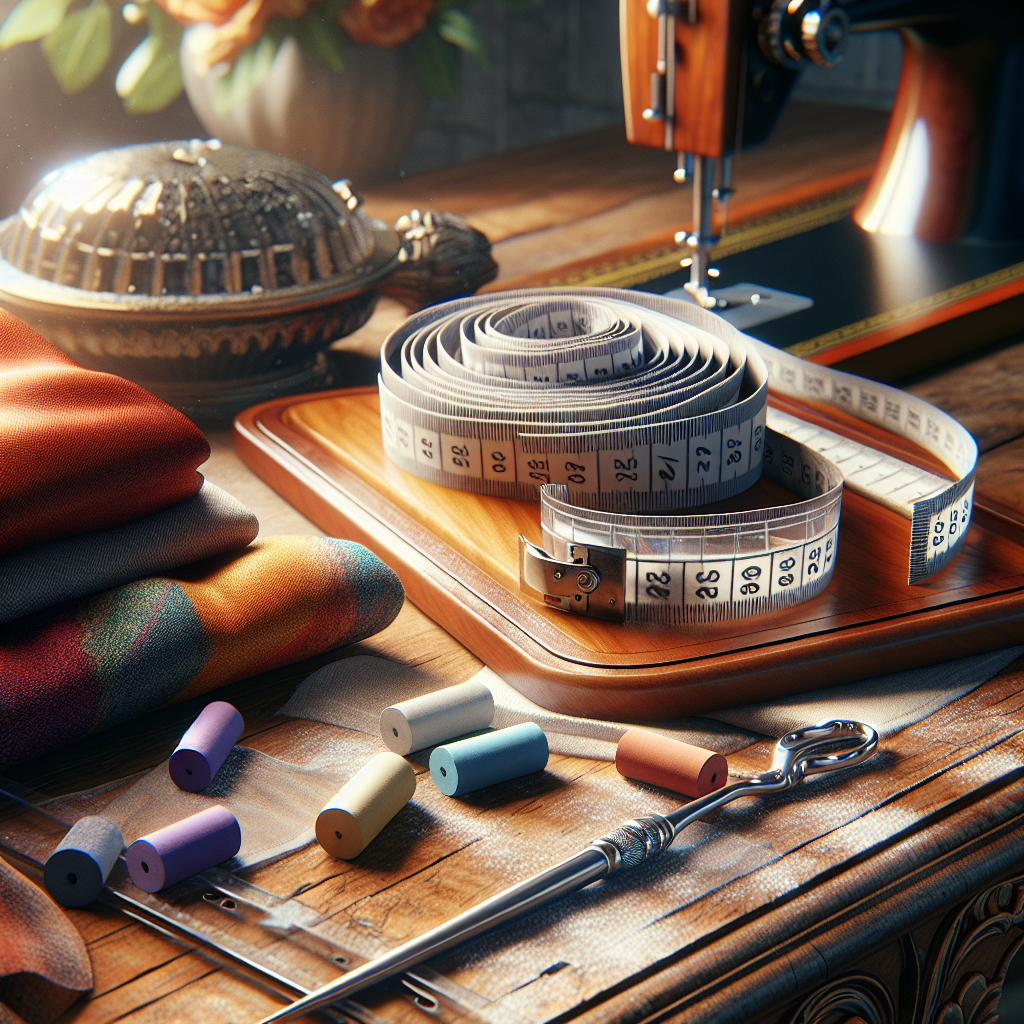
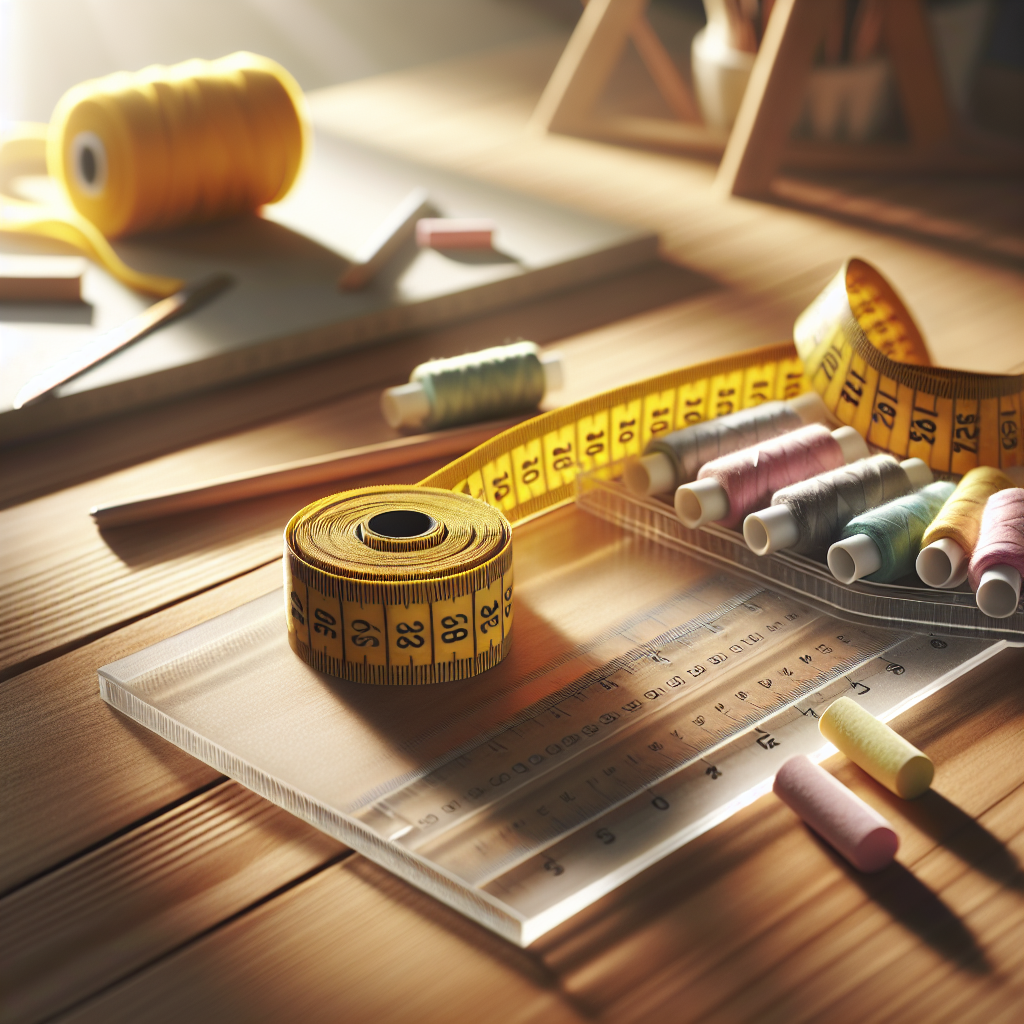
When embarking on a sewing project, it is essential to have the right tools at your disposal. A well-made measuring tape, clear ruler, and a reliable set of tailor’s chalk are just a few items that can help you achieve precise results. Additionally, consider familiarizing yourself with a variety of measuring techniques that suit different projects, whether it’s clothing, home décor, or accessories.
Moreover, the importance of taking measurements on a flat surface and ensuring the fabric is relaxed cannot be overstated. These small adjustments can prevent unnecessary alterations later on. To master the art of accurate measurements, one must also practice patience and attention to detail.
Ready to delve deeper into the world of accurate sewing measurements? Visit our website to learn more and get started today! Click here.
Essential Tools for Measuring Your Fabric

To achieve accurate measurements in sewing, having the right tools is essential. Each tool serves a specific purpose, contributing to the overall precision of your fabric measurements. Here are some of the must-have tools you should consider incorporating into your sewing kit:
- Measuring Tape: A flexible measuring tape is crucial for taking body measurements and measuring fabric lengths. Opt for a tape that has clear markings, preferably both inches and centimeters.
- Clear Ruler: A clear ruler is perfect for measuring straight lines and ensuring accuracy when cutting fabric. Look for one with both metric and imperial measurements for versatility.
- Tailor’s Chalk: This chalk allows for marking fabric without leaving permanent traces. It’s essential for indicating seam lines, darts, and other critical points on your fabric.
- Seam Gauge: A seam gauge is a small ruler with a sliding marker, ideal for measuring hems and seam allowances. It helps ensure uniformity in your sewing projects.
- French Curve: This tool is perfect for creating smooth curves when drafting patterns or marking on fabric. The varying edges allow for precise adjustments.
- Pattern Weights: Instead of using pins, pattern weights can hold your fabric in place while cutting. They prevent shifting and keep your measurements consistent.
Investing in these tools will not only save you time but will also enhance the accuracy of your sewing projects. By equipping yourself with the right measuring tools, you’ll pave the way for successful and satisfying sewing experiences.
Techniques for Taking Accurate Body Measurements

Taking accurate body measurements is a fundamental skill in sewing that ensures your finished garments fit perfectly. Here are some effective techniques to help you gather precise measurements:
- Wear Fitted Clothing: To get the most accurate measurements, wear form-fitting clothing. Avoid bulky layers that can add extra inches to your measurements.
- Use a Reliable Measuring Tape: Ensure your measuring tape is flexible and easy to read. When measuring, hold the tape firmly but not too tight; it should lay flat against your body without compressing the skin.
- Measure at the Right Points: Familiarize yourself with the key measurement points on your body. Common measurements include:
- Bust: Measure around the fullest part of your bust, ensuring the tape is straight and parallel to the floor.
- Waist: Measure at the narrowest part of your waist, usually just above the belly button.
- Hips: Measure around the fullest part of your hips, keeping the tape level all around.
- Inseam: For pants, measure from the top of your inner thigh down to your ankle.
- Have Someone Assist You: If possible, have a friend assist you in taking measurements. This ensures the tape is positioned correctly and helps avoid discrepancies.
- Take Multiple Measurements: It’s wise to take each measurement two or three times to ensure consistency. Write down the largest or most consistent number for accuracy.
By mastering these techniques, you’ll be well on your way to achieving flawless fits in your sewing projects, allowing your creativity to shine through in every garment you create.
Common Measuring Mistakes to Avoid
Understanding the common pitfalls in measuring can save you time and frustration in your sewing projects. Here are some common measuring mistakes to avoid to ensure your garments fit perfectly:
- Skipping Key Measurements: One of the biggest mistakes is not taking all the necessary measurements. Each part of your body contributes to the overall fit of the garment, so be sure to include bust, waist, hips, and any other relevant dimensions.
- Measuring Over Loose Clothing: Taking measurements over baggy clothes can lead to inaccuracies. Always measure over fitted clothing or directly on the skin for the best results.
- Inconsistent Measuring Techniques: Use the same method each time you measure. For instance, ensure that the measuring tape is held at the same level and tension with every measurement to avoid discrepancies.
- Not Recording Measurements: Failing to write down your measurements can lead to confusion later. Jot down each measurement immediately after taking it to ensure accuracy.
- Ignoring Body Shape Variations: Each body is unique, and not accounting for differences such as curves or body types can result in poor fits. Be mindful of your body’s natural shape when measuring.
- Not Taking Ease into Account: When planning your sewing project, consider the type of fit you want. Remember to add ease (extra room) for comfort and movement; otherwise, your garment may end up too tight.
Avoiding these common mistakes will enhance your accuracy and confidence in taking measurements, ultimately leading to better-fitting garments that reflect your personal style.
How to Adjust Measurements for Different Patterns

When working with various sewing patterns, it’s essential to understand how to adjust your measurements accordingly. Each pattern may have different sizing standards, and knowing how to adapt your measurements can lead to a successful project. Here are some tips on how to adjust measurements for different patterns:
- Understand the Size Chart: Every pattern comes with a size chart, which is crucial for determining your correct size. Compare your measurements against the chart to find the best match, keeping in mind that patterns may differ from ready-to-wear sizes.
- Identify Ease Requirements: Patterns often include ease—extra space needed for movement and comfort. Determine how much ease is required for the style you’re making (e.g., fitted vs. loose) and adjust your measurements accordingly.
- Adjusting for Length: If the pattern is too long or short for your body, make vertical adjustments. You can add or remove length at the hem, bodice, or sleeves, ensuring that the overall proportions remain balanced.
- Making Width Adjustments: For wider or narrower fits, you can adjust the side seams. Add or subtract from the bust, waist, and hip measurements by altering the pattern pieces directly before cutting your fabric.
- Consider Pattern Style: Different styles may require different adjustments. For instance, a fitted dress may need different adjustments than a loose tunic. Always consider the garment’s intended silhouette when making changes.
- Test with a Muslin: Before cutting into your desired fabric, consider making a muslin (a test garment) to check fit and make further adjustments as necessary. This can save time and fabric in the long run.
By following these tips and understanding how to adjust measurements for different patterns, you’ll ensure that your finished garments fit beautifully and reflect your personal style.
Tips for Maintaining Consistency in Measurements

Maintaining consistency in measurements is crucial for achieving professional-looking results in your sewing projects. Here are some expert sewing tips for accurate measurements that will help you stay precise and consistent throughout your sewing journey:
- Use Quality Tools: Invest in reliable measuring tools such as a flexible tape measure, clear rulers, and a reliable cutting mat. High-quality tools provide better accuracy and can withstand the wear and tear of regular use.
- Standardize Your Technique: Develop a consistent method for taking measurements. Always measure from the same points on your body or fabric, and maintain a uniform tension on the measuring tape to avoid discrepancies.
- Document Your Measurements: Keep a sewing journal where you record your measurements, along with any adjustments made for specific patterns. This can serve as a reference for future projects, ensuring consistency.
- Double-Check Before Cutting: Before you cut your fabric, double-check your measurements against the pattern. It’s easy to make a mistake, and taking a moment to verify can save you from costly errors.
- Sewing in a Well-Lit Area: Good lighting is essential for accurate measurements. Ensure your workspace is well-lit so you can clearly see the markings and measurements on your fabric and patterns.
- Practice Regularly: The more you sew, the better your measuring skills will become. Regular practice helps you develop a sense of accuracy and familiarity with your tools.
By applying these tips, you’ll not only improve your measurement accuracy but also enhance the overall quality of your sewing projects. Visit our website to learn more and get started today! Click here.

