When it comes to sewing, the importance of pressing cannot be overstated. **_Pressing techniques_** are essential for achieving a polished and professional finish on your projects. Unlike ironing, which is primarily for removing wrinkles, pressing is a technique that alters the fabric’s shape and helps set seams, making it a critical step in sewing that is often overlooked.
Understanding the best pressing techniques for sewing projects can greatly enhance your sewing skills. Whether you are a beginner or a seasoned sewist, mastering these techniques will help you create garments and items that look store-bought. By applying the right pressure and heat, you can manipulate the fabric to your advantage, achieving crisp seams, beautifully shaped darts, and perfectly aligned patterns.
There are various methods and tools available for pressing, including traditional irons, steam presses, and even specialized tools for specific tasks. Each has its own advantages, and knowing when and how to use them will contribute to the overall success of your sewing endeavors.
To get started on your journey to mastering pressing techniques, visit our website to learn more and get started today! Click here.
Understanding the Importance of Pressing in Sewing

Pressing is often seen as a secondary task in the sewing process, yet it holds immense significance in achieving high-quality results. The **_importance of pressing_** in sewing cannot be understated; it is a crucial technique that affects the final appearance and functionality of your projects.
Firstly, pressing helps to set seams in place, ensuring that they lie flat and do not shift during the sewing process. This is particularly important for curved seams, such as those found in darts and armholes, where precision is paramount. By pressing these seams, you create a clean and professional finish that elevates the overall quality of your garment.
Moreover, pressing aids in shaping the fabric. Techniques such as *dart pressing* and *hem pressing* allow you to mold the fabric into the desired silhouette. This is essential for achieving the right fit and form, especially in tailored garments. Additionally, pressing can help in managing fabric types; for instance, lightweight fabrics may require gentler pressing methods to avoid distortion.
Lastly, pressing enhances the longevity of your sewing projects. Properly pressed seams and hems reduce the risk of fabric fraying and ensure that your items maintain their structure over time. By incorporating effective pressing techniques into your sewing routine, you not only improve the aesthetics of your work but also its durability.
Essential Tools for Effective Pressing Techniques

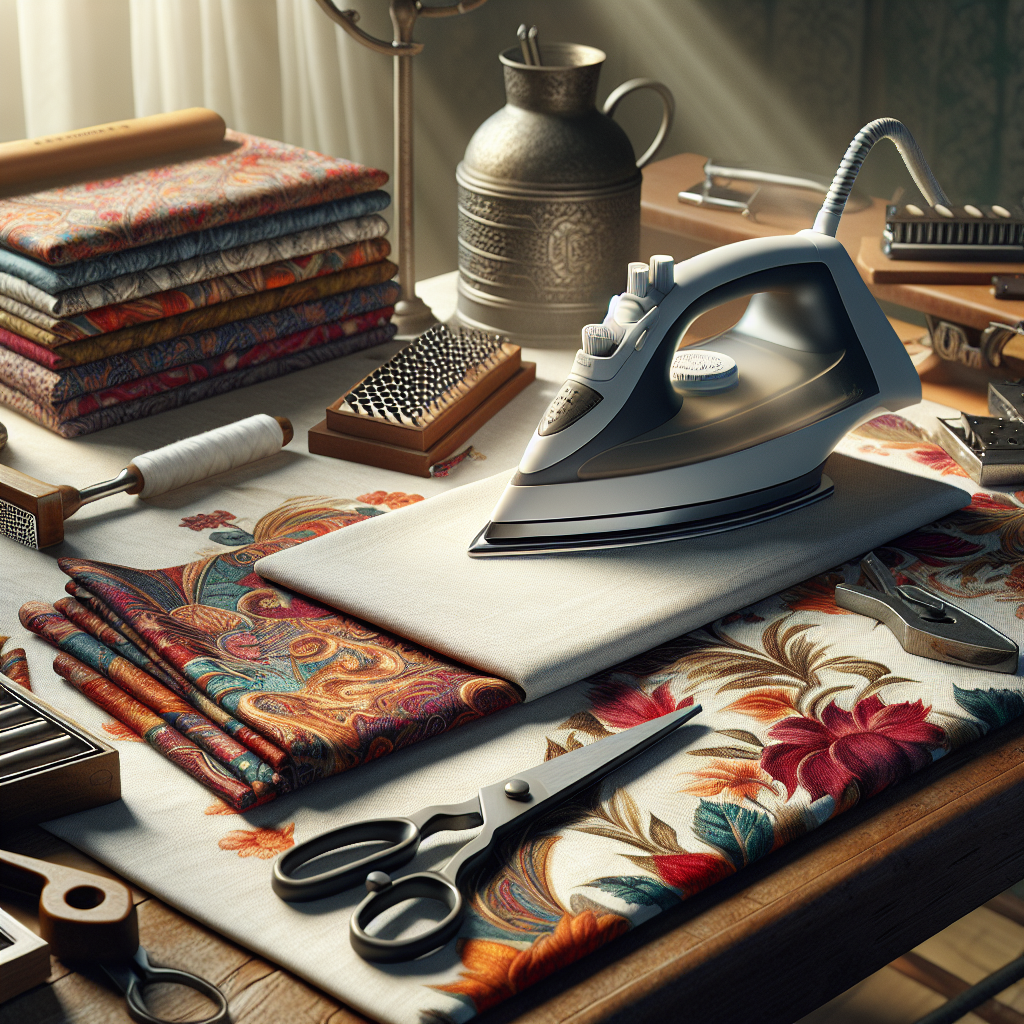
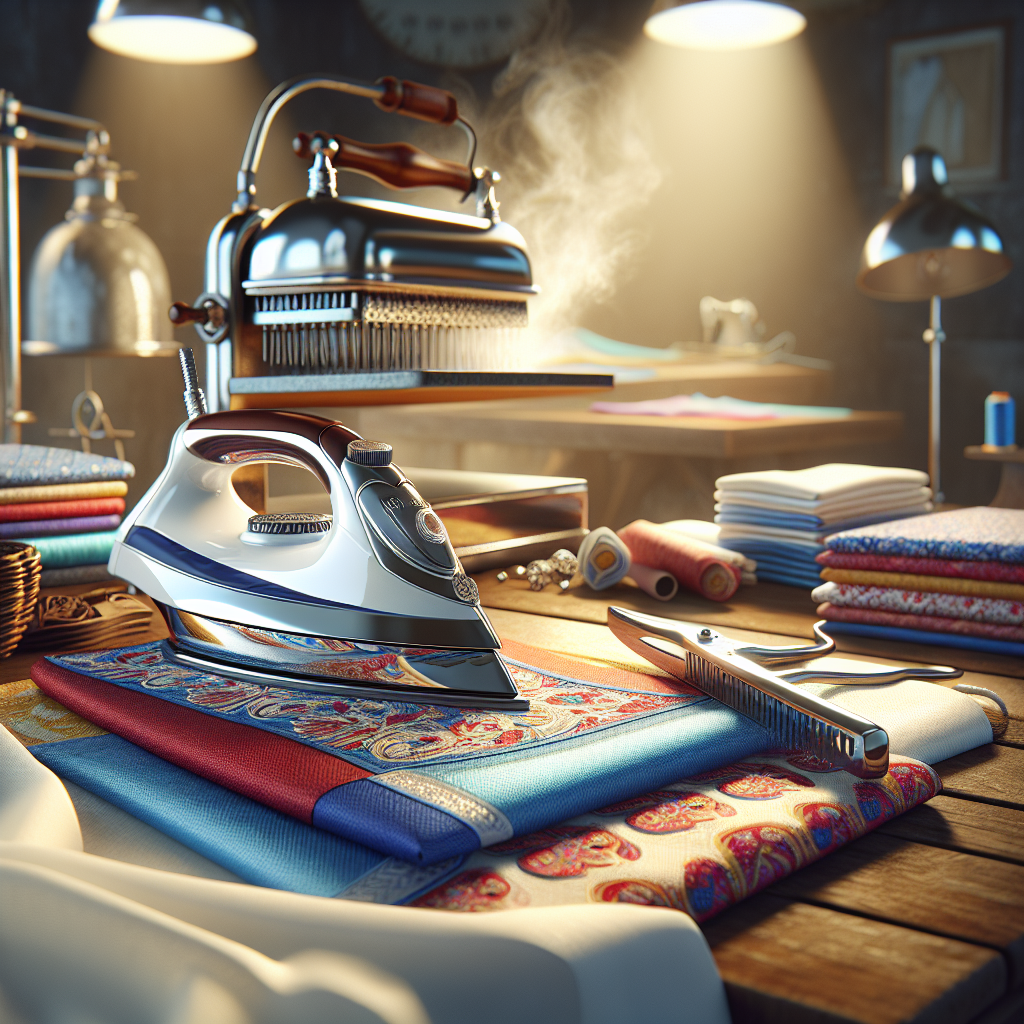
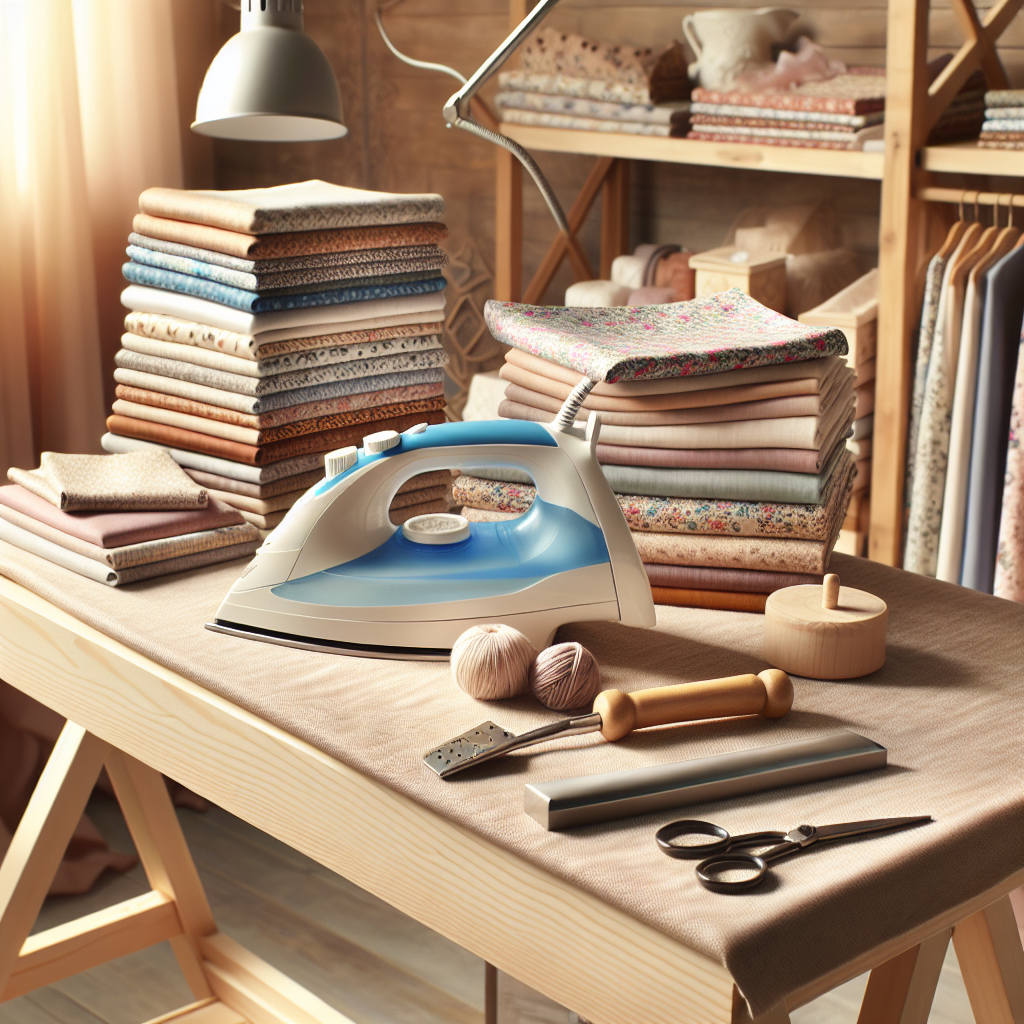
To master the **_best pressing techniques for sewing projects_**, having the right tools at your disposal is essential. Each tool plays a unique role in achieving crisp, professional finishes, and understanding their functions can significantly enhance your sewing experience.
1. **Iron**: The most fundamental tool for pressing is, of course, the iron. Opt for a quality steam iron with adjustable temperature settings to accommodate different fabric types. A steam function is particularly beneficial for relaxing fibers and achieving a smooth finish.
2. **Pressing Cloth**: A pressing cloth is a must-have for protecting delicate fabrics from direct heat. This lightweight fabric layer helps prevent scorching and shine, ensuring your projects remain pristine. It’s especially useful for fabrics like silk and rayon.
3. **Tailor’s Ham**: This uniquely shaped tool is designed to help you press curved seams and contours, such as armholes and bust darts. Its firmness provides support while allowing you to shape the fabric precisely where needed.
4. **Sleeve Board**: For smaller areas, like sleeves and cuffs, a sleeve board is invaluable. Its compact size enables easy access to tight spaces, ensuring every inch of your project receives the attention it deserves.
5. **Pressing Mat**: A high-quality pressing mat can make a world of difference. Look for mats made from materials that reflect heat, allowing for efficient pressing without damaging your work surface. Some mats even feature printed guides for accurate seam allowances.
Equipping yourself with these essential tools will not only streamline your pressing process but also improve the overall quality of your sewing projects. Investing in the right equipment is a step towards achieving flawless finishes and elevating your sewing skills.
Step-by-Step Guide to Different Pressing Techniques
Understanding the various **_pressing techniques_** is crucial for any sewing enthusiast looking to achieve impeccable results. Here’s a step-by-step guide to some of the most effective pressing techniques that will elevate your sewing projects:
1. **Basic Pressing**: Start by setting your iron to the appropriate temperature for the fabric type. Always test a small, inconspicuous area first. Place the iron flat against the fabric and gently press down without sliding. Lift the iron and reposition it to the next area, repeating until the entire section is smooth.
2. **Steam Pressing**: For fabrics that wrinkle easily, steam pressing is your best ally. Fill your iron with water and select the steam function. As you press, allow the steam to penetrate the fibers, which helps to relax them. This technique is especially effective for cotton and linen fabrics.
3. **Rolling Technique**: This method is ideal for seams and edges. After sewing, open the seam and place it flat on the ironing board. Roll the seam towards the fabric, then press down with the iron. This technique helps to ensure a crisp edge and prevents puckering.
4. **Pressing Seams Open**: For bulky seams, it is often beneficial to press them open. Use your fingers to gently separate the seam allowance and press it flat with the iron. This technique reduces bulk and results in a cleaner finish.
5. **Using the Tailor’s Ham**: For curved seams, such as darts and princess seams, use a tailor’s ham. Place the seam over the ham and press, allowing the curve to mold to the ham’s shape. This technique helps maintain the garment’s structure and shape.
6. **Final Pressing**: After completing your project, give it a final press. This step is essential for ensuring that all seams and edges lie flat and that the overall appearance is polished. Focus on areas that may have shifted during construction.
By following these step-by-step techniques, you can confidently tackle any project, ensuring that your sewing results are as professional as possible. The right pressing techniques can make all the difference in your finished pieces!
Common Mistakes to Avoid While Pressing

While mastering pressing techniques is essential for achieving the best results in your sewing projects, avoiding common mistakes can significantly impact the outcome. Here are some pitfalls to steer clear of:
- Pressing Instead of Ironing: One of the most frequent errors is pressing down and sliding the iron across the fabric. This can distort the fabric and seams. Instead, lift the iron and place it on the fabric to avoid unnecessary stretching.
- Ignoring Fabric Types: Different fabrics require different heat settings. Always refer to the manufacturer’s guidelines for each material. For example, using high heat on synthetic fabrics can cause melting or shiny spots.
- Neglecting to Use Steam: For fabrics that are prone to wrinkling, skipping the steam feature can lead to ineffective pressing. Steam helps to relax the fibers, making it easier to achieve a smooth finish.
- Pressing Over Seams: Directly pressing over bulky seams can create unsightly indentations. Instead, press around the seams and use a pressing cloth to protect the fabric when needed.
- Not Keeping the Iron Clean: A dirty iron can leave marks or residue on your fabric. Regularly clean the soleplate according to the manufacturer’s instructions to avoid transferring grime onto your projects.
- Overlooking the Importance of a Pressing Cloth: When dealing with delicate fabrics or those prone to shine, always use a pressing cloth. This extra layer protects the fabric while allowing you to press effectively.
- Forgetting to Test First: Always test your pressing technique on a scrap piece of fabric before starting on your actual project. This helps to ensure that you won’t damage your material or create unwanted effects.
By being mindful of these common mistakes, you can enhance your pressing technique and achieve professional-quality results in all your sewing endeavors.
Tips for Mastering Pressing Techniques in Sewing

Mastering pressing techniques in sewing can elevate your projects from amateur to professional. Here are some valuable tips to help you refine your skills:
- Invest in Quality Tools: A good quality iron and ironing board can make a significant difference. Look for an iron with adjustable steam settings and a smooth soleplate. An ergonomic ironing board with adjustable height can also enhance your comfort while pressing.
- Practice Proper Technique: Always remember to lift the iron rather than slide it across the fabric. This technique prevents distortion and ensures that each area gets the proper attention.
- Use the Right Temperature: Different fabrics require different heat settings. Always check the label on your fabric and adjust the temperature accordingly to prevent damage.
- Utilize Pressing Tools: Tools such as clappers, ham, and sleeve boards can help achieve crisp edges and tailored results. These tools are especially useful for pressing seams and curves.
- Incorporate Steam Wisely: Steam can be your best friend in the pressing process. Use it to relax fibers but be cautious not to oversaturate the fabric, which can lead to water stains.
- Maintain an Organized Workspace: Keep your pressing area tidy and organized. Having everything within reach will allow you to focus on your pressing technique without unnecessary distractions.
- Take Your Time: Pressing is an integral part of sewing, so don’t rush through it. Take your time to ensure each seam and edge is properly pressed for a polished finish.
By implementing these tips, you can develop your pressing techniques further and enjoy the satisfaction of beautifully finished projects. Visit our website to learn more and get started today! Click here.

