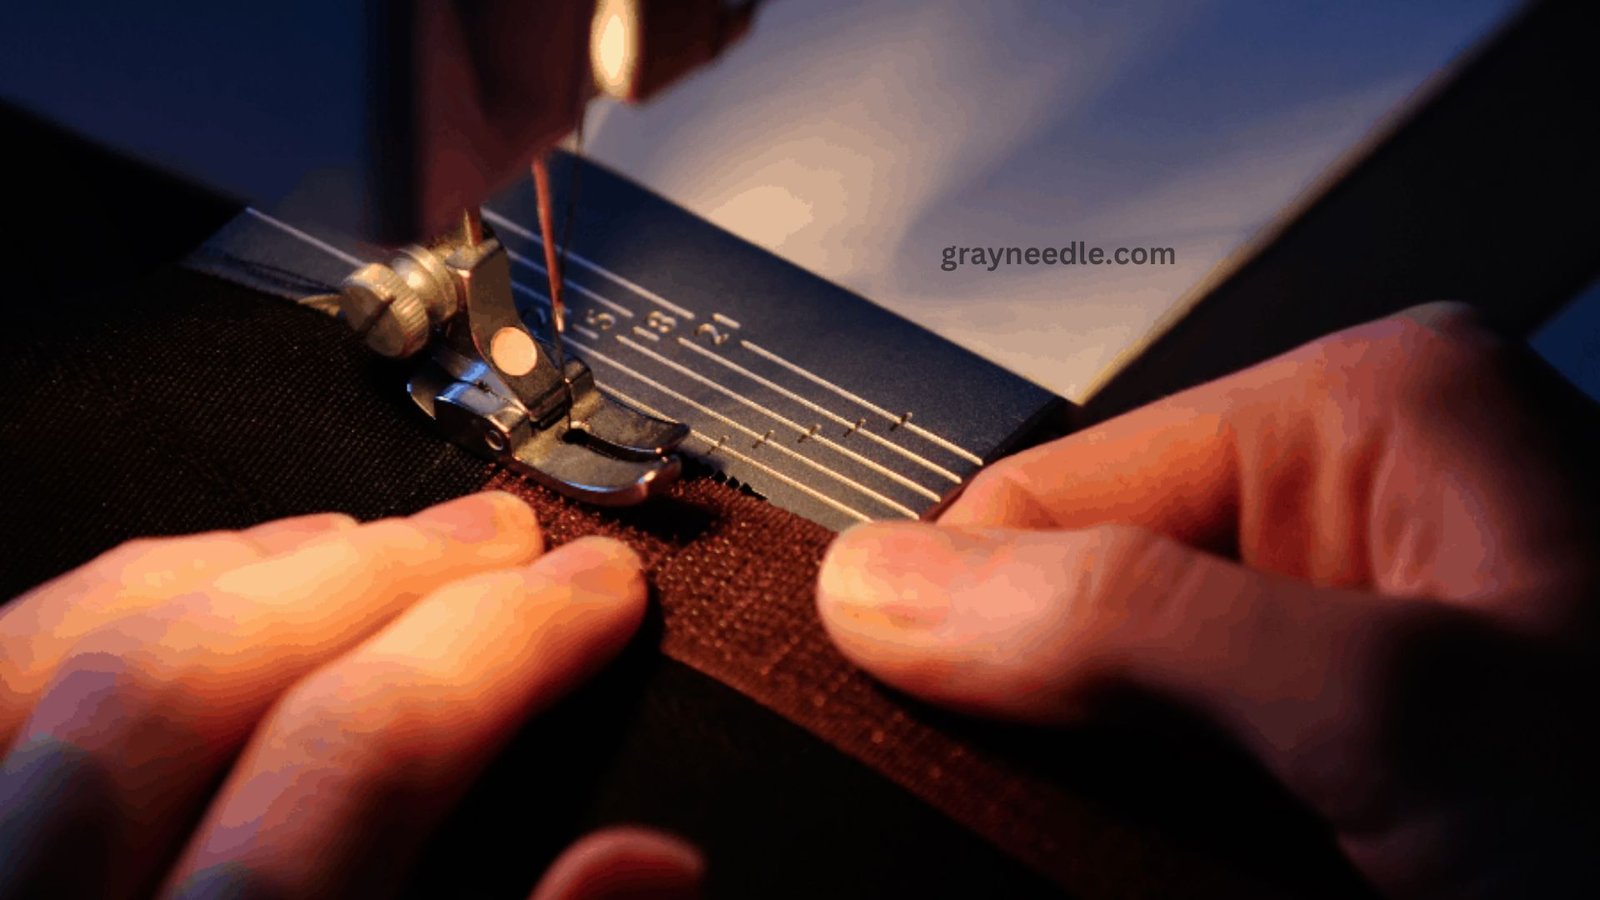
Velcro sewing can be challenging and may result in broken needles, skipped stitches, and a lack of patience. Although velcro might be challenging to deal with, it is a perfect substitute for buttonholes, zippers, and snaps.
Can you therefore stitch a velcro patch on? Yes, but you’ll have to exercise extreme caution when doing so. As long as you have all the necessary sewing supplies, the procedure is straightforward. To complete the task, you’ll need a high-quality velcro patch and powerful, high-quality needles.
The simplest method for joining pieces of cloth is by far velcro. It’s also a terrific way for youngsters to acquire independence by dressing and undressing themselves. Regardless of your motivation for wanting the velcro, it’s critical to comprehend how to apply it to the fabric. Let’s get started—we cover all you need to know to sew on a velcro patch in this article!
Can I Sew Velcro with a Sewing Machine?
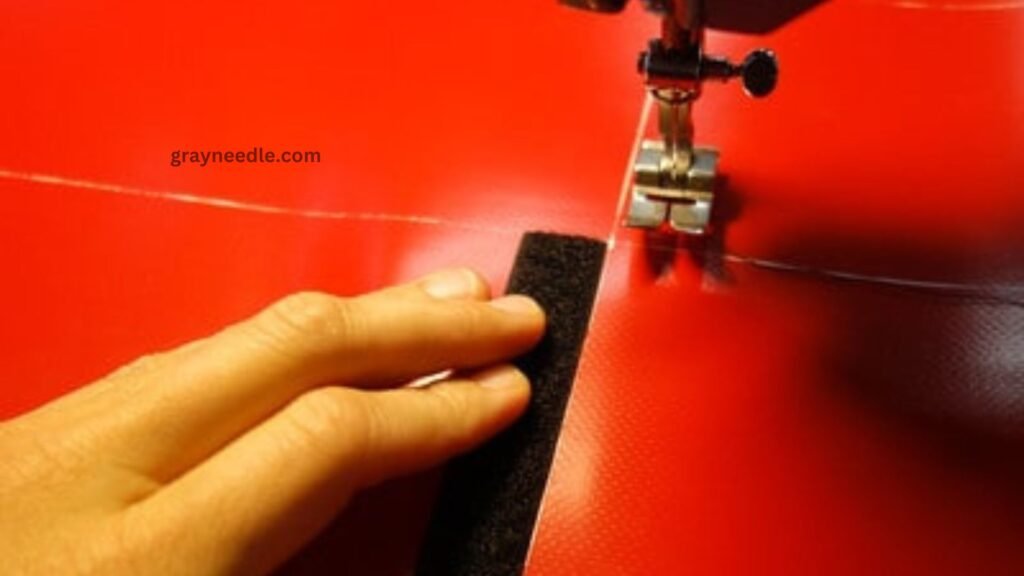
Usually, people will only attempt stitching velcro with a sewing machine once. It doesn’t have to be hard to sew velcro onto fabric using a sewing machine. It is possible to simplify the process a little if you are an expert in what you are doing.
A few pointers will help you have a far better machine sewing experience. First, the success of your project can be greatly impacted by choosing the appropriate velcro. Your best bet is to use a soft velcro that is appropriate for stitching. Additionally, cheap velcro and those with adhesive backs should be avoided.
Once the velcro and appropriate needle are in place, you should trim the velcro to the correct length. To avoid ripping the hooks or loops of your velcro, carefully thread a pair of scissors through it. For any sewing endeavor, cut as straight and evenly as you can.
The velcro pieces should be placed on the fabric where you want to sew them. Position the pliable velcro strip beneath the uppermost fabric section. The lower portion of the cloth will have the velcro’s rough side facing downward. Make sure they are in line with one another by taking your time.
Use a fresh, extremely sharp needle and coat it with beeswax or needle lube for optimal results. This will lessen the possibility of the needle breaking or becoming stuck as it passes through the velcro. Whichever size needle you are using, this steo will be helpful.
There are presser feet made especially for hook and loop closures that are included with some sewing machines. It’s advisable to utilize one if you have one. In the event that you are without one, a zipper foot will suffice. These presser feet will be stronger and able to withstand the pressure required to successfully sew through the velcro.
It is advised that you use a blind hem stitch or zigzag stitch. To secure the velcro in place, sew around its edges. You’ll need to trim the velcro’s edges after you’re done. Trim the corners as much as you can because they can be sharp and uncomfortable. To prevent inadvertently cutting through your threads, take extreme care to avoid them.
Also Read: My Sewing Machine Needle is Hitting the Plate
How Do You Embroider a Velcro Patch?
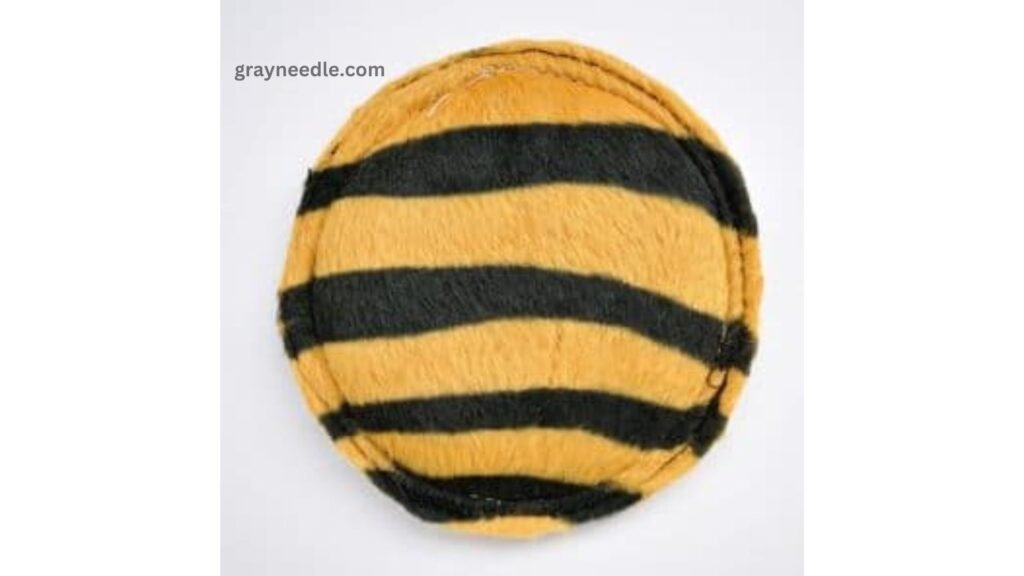
There are a few extra steps involved in making your own velcro patch with your embroidery machine than with ordinary embroidery. To begin with, you will require an embroidered patch design application. Pick the patch’s shape as you’re designing it.
Once your patch design is complete, you will stitch it onto the desired color of fabric using an embroidery machine. Make sure the patch design has an outline so you can cut it out before moving on. This will assist in guaranteeing the proper shape of your patch.
You will then need to arrange the patch’s plastic backing. In order to determine where to put your patch, you must first program the machine to stitch another outline. Remove the plastic backing from the machine once the outline has been stitched, then position the patch so that it matches the outline.
Reinstall the patch on the machine, then select a different outline and zigzag stitch to affix the patch to the backing made of plastic. Once the zigzag stitch is completed, you will switch off the machine. Attach the embroidered outline to the velcro’s reverse side using tape.
Reinstall the velcro patch on the machine to secure the embroidery to the velcro. Remove the embroidery from the machine once the tack down has sewn it to the velcro. As near to the outline as you can without removing the plastic backing, trim off any extra velcro.
You will once more put it back on the machine after you have removed the excess. The marrow border will be stitched by the machine this time. Once everything is finished, you can trim the remaining plastic backing off the patch. After that, you can use your velcro patch on any other velcro item you like.
What is the Best Way to Attach Velcro to Fabric?
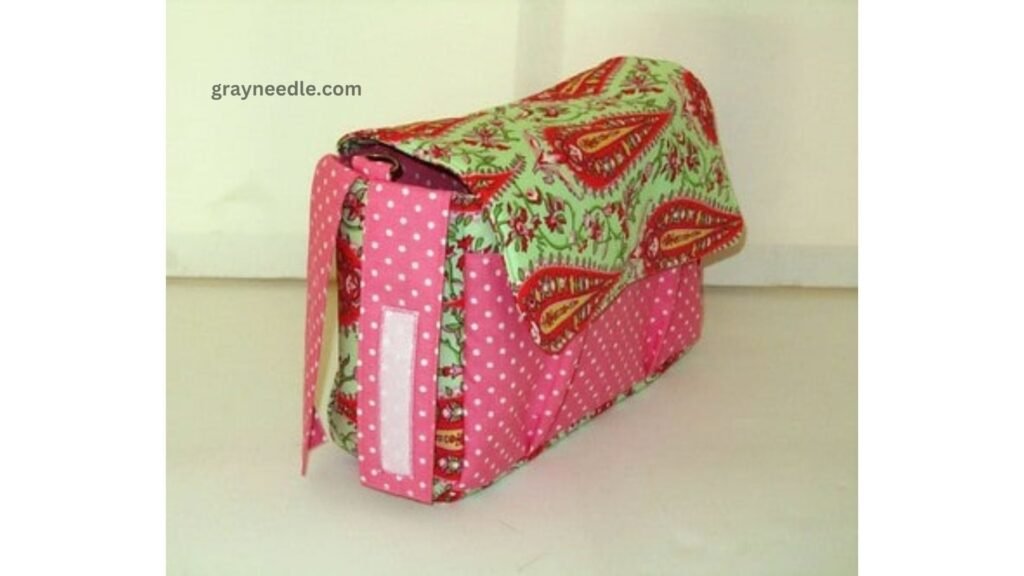
Velcro may not always be best attached to a piece of fabric by sewing. Fortunately, there are other methods for getting velcro to stick to fabric. Using a strong, versatile glue is a fantastic substitute for sewing. Using an adhesive made especially for use with velcro will be advantageous.
Although there is nothing complicated about this application method, you should read the labels on the adhesives and cloth you use. Some adhesives will react differently to washing than others. Prior to beginning the application procedure, you ought to be informed of them.
The best approach would be to use fabric-based tape as a backup. This is the greatest choice for costumes because it’s quick, simple, and machine-washable. The best alternative for hemming garments or adding repairs is fabric tape.
Final Thoughts
It is feasible and rather simple to sew a velcro patch onto an article of clothing rather of using velcro if that is your preference. Make sure you have the correct needle for the best outcome. Your needle may break where it touches the velcro if it is too thin and not strong enough.
Another alternative is to take an existing patch and stitch it onto cloth, or you may build your own velcro patch. An embroidery machine is needed to make your own velcro patch, but the steps are straightforward and the directions are clear.
