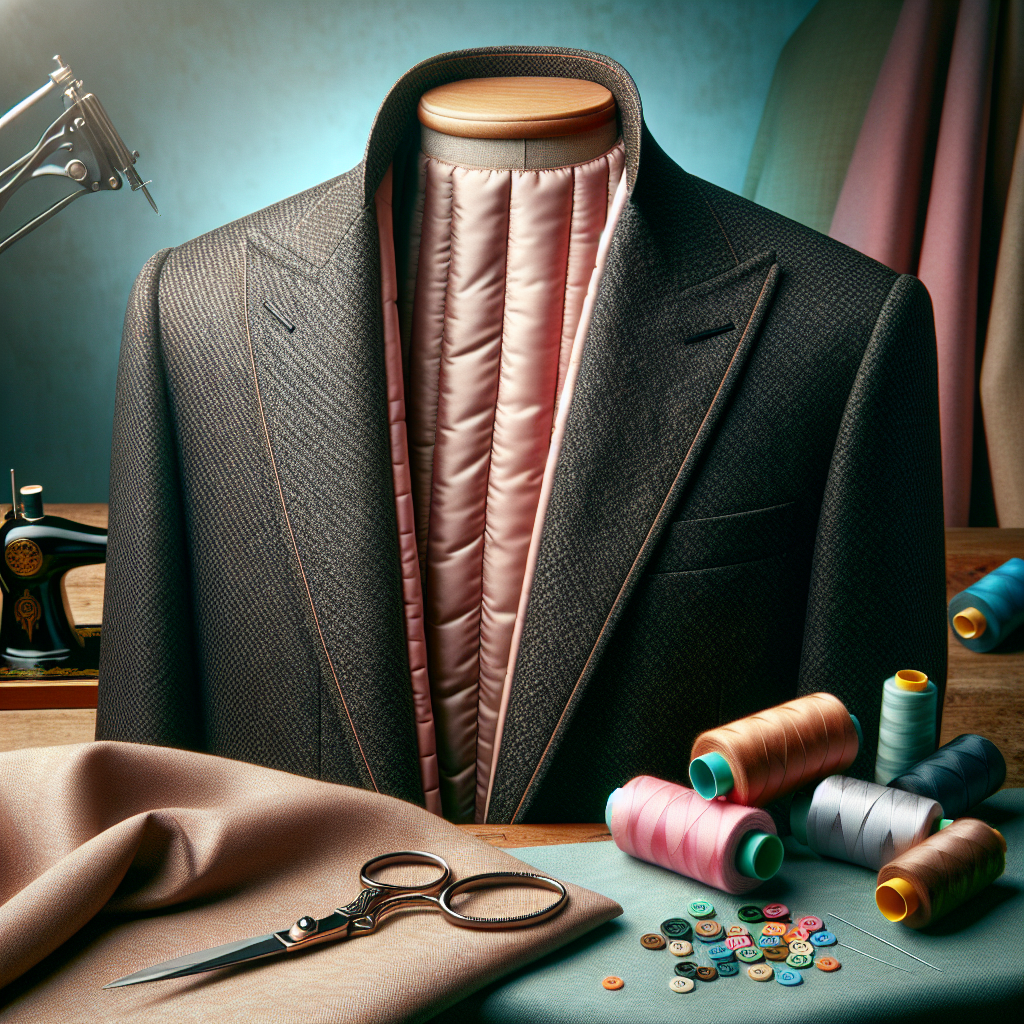
Sewing lining is not merely an aesthetic choice; it plays a crucial role in enhancing the overall quality and functionality of garments. By understanding the importance of sewing lining, you can greatly improve the durability and comfort of your creations.
First and foremost, lining provides a smooth finish, allowing garments to glide over the skin. This is particularly important for fitted pieces, where seams can otherwise cause discomfort. Additionally, lining can help reduce wear on the outer fabric, extending the life of your clothing.
Moreover, lining can add warmth to garments, making it a vital component in outerwear. It also offers a layer of protection against the elements, especially when using water-resistant or breathable fabrics. Here are some other benefits of incorporating lining into your sewing projects:
- Improved Structure: Lining helps garments maintain their shape and structure, especially in tailored pieces.
- Concealing Seams: Lining effectively hides raw edges and seams, creating a polished look.
- Enhanced Comfort: A lining can prevent fabrics from clinging to the body, adding to the overall comfort of the garment.
Understanding these benefits will inspire you to master the technique of sewing lining. Visit our website to learn more and get started today! Click here.
Choosing the Right Fabric for Your Lining

When it comes to choosing the right fabric for your lining, several factors should be taken into account to ensure that your finished garment looks and feels professional. The type of fabric you select will not only impact the garment’s durability but also its drape and comfort.
First, consider the weight of the fabric. Lining materials are generally lighter than outer fabrics, which helps maintain the overall silhouette without adding bulk. Common lining fabrics include:
- Silk: Luxurious and smooth, silk lining offers a premium feel and excellent drape, making it ideal for formal wear.
- Polyester: A cost-effective and versatile choice, polyester lining is durable and easy to care for, suitable for various types of garments.
- Cotton: Soft and breathable, cotton lining works well for casual and summer garments, providing comfort against the skin.
Next, think about the purpose of your garment. If you are sewing outerwear, you may want to choose a lining that has moisture-wicking properties or is slightly heavier for added warmth. On the other hand, for lightweight summer dresses, a breathable and airy fabric would be more appropriate.
Lastly, don’t forget about the color and pattern of your lining. It can be an opportunity to express creativity, especially if parts of the lining may be visible. Choose colors that complement your outer fabric while still providing interest.
Essential Tools Required for Sewing Lining

Having the essential tools required for sewing lining can significantly enhance your sewing experience and lead to a polished finish. Here’s a list of indispensable tools that every sewing enthusiast should have in their arsenal:
- Sewing Machine: A reliable sewing machine is the heart of your sewing projects. Ensure it has a good range of stitch options, including straight and zigzag stitches.
- Needles: Choose the right needles for your project. For lining fabrics, a universal needle or a fine point needle is often ideal, as they can easily penetrate lighter materials without causing damage.
- Thread: Use high-quality thread that matches your lining fabric. Polyester thread is a popular choice for its strength and durability.
- Scissors: Invest in a good pair of fabric scissors for clean cuts. A smaller pair of embroidery scissors can also be handy for trimming threads and making precise cuts.
- Iron and Ironing Board: Pressing your lining during the sewing process is crucial for achieving crisp seams and a professional finish. A steam iron is particularly effective for this purpose.
- Pins and Clips: Use pins or fabric clips to secure your lining pieces together before sewing. This prevents shifting and ensures accurate seams.
With these tools at your disposal, you’ll be well-equipped to tackle any lining project confidently. Remember, having the right tools not only makes the process easier but also enhances the quality of your final product.
Step-by-Step Guide to Sewing Lining

Understanding how to sew lining accurately can transform your sewing projects, giving them a professional touch. Follow this step-by-step guide to ensure a seamless lining application:
- Prepare Your Fabric: Before you begin, wash and iron your outer fabric and lining to remove any wrinkles. This prevents any shrinkage after the project is completed.
- Cut Your Lining: Lay your outer fabric pattern pieces on the lining fabric, ensuring to add seam allowances. Cut the lining pieces accurately for a perfect fit.
- Pin the Lining to the Outer Fabric: With right sides together, align the lining with the outer fabric. Use pins to secure them together, ensuring the edges are matched properly.
- Sew the Lining: Using a straight stitch, sew along the edges where the lining and outer fabric meet, leaving an opening for turning the garment right side out later.
- Clip Corners and Curves: To reduce bulk, clip the corners and curves of the seams carefully. This allows the fabric to lie flat when turned right side out.
- Turn Right Side Out: Gently pull the lining through the opening to turn the project right side out. Take your time to ensure everything is smooth and neat.
- Press the Seams: Use your iron to press the seams flat. This step is crucial for achieving a professional-looking finish.
- Finish the Opening: Hand stitch or machine sew the opening closed, ensuring it blends seamlessly with the rest of your project.
By following these detailed steps, you’ll master the art of sewing lining, resulting in beautifully finished garments that reflect your sewing skills.
Common Mistakes to Avoid When Sewing Lining
As you embark on your journey to master how to sew lining, being aware of common mistakes can save you time and frustration. Here are some pitfalls to avoid:
- Skipping the Pre-Wash: Many sewists forget to pre-wash their fabrics. This can lead to shrinkage and distortion after your project is completed. Always wash and iron your fabric to prevent surprises later.
- Improper Cutting: Cutting lining pieces without proper seam allowances can result in a poor fit. Always ensure you measure accurately and add enough fabric for seams.
- Ignoring Fabric Grain: Not paying attention to the grain of the fabric can cause your lining to hang awkwardly. Always cut your lining in the same direction as the outer fabric for a polished look.
- Insufficient Pinning: Failing to pin the lining and outer fabric together securely may lead to shifting while sewing. Take your time to pin thoroughly to ensure everything stays aligned.
- Neglecting Seam Finishing: Overlooking the importance of finishing seams can lead to fraying and an unfinished appearance. Use techniques such as zigzag stitching or serging to secure raw edges.
- Forgetting to Press: Skipping the pressing step after sewing can result in bulky seams and an unprofessional finish. Always press your seams during and after construction for a crisp look.
By being mindful of these common mistakes, you can enhance your sewing skills and create beautifully lined garments that look as good on the inside as they do on the outside.
Tips for Achieving a Professional Finish with Lining

To elevate your sewing projects and achieve a professional finish when working with lining, consider these valuable tips:
- Choose High-Quality Materials: Opt for a lining fabric that complements your outer fabric. Silks, cottons, and polyester blends can provide a luxurious feel and better drape.
- Use Interfacing: Adding interfacing to your lining can offer additional structure and support, particularly in areas like collars and cuffs. This helps maintain the garment’s shape.
- Seam Allowances: Maintain consistent seam allowances throughout your project. This not only ensures a neat finish but also simplifies the process of sewing and turning the garment right side out.
- Finishing Techniques: Employ techniques such as French seams or bias binding for a clean edge. These methods can enhance durability and aesthetics, making your garment look professionally crafted.
- Hand-Sewing for Precision: For areas where precision is essential, such as attaching the lining to the hem, consider hand-sewing. This allows for greater control and a flawless finish.
- Pressing with Care: Regularly press your seams, darts, and hems as you work. A well-pressed lining will lie flat and give your garment a polished appearance.
By incorporating these tips into your sewing routine, you can achieve a professional finish that showcases your skills and attention to detail. Visit our website to learn more and get started today! Click here.

